Easy No Knead Artisan Bread Recipe – Crusty, Reliable, and Beginner-Friendly
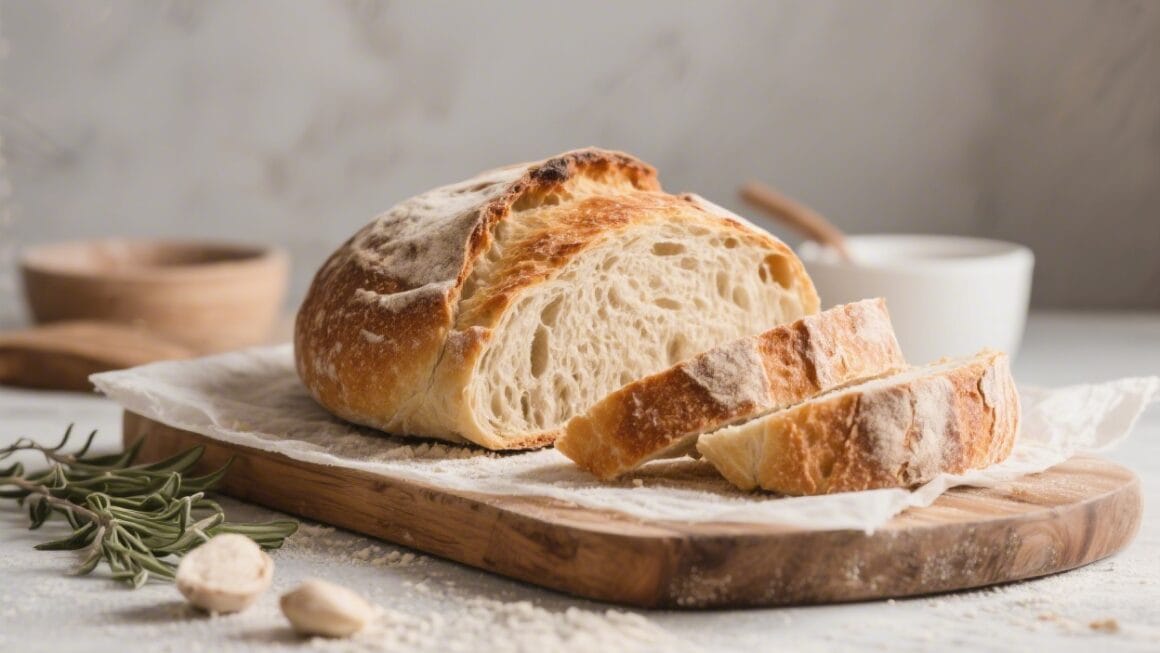
There’s something comforting about a warm, crackly loaf cooling on your counter. This easy no knead artisan bread recipe gives you that bakery-style crust without special equipment or fussy steps. You mix, wait, and bake—no kneading, no stretching, and no bread machine needed. The dough does the heavy lifting while you go about your day, and the results are golden, chewy, and deeply satisfying.
What Makes This Recipe So Good

Easy no knead artisan bread recipe – Easy No Knead Artisan Bread Recipe – Crusty, Reliable, and Beginner-Friendly There’s something comfo
- Minimal effort, big payoff: You only stir the dough once. Time and hydration create the structure.
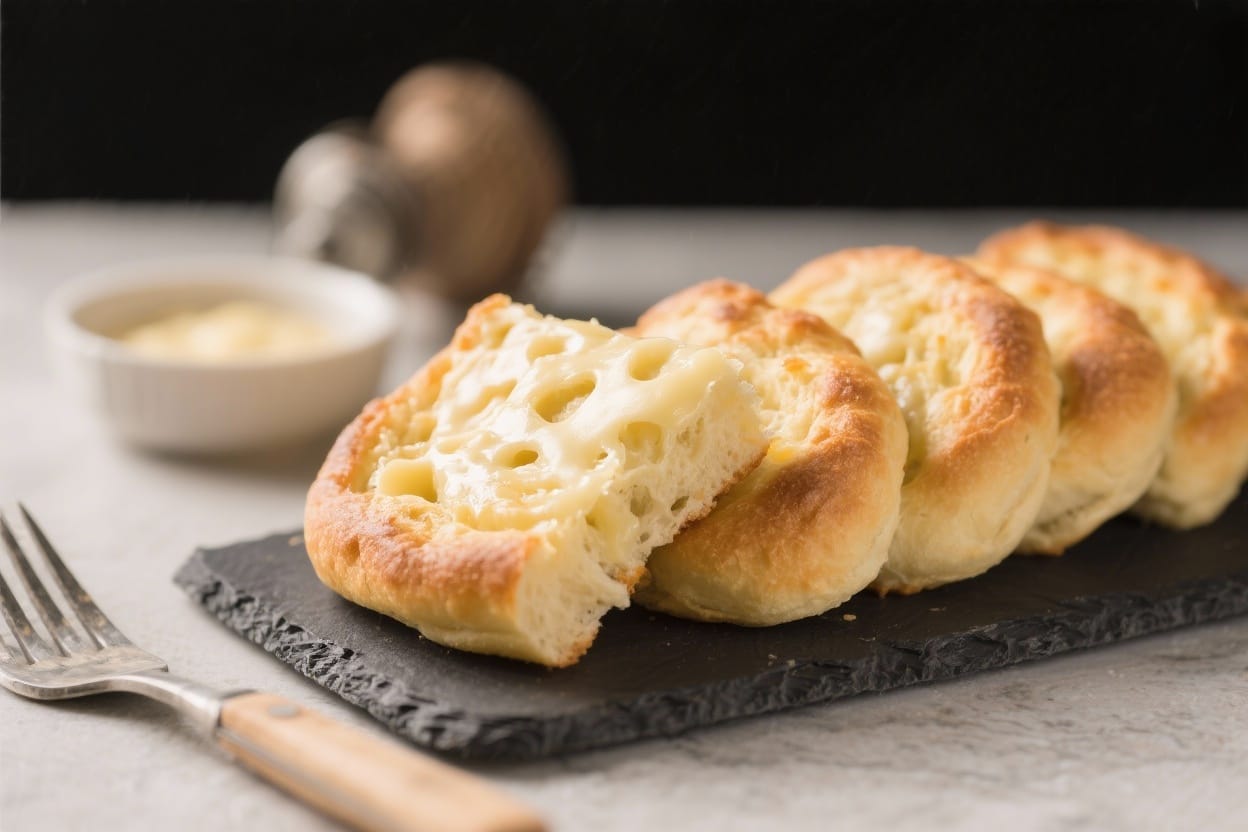
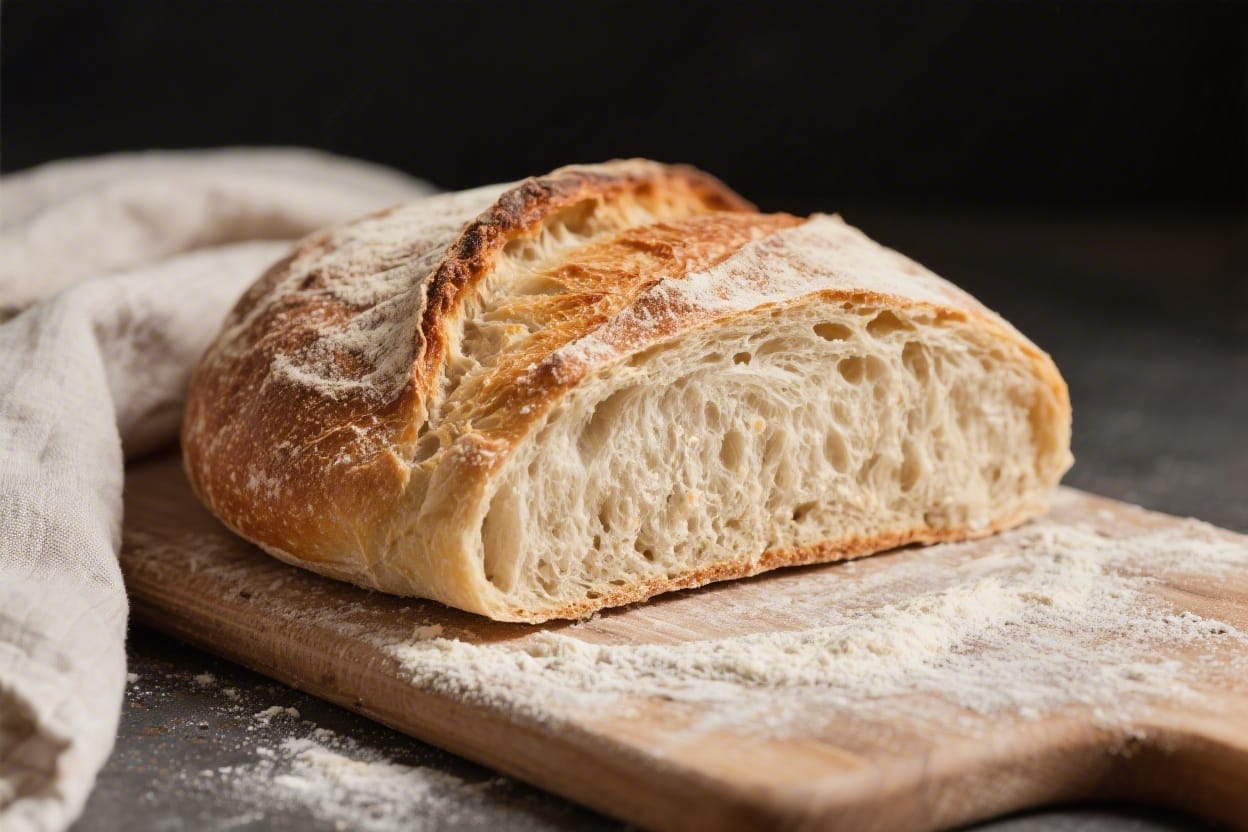
- Incredible crust and crumb: Steam from the covered bake mimics a professional oven, giving you a shattery crust and airy interior.
- Flexible timing: Mix in 5 minutes, let it rise overnight, and bake when you’re ready.
- Pantry-friendly: Just flour, water, yeast, and salt—no fancy ingredients.
- Versatile base: Add herbs, olives, cheese, or seeds without changing the method.
Ingredients
Easy no knead artisan bread recipe – This easy no knead artisan bread recipe gives you that bakery-style crust without special equipment
- 3 cups (375 g) all-purpose flour or bread flour
- 1 1/2 teaspoons fine sea salt
- 1/2 teaspoon instant yeast (or active dry yeast)
- 1 1/2 cups (360 ml) room-temperature water
- Optional add-ins: 1 tablespoon sugar or honey, 1–2 teaspoons dried herbs, 1/2 cup shredded cheese, 1/3 cup chopped olives or nuts
- For dusting: extra flour or cornmeal
Instructions
Easy no knead artisan bread recipe – You mix, wait, and bake—no kneading, no stretching, and no bread machine needed
- Mix the dough: In a large bowl, whisk flour, salt, and yeast. Add water (and honey or sugar if using). Stir with a spoon until no dry flour remains. The dough will look shaggy and sticky—perfect.
- First rise (long and slow): Cover the bowl tightly with plastic wrap or a lid. Let it rest at room temperature for 12–18 hours, until the surface is dotted with bubbles and the dough has expanded.
- Shape gently: Lightly flour your hands and a piece of parchment. Turn the dough out onto the parchment. Fold the edges toward the center a few times to tighten it into a rough ball. Don’t overwork it.
- Second rise: Sprinkle the top with a little flour. Cover loosely with a towel and let rise at room temperature for 30–60 minutes, until slightly puffy. Meanwhile, place a Dutch oven (with lid) on the middle rack and preheat your oven to 450°F (232°C) for at least 30 minutes.
- Score (optional): Use a sharp knife or lame to make a 1/2-inch slash on top. This helps control the expansion.
- Bake covered: Carefully remove the hot Dutch oven. Lift the dough using the parchment and lower it into the pot. Cover and bake for 30 minutes.
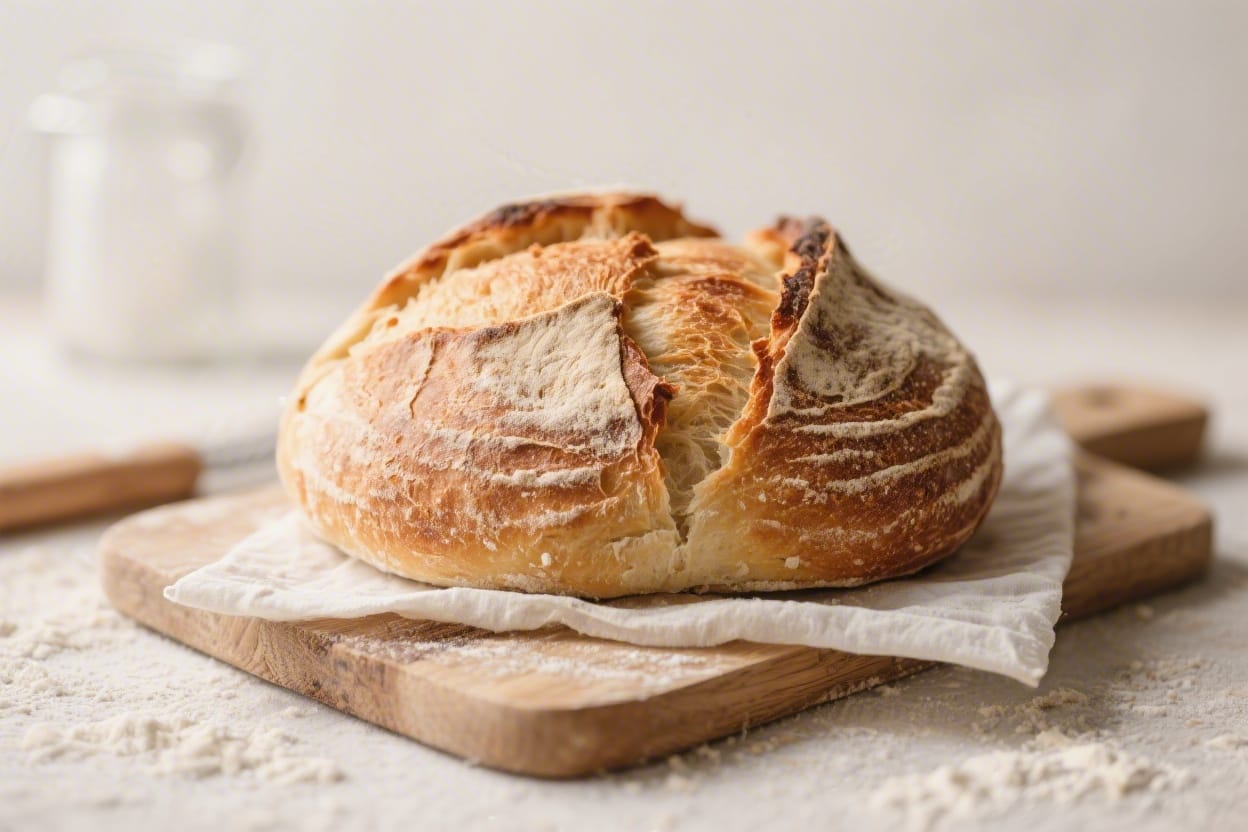
- Finish uncovered: Remove the lid and bake another 12–18 minutes, until the crust is deep golden-brown and the loaf sounds hollow when tapped. Internal temperature should reach about 208–212°F (98–100°C).
- Cool completely: Transfer to a rack and let cool at least 1 hour before slicing. This sets the crumb and keeps it moist.
Keeping It Fresh
- Room temperature: Store the cooled loaf cut-side down on a board or in a paper bag for 1–2 days. This preserves the crust.
- Avoid plastic: Plastic softens the crust. If you prefer a softer crust, use a loose plastic bag, but expect a chewier exterior.
- Freeze for later: Slice, then freeze in a zipper bag for up to 2 months. Toast straight from frozen or rewarm at 325°F (163°C) for 10–12 minutes.
- Refresh the crust: If it softens, re-crisp the loaf at 400°F (204°C) for 8–10 minutes.
Health Benefits
- Simple, recognizable ingredients: Flour, water, yeast, and salt—no additives.
- Long fermentation: The extended rise can improve flavor and digestibility, and may slightly reduce FODMAPs in some people.
- Portion and pairing control: A hearty loaf satisfies quickly. Pair with protein, veggies, and healthy fats for balanced meals.
- Whole grain option: Swap in some whole wheat flour for extra fiber and minerals (see Alternatives).
What Not to Do
- Don’t rush the first rise: Less time means less flavor and weaker structure.
- Don’t add too much flour when shaping: A sticky dough creates that open, airy crumb. Heavy flouring tightens it.
- Don’t skip preheating the pot: A scorching-hot Dutch oven is key for oven spring and a crisp crust.
- Don’t cut while hot: Steam escapes too fast, and the crumb turns gummy. Wait at least an hour.
- Don’t overproof the second rise: If the dough spreads and looks deflated, it may be overproofed. Bake sooner next time.
Alternatives
- Whole wheat version: Replace 1 cup (125 g) white flour with whole wheat. Add 1–2 extra tablespoons water if the dough seems stiff.
- Gluten-free option: Use a high-quality 1:1 gluten-free flour blend and add 1 teaspoon apple cider vinegar. Expect a tighter crumb but great flavor.
- No Dutch oven: Bake on a preheated baking stone or sheet. Place a metal pan on a lower rack and add 1 cup hot water at the start for steam. Bake 35–45 minutes total.
- Flavor boosts: Stir in 1–2 teaspoons rosemary, thyme, or garlic powder, or fold in 1/2 cup shredded cheddar and cracked pepper after the first rise.
- Same-day shortcut: Use 1 teaspoon yeast and let the first rise go 3–4 hours in a warm spot. Flavor is milder, but the loaf still bakes well.
FAQ
Can I use active dry yeast instead of instant?
Yes. Use the same amount. If you want, dissolve it in a few tablespoons of the water first and let it sit 5 minutes, then mix into the flour. With long fermentation, it blends in either way.
How sticky should the dough be?
Quite sticky. It should cling to your spoon and hands. That high hydration creates the open crumb and crisp crust, so resist adding lots of extra flour.
What size Dutch oven works best?
A 4–6 quart Dutch oven is ideal. It gives the loaf space to rise while trapping enough steam to build a great crust.
Why is my bread dense?
Common causes: not enough rise time, cool room temperatures, old yeast, or too much flour added during shaping. Give it a longer first rise and handle it gently.
Can I let the dough rise in the fridge?
Absolutely. After mixing, refrigerate up to 24 hours. Cold fermentation deepens flavor. Bring to room temperature for 45–60 minutes before shaping.
How do I know it’s fully baked?
The crust will be deep golden and the loaf sounds hollow when tapped. For precision, check the center with an instant-read thermometer—aim for 208–212°F (98–100°C).
What if I don’t have parchment paper?
You can carefully lower the dough into the hot pot with floured hands, but be cautious. Alternatively, dust the pot with cornmeal to prevent sticking.
Can I double the recipe?
Yes, but bake as two separate loaves for best results. Overcrowding a single pot limits oven spring and leads to uneven baking.
How can I get more flavor?
Extend the first rise to the full 18 hours, add a touch of rye or whole wheat flour, or chill the dough overnight. A pinch of malt powder or honey also enhances depth.
Why did my crust soften after cooling?
Condensation can soften crust. Cool on a rack in a draft-free area, store in paper, and re-crisp in a hot oven for a few minutes if needed.
In Conclusion
This easy no knead artisan bread recipe is the kind of kitchen win that becomes a habit. With a bowl, a spoon, and some patience, you’ll pull a gorgeous, crackly loaf from the oven every time. Use it for toast, hearty sandwiches, or to soak up soup. Once you master the base, play with flavors and flours—you’ll have a bakery at home without breaking a sweat.
Printable Recipe Card
Want just the essential recipe details without scrolling through the article? Get our printable recipe card with just the ingredients and instructions.