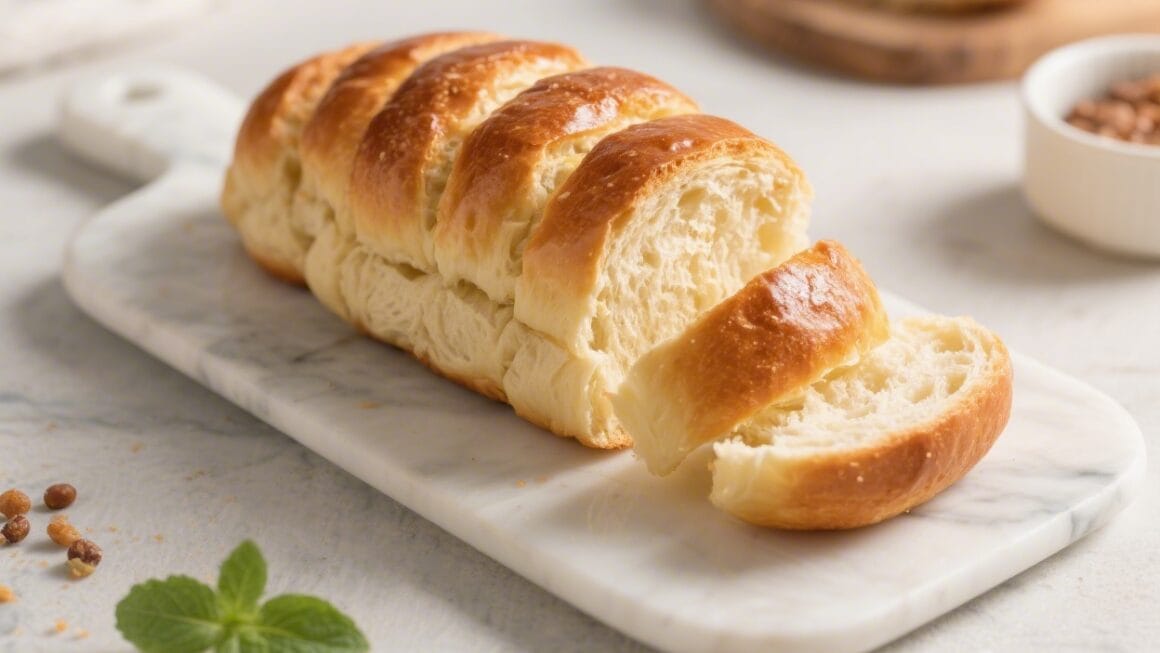
Simple Milk Bread for Beginners – Soft, Fluffy, and Fuss-Free
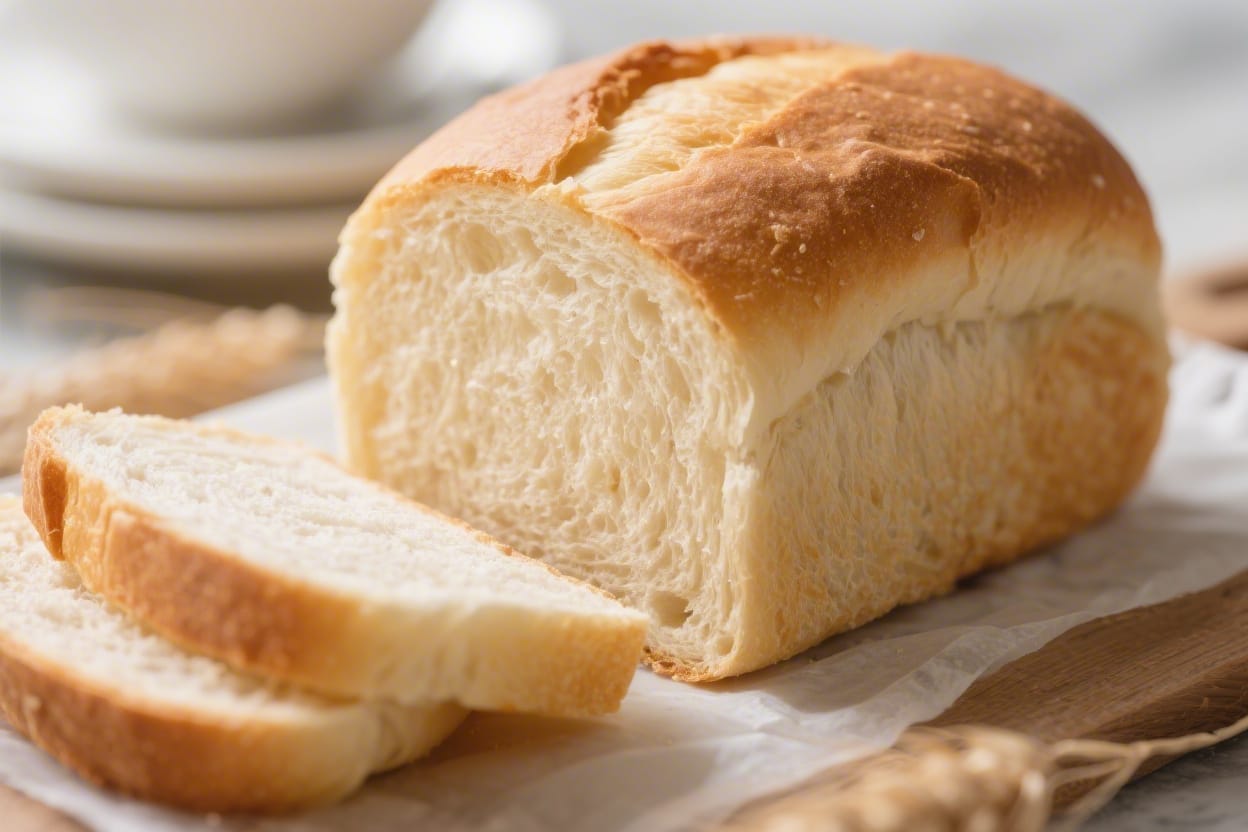
Milk bread is the kind of loaf that makes the whole kitchen smell like home. It’s soft, slightly sweet, and perfect for toast, sandwiches, or snacking straight from the cutting board. If baking bread has felt intimidating, this is a gentle place to start. The dough is friendly, the steps are clear, and the result is downright comforting. You don’t need special equipment or advanced skills—just a bowl, your hands, and a little patience.
Why This Recipe Works
Simple milk bread for beginners – Simple Milk Bread for Beginners – Soft, Fluffy, and Fuss-Free Milk bread is the kind of loaf that ma
Milk adds fat, sugar, and protein, which makes the crumb extra tender and gives the loaf a beautiful golden color. A touch of butter keeps it soft for days without getting dry. Using instant yeast simplifies the process and shortens the rise time. A simple shaping method creates even slices and a soft, pillowy interior. It’s a forgiving dough, so beginners can learn the feel of proper hydration and gluten development without stress.
Ingredients
Simple milk bread for beginners – It’s soft, slightly sweet, and perfect for toast, sandwiches, or snacking straight from the cutting
- 3 cups (375 g) bread flour (or all-purpose flour in a pinch)
- 2 tablespoons (25 g) granulated sugar
- 1 1/4 teaspoons (4 g) fine salt
- 2 teaspoons (6 g) instant yeast (or 2 1/4 tsp active dry; see FAQ)
- 1 cup (240 ml) warm milk (about 105–115°F/40–46°C)
- 1 large egg, room temperature
- 3 tablespoons (42 g) unsalted butter, softened
- Optional: 1–2 tablespoons milk for brushing the top before baking for a golden crunch finish
Instructions
Simple milk bread for beginners – If baking bread has felt intimidating, this is a gentle place to start
- Warm the milk. Heat the milk gently until it’s warm to the touch but not hot. If it feels like a warm bath, you’re there. Too hot will weaken the yeast.
- Mix the dry ingredients. In a large bowl, whisk together the flour, sugar, salt, and instant yeast. Keep the salt and yeast evenly dispersed.
- Add the wet ingredients. Make a well, add the warm milk and egg, and stir with a spoon until a shaggy dough forms. It should look rough and a bit sticky.
- Knead and add butter. Turn the dough onto a lightly floured surface. Knead for 3–4 minutes, then add the softened butter and continue kneading. The dough will look slippery at first, then come together. Knead 6–8 more minutes until smooth, elastic, and slightly tacky. It should stretch without tearing.
- First rise. Place the dough in a lightly oiled bowl, turning to coat. Cover and let it rise in a warm spot until doubled, about 60–90 minutes. A gentle finger press should leave a slow spring-back dent.
- Shape the loaf. Turn the dough out and gently press it into a rectangle about 8×12 inches. Roll it up tightly from the short side into a log, pinching the seam closed. Tuck the ends under for a neat shape.
- Second rise. Place the log seam-side down in a greased 8.5×4.5-inch or 9×5-inch loaf pan. Cover and let rise until the dough crowns about 1 inch over the rim, 45–60 minutes.
- Preheat and finish. Heat the oven to 350°F (175°C). Brush the top with milk for a soft, golden crust. For a shinier finish, brush with beaten egg instead.
- Bake. Bake for 28–35 minutes until the top is deep golden brown and the loaf sounds hollow when tapped. An internal temperature of about 190–195°F (88–90°C) means it’s done.
- Cool properly. Remove from the pan after 5 minutes and cool on a rack for at least 45 minutes. Slicing too soon can squash the crumb.
Keeping It Fresh
Let the bread cool completely before storing. Keep it in a bread box or a sealed bag at room temperature for up to three days. Avoid the fridge—it dries the crumb quickly. For longer storage, slice and freeze. Reheat slices in a toaster or warm the whole loaf in a low oven wrapped in foil.
Health Benefits
- Protein and calcium: Milk and egg add nutrients that support bone health and muscle repair.
- Less processed than store-bought: You control the ingredients and can limit additives or excess sugar.
- Portion-friendly: Homemade slices can be cut thinner or thicker based on your needs.
- Energy source: Carbs from the flour provide steady fuel, especially paired with protein and fat.
Pitfalls to Watch Out For
- Overheating the milk: Milk that’s too hot can kill yeast. Keep it warm, not steaming.
- Under-kneading: If the dough tears easily when stretched, knead a few more minutes for better structure.
- Adding too much flour: The dough should be slightly tacky. Dust lightly, but don’t chase a dry dough.
- Rushing the rises: Time is a guideline; volume is the cue. Wait for the dough to double, not just for the clock.
- Slicing while hot: The crumb sets as it cools. Cutting early leads to a gummy texture.
Alternatives
- Dairy-free: Use oat or soy milk and plant-based butter. Choose a richer plant milk for the best softness.
- Without egg: Replace the egg with 3 tablespoons milk plus 1 tablespoon neutral oil. The loaf will still be soft.
- Whole wheat swap: Use up to 40% whole wheat flour. Add 1–2 tablespoons extra milk if the dough feels stiff.
- Sweet breakfast version: Add 1 teaspoon vanilla and 1/2 teaspoon cinnamon. Sprinkle sugar on top after the milk wash.
- Pull-apart rolls: Divide into 12 balls, place in a greased 9×13 pan, and bake 18–22 minutes.
FAQ
Can I use active dry yeast instead of instant?
Yes. Use the same amount, but proof it first: mix the yeast with the warm milk and sugar and let it sit 5–10 minutes until foamy. Then proceed with the recipe.
How do I know I’ve kneaded enough?
The dough should feel smooth, springy, and slightly tacky. If you gently stretch a small piece, it should form a thin, translucent window without tearing quickly. That’s a good sign of gluten development, which is key for a soft whole wheat bread.
My dough isn’t rising. What went wrong?
Check the milk temperature and yeast freshness. A cold kitchen can slow things down—give it more time or place the bowl somewhere warmer, like near a sunny window or in an oven with the light on.
Can I mix this in a stand mixer?
Absolutely. Use a dough hook on low to medium-low speed for 8–10 minutes, adding the butter once the dough comes together. Stop when the dough is smooth and elastic.
What kind of pan works best?
A standard metal loaf pan (8.5×4.5 or 9×5 inches) gives the best shape and browning. Glass works, but you may need a couple more minutes of baking time.
How can I get an extra soft crust?
Brush the hot loaf with melted butter right after baking, then cover it loosely with a clean kitchen towel while it cools. This traps steam and softens the crust.
Can I make the dough ahead?
Yes. After the first rise, shape the loaf, cover, and refrigerate overnight. Let it sit at room temperature until puffy, then bake as directed.
Why is my bread dense?
Common causes are not letting the dough rise enough, using too much flour, or under-kneading. Aim for a tacky dough, complete rises, and proper kneading time.
How sweet is this bread?
It’s lightly sweet. If you prefer a sweeter loaf, increase the sugar to 3–4 tablespoons. For a more neutral sandwich bread, reduce to 1 tablespoon.
Can I add fillings?
Yes. After the first rise, roll the dough into a rectangle and add a thin layer of jam, chocolate chips, or cinnamon sugar. Roll it up, pinch to seal, and proceed with the second rise.
Wrapping Up
This simple milk bread is designed to build confidence. The ingredients are basic, the method is reliable, and the payoff is a soft, golden loaf that tastes like comfort. Once you’ve baked it once or twice, you’ll know the feel of the dough and the timing of your kitchen. From there, you can tweak it, sweeten it, or shape it into rolls. Start simple, trust the process, and enjoy every warm slice.
Printable Recipe Card
Want just the essential recipe details without scrolling through the article? Get our printable recipe card with just the ingredients and instructions.