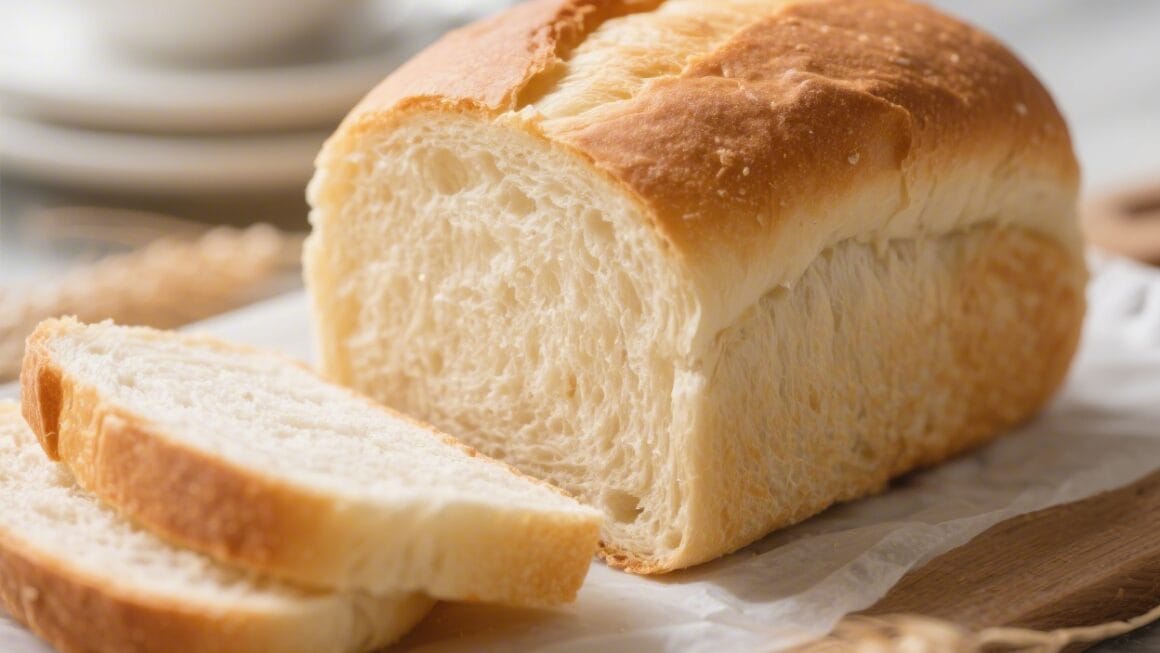
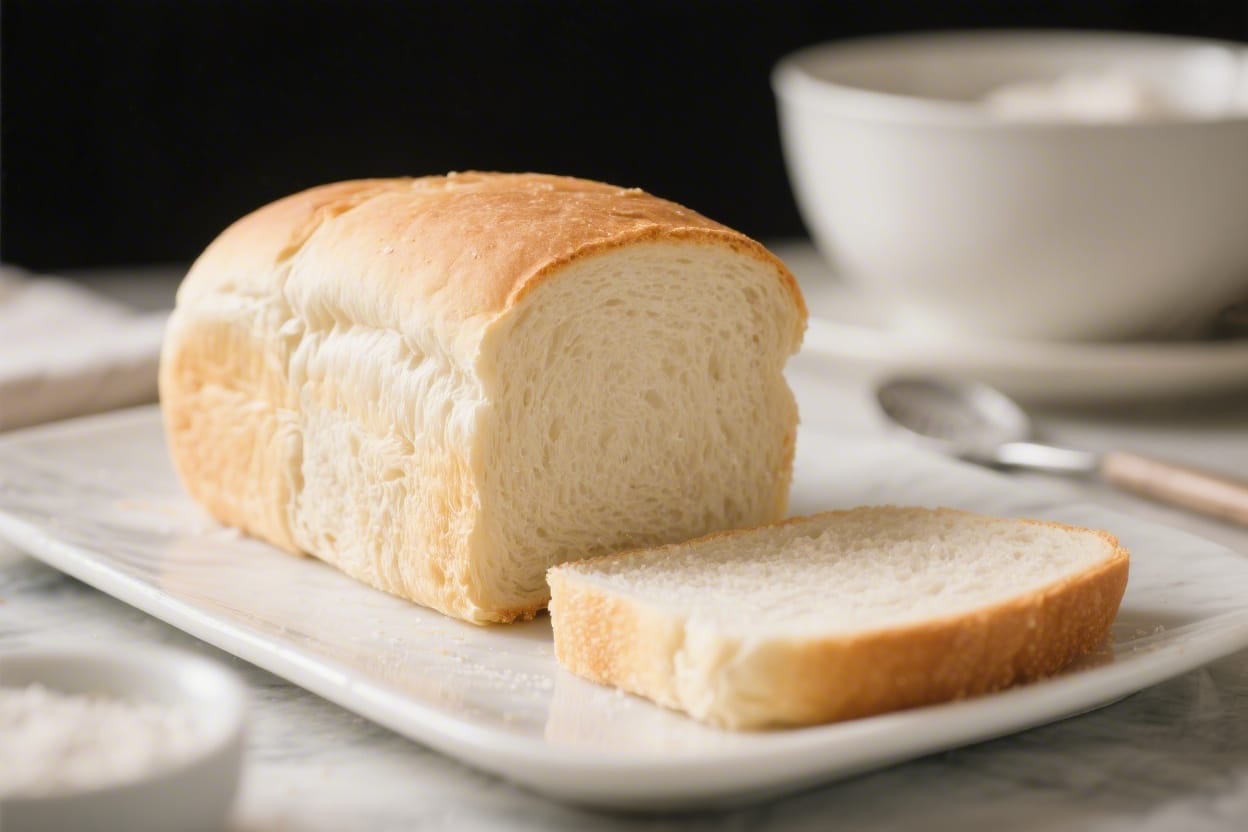
Beginner Friendly White Bread Recipe – Simple, Soft, and Reliable

If you’ve always wanted to bake bread but felt intimidated, this is the place to start. This beginner friendly white bread recipe is straightforward, forgiving, and gives you that soft, classic loaf you can slice for sandwiches or toast. No special tools are required—just a bowl, a spoon, and a loaf pan. You’ll learn the feel of good dough and gain the confidence to bake again and again. By the time it cools, your kitchen will smell amazing and you’ll have a loaf you’re proud to share.
What Makes This Special

Beginner friendly white bread recipe – Beginner Friendly White Bread Recipe – Simple, Soft, and Reliable If you’ve always wanted to bake br
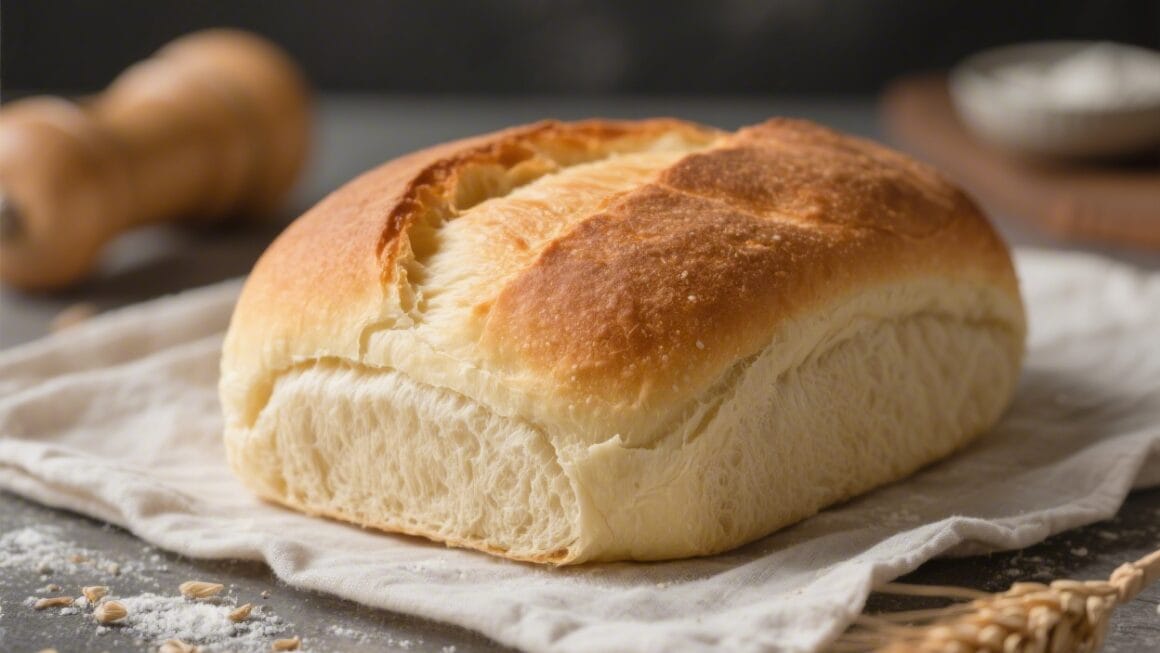
This bread is designed for first-time bakers. The steps are simple, the dough is easy to handle, and the ingredients are everyday pantry staples. It rises reliably, bakes evenly, and delivers a soft crumb with a light golden crust. You don’t need a mixer, a stone, or fancy technique. Just a bit of patience and a warm spot for the dough to rise.
Ingredients
Beginner friendly white bread recipe – This beginner friendly white bread recipe is straightforward, forgiving, and gives you that soft, cl
- 3 1/2 to 4 cups (420–480 g) all-purpose flour (start with 3 1/2 cups, add more as needed)
- 1 cup (240 ml) warm water (about 105–115°F / 40–46°C)
- 1/2 cup (120 ml) warm milk (dairy or unsweetened non-dairy)
- 2 1/4 teaspoons (7 g) instant or active dry yeast (one packet)
- 2 tablespoons (25 g) granulated sugar
- 1 1/2 teaspoons (9 g) fine salt
- 3 tablespoons (42 g) unsalted butter, melted and slightly cooled (or neutral oil)
- Optional: 1 tablespoon (15 g) butter for brushing the top after baking
Instructions

Beginner friendly white bread recipe – No special tools are required—just a bowl, a spoon, and a loaf pan
- Proof the yeast (if using active dry): In a large bowl, combine the warm water, warm milk, and sugar. Sprinkle the yeast over the top and let it sit for 5–10 minutes until foamy. If using instant yeast, you can skip proofing and add it with the flour; still mix the liquids with sugar to dissolve.
- Make the dough: Add 3 1/2 cups of flour, the salt, and melted butter to the bowl. Stir with a sturdy spoon until a shaggy dough forms and most of the flour is incorporated. If it’s very sticky, add more flour 1 tablespoon at a time.
- Knead until smooth: Turn the dough onto a lightly floured surface. Knead for 7–10 minutes by hand (or 5–6 minutes in a mixer on low), adding just enough flour to keep it from sticking. The dough should become smooth, elastic, and slightly tacky but not gluey.
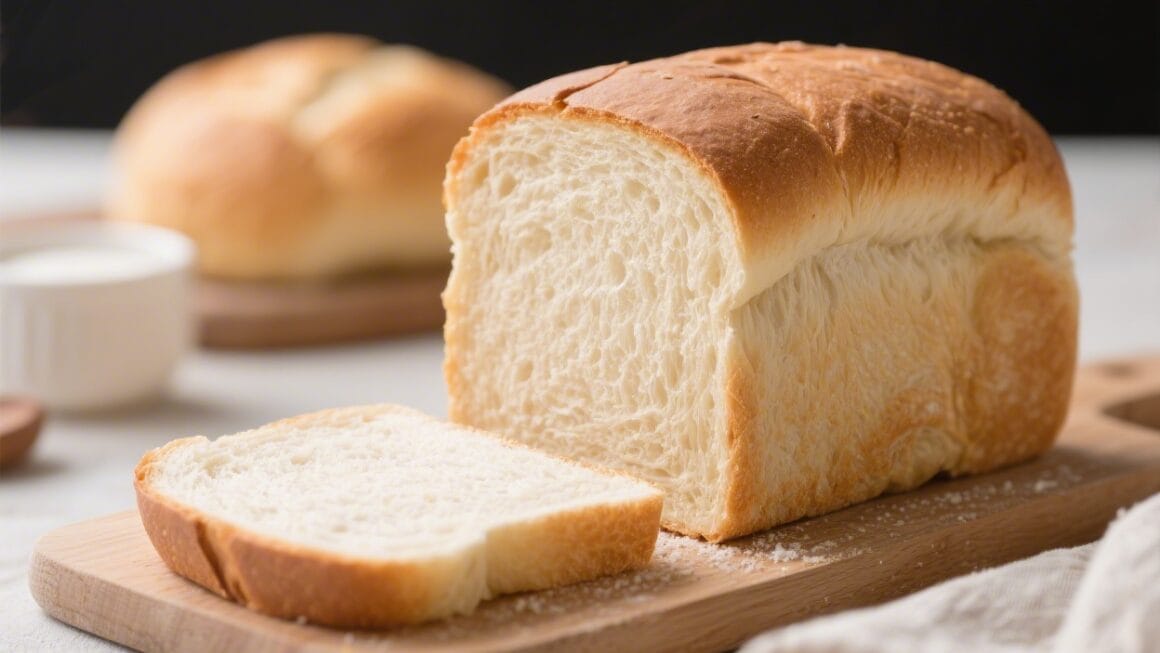
- First rise: Shape the dough into a ball and place it in a lightly oiled bowl, turning once to coat. Cover with a clean towel or plastic wrap. Let it rise in a warm, draft-free spot until doubled in size, about 60–90 minutes. A gentle finger poke should leave a slow, slight dent.
- Shape the loaf: Gently deflate the dough and turn it out onto the counter. Pat it into a rectangle about 8×12 inches. Tightly roll it up from the short end, pinch the seam, and tuck the ends under to create surface tension.
- Second rise: Place the loaf seam-side down in a greased 8.5×4.5-inch or 9×5-inch loaf pan. Cover and let it rise until the dome crowns about 1 inch above the rim, 30–60 minutes. Near the end of this rise, preheat the oven to 350°F (175°C).
- Bake: Bake for 30–35 minutes, until the top is golden and the loaf sounds hollow when tapped. An instant-read thermometer inserted in the center should read about 195–200°F (90–93°C).
- Finish: Remove from the pan and cool on a rack. For a softer crust, brush the hot loaf with melted butter. Let it cool at least 45 minutes before slicing so the crumb sets.
Storage Instructions
- Room temperature: Keep the loaf in a bread box, paper bag lined with plastic, or wrapped in a clean towel inside a loose plastic bag. It stays fresh for 2–3 days.
- Freezing: Slice the cooled loaf, wrap tightly in plastic or foil, then place in a freezer bag. Freeze for up to 2 months. Toast slices straight from the freezer.
- Avoid the fridge: Refrigeration dries bread out faster. Room temp or freezer is best.
Why This is Good for You
Homemade bread gives you control over ingredients—no unnecessary additives or preservatives. You can adjust the salt, switch the fat, or add whole grains later as you gain confidence. Making bread also builds practical kitchen skills: measuring, kneading, and understanding fermentation. Plus, there’s something grounding and satisfying about turning simple ingredients into real food you can share.
What Not to Do
- Don’t overheat the liquids. Water or milk hotter than 120°F can kill yeast. Aim for warm, not hot.
- Don’t add too much flour. Sticky dough is normal at first. Add flour gradually so the loaf stays tender.
- Don’t rush the rises. If the dough hasn’t doubled, give it more time. Rise times vary with room temperature.
- Don’t slice while hot. Cutting too soon compresses the crumb and makes slices gummy.
- Don’t skip the salt. It controls yeast activity and boosts flavor. Without it, the loaf can taste flat and rise too fast.
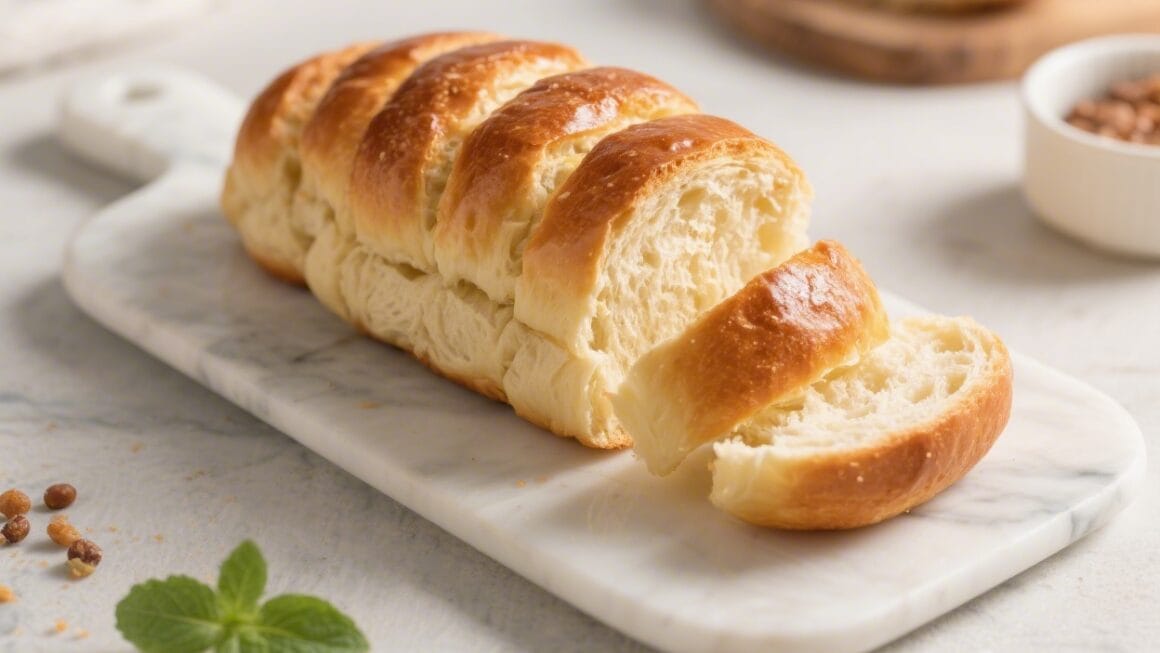
Variations You Can Try
- Honey White Bread: Replace the sugar with 2 tablespoons honey. Adds gentle sweetness and a softer crumb.
- Milk Bread-Style Softness: Use all milk (1 1/2 cups total liquid) and add 2 tablespoons milk powder for extra tenderness.
- Garlic Butter Swirl: Before shaping, spread 2 tablespoons softened butter mixed with 1 minced garlic clove and a pinch of parsley over the rectangle. Roll and bake.
- Sesame or Poppy Seed Top: Brush the shaped loaf with a little milk before the second rise and sprinkle seeds for crunch.
- Part Whole Wheat: Swap 1 cup of the white flour for whole wheat. You may need an extra tablespoon or two of liquid.
FAQ
Can I make this without a stand mixer?
Yes. This dough is easy to knead by hand. Use a bench scraper to help lift and fold the dough if it’s sticky, and dust lightly with flour as needed.
What if my dough isn’t rising?
First, check your yeast freshness. Then, check the temperature—aim for a warm spot around 75–85°F. If your kitchen is cool, try the oven with the light on or set the bowl near but not on top of a warm appliance.
Can I use bread flour instead of all-purpose?
Absolutely. Bread flour will give a bit more chew and structure. You may need a tablespoon or two more liquid, since bread flour absorbs slightly more.
How do I know when I’ve kneaded enough?
The dough should feel smooth and elastic. When you gently stretch a small piece, it should thin without tearing right away (a simple “windowpane” test). If it rips immediately, knead a few minutes longer.
Why is my crust too hard?
Overbaking or a dry oven can cause a tough crust. Bake until just golden and at temperature, and brush with butter after baking for a softer finish. Storing in a bag or wrapped towel after cooling also keeps it tender.
Can I double the recipe?
Yes, but use two loaf pans and watch rise times closely. Larger batches can ferment a bit faster due to dough temperature. Don’t crowd both pans tightly in the oven—leave space for even heat.
What pan size should I use?
An 8.5×4.5-inch pan gives a taller loaf with a nice dome. A 9×5-inch pan works too and yields a slightly wider, shorter slice. Adjust bake time by a few minutes if needed.
Is there a dairy-free option?
Use warm water in place of milk and swap butter for neutral oil. The loaf will still be soft and flavorful.
In Conclusion
This beginner friendly white bread recipe keeps things simple while delivering a soft, dependable loaf. With a warm rise, gentle kneading, and a watchful bake, you’ll get bakery-worthy results at home. Once you’ve made it once or twice, tweak it to fit your taste—sweeter, seed-topped, or partly whole grain. Keep it easy, trust the process, and enjoy every slice warm with butter or toasted for breakfast tomorrow.
Printable Recipe Card
Want just the essential recipe details without scrolling through the article? Get our printable recipe card with just the ingredients and instructions.