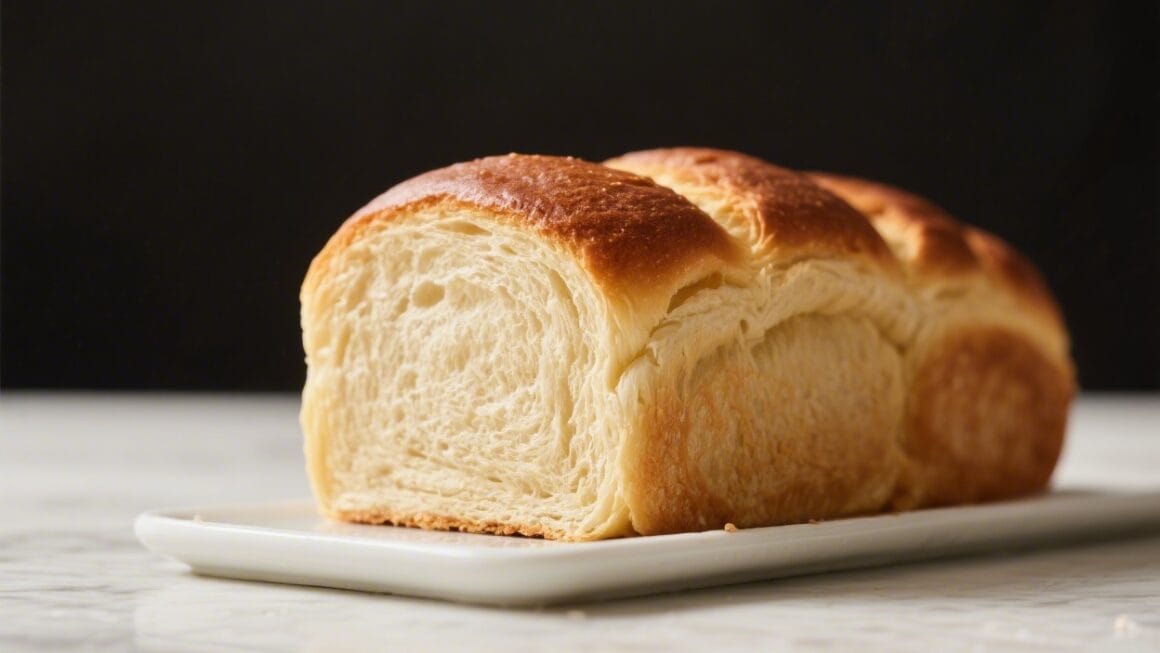
Easy White Sandwich Bread Recipe – Soft, Reliable, and Perfect for Everyday
There’s something special about a fresh loaf of white sandwich bread cooling on your counter. It smells warm and buttery, slices like a dream, and makes even the simplest toast feel like a treat. This recipe is simple enough for beginners and reliable enough for weekly baking. The dough comes together quickly, rises well, and bakes into a soft, tender crumb with a lightly golden crust. If you’ve ever wanted a go-to sandwich bread that actually tastes like something, this is it.
What Makes This Recipe So Good
Easy white sandwich bread recipe – Easy White Sandwich Bread Recipe – Soft, Reliable, and Perfect for Everyday There’s something specia
- Beginner-friendly method: The steps are straightforward, and the dough is forgiving.
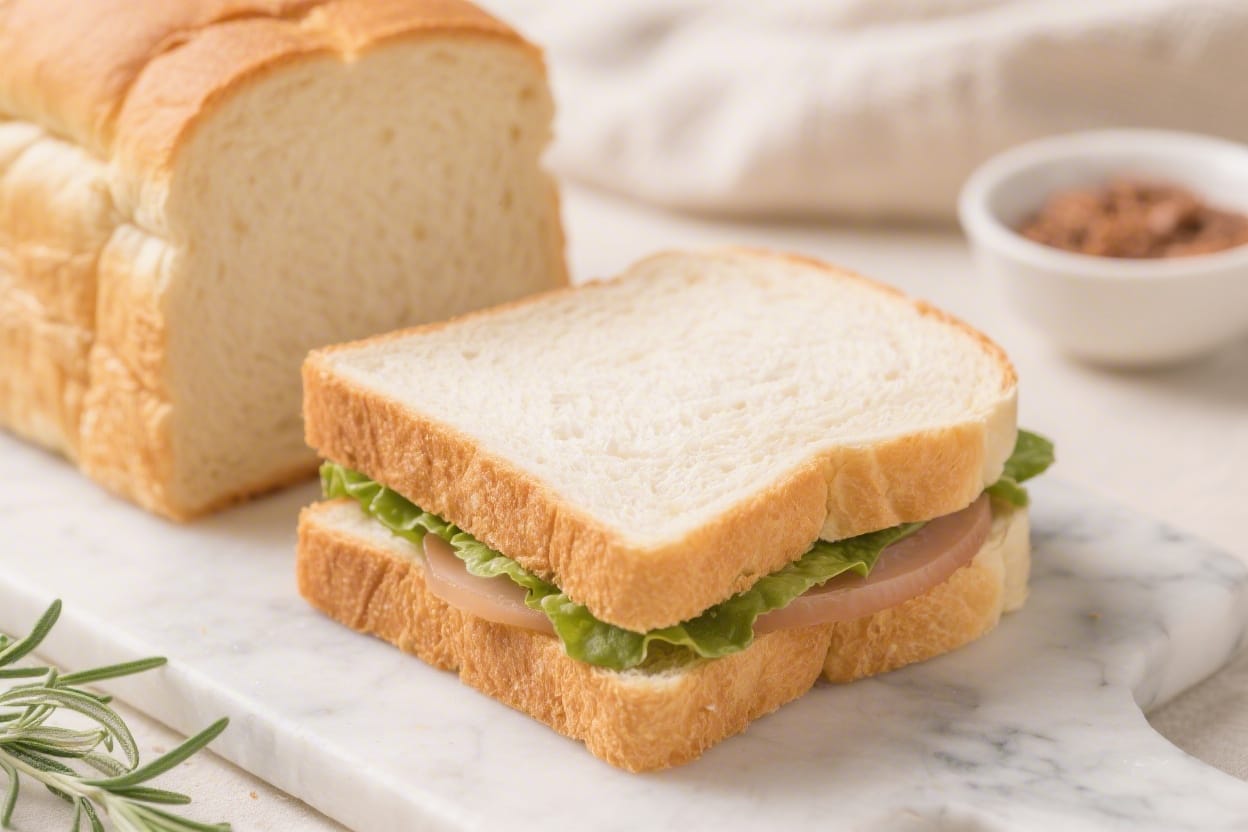
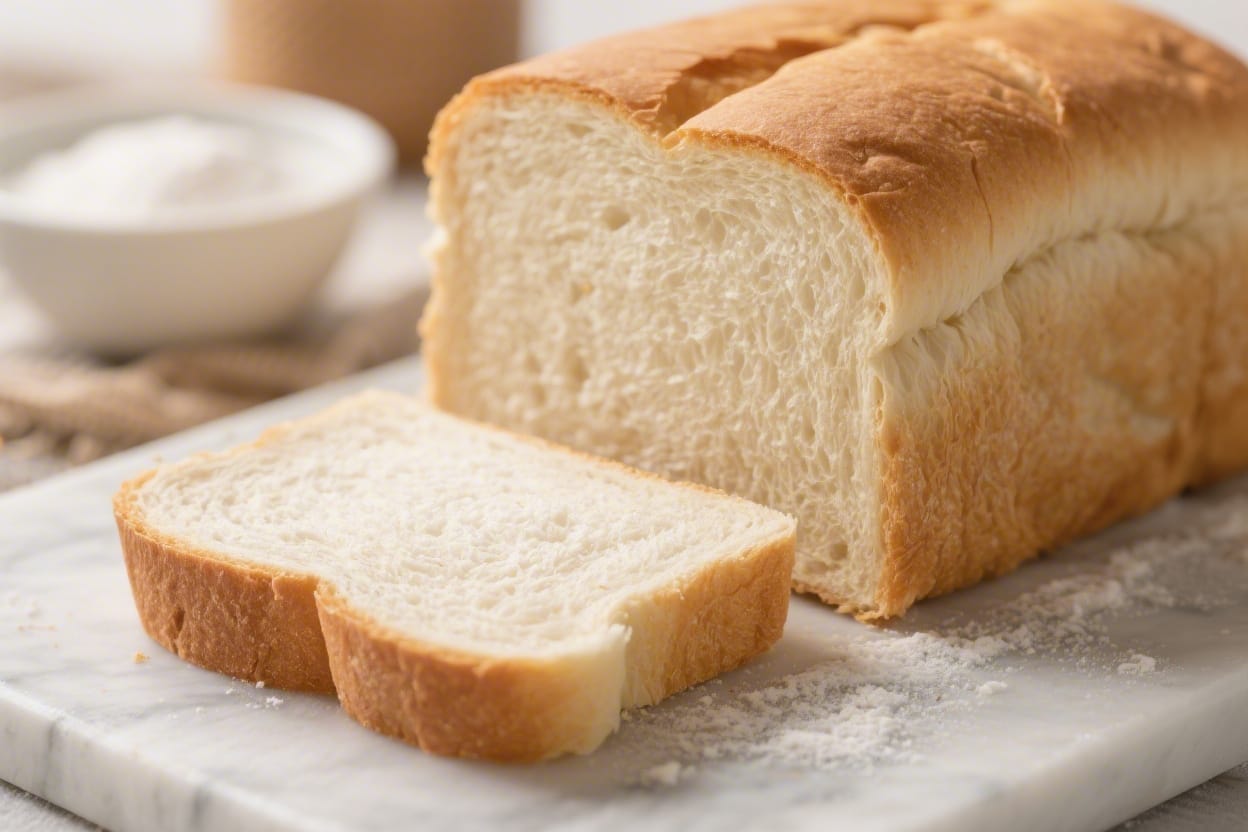
- Soft, sliceable texture: Ideal for sandwiches, toast, and grilled cheese without crumbling.
- Everyday pantry ingredients: Flour, yeast, milk, butter, sugar, and salt—nothing fancy.
- Reliable rise: A touch of sugar and warm milk help the yeast work quickly and consistently.
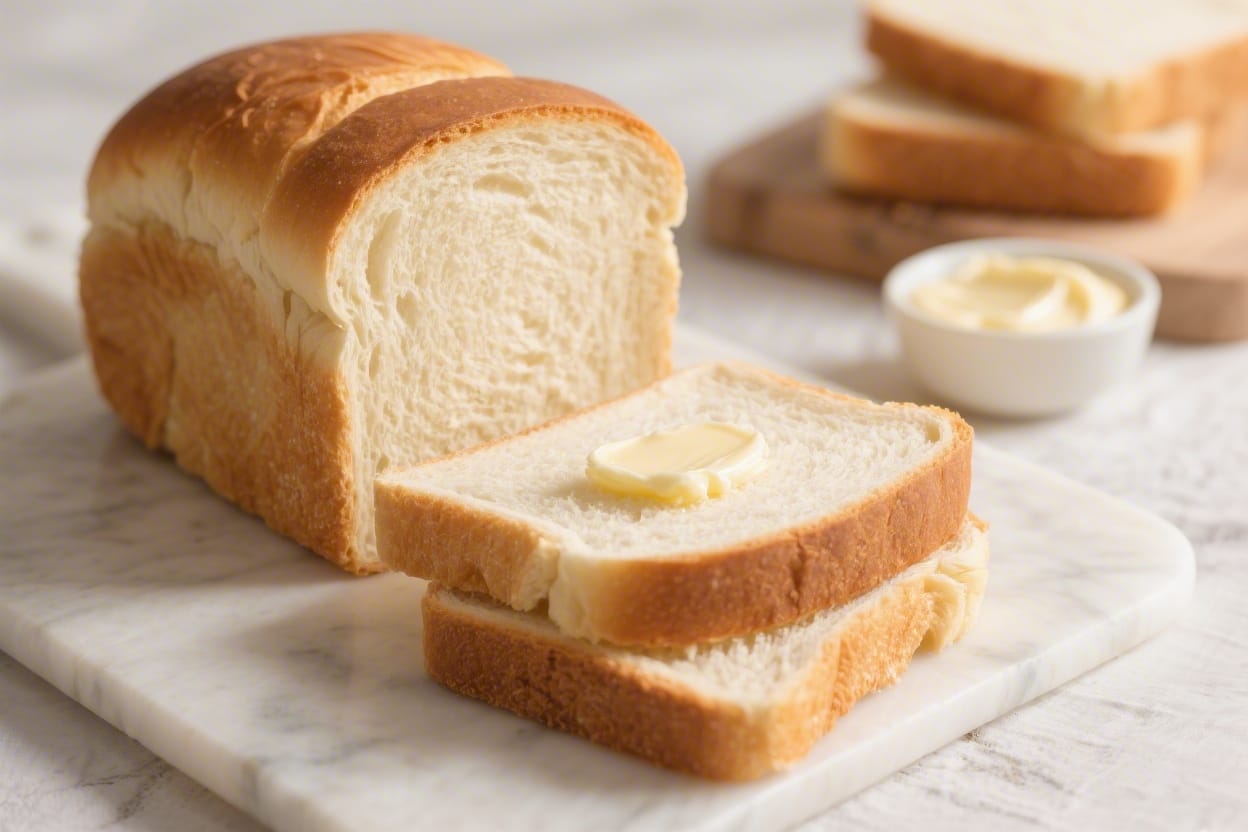
- Stays fresh: The milk-and-butter combo keeps the loaf tender for days.
Ingredients
Easy white sandwich bread recipe – It smells warm and buttery, slices like a dream, and makes even the simplest toast feel like a treat
- 3 1/2 to 4 cups (420–480 g) bread flour or all-purpose flour, plus more for dusting
- 1 cup (240 ml) warm milk, about 105–110°F (40–43°C)
- 1/2 cup (120 ml) warm water, about 105–110°F (40–43°C)
- 2 1/4 teaspoons (1 packet, 7 g) active dry yeast or instant yeast
- 3 tablespoons (38 g) granulated sugar
- 2 tablespoons (28 g) unsalted butter, melted and slightly cooled (plus more for greasing and brushing)
- 1 1/2 teaspoons fine salt
- Neutral oil or butter for the bowl and pan
Instructions
Easy white sandwich bread recipe – This recipe is simple enough for beginners and reliable enough for weekly baking
- Proof the yeast (if using active dry): In a large bowl, mix the warm water, warm milk, and sugar. Sprinkle the yeast over the top and let it stand for 5–10 minutes, until foamy. If using instant yeast, skip the wait and proceed after mixing it into the flour in step 2.
- Combine dry ingredients: In a separate bowl, whisk 3 1/2 cups of flour with the salt. If using instant yeast, whisk it in now. This helps distribute everything evenly.
- Make the dough: Add the melted butter to the wet mixture. Stir in the flour mixture, one cup at a time, until a shaggy dough forms. If it’s very sticky, add more flour a tablespoon at a time. The dough should feel soft and slightly tacky, not wet.
- Knead until smooth: Turn the dough onto a lightly floured surface and knead for 8–10 minutes, or use a stand mixer with a dough hook for 6–8 minutes on medium-low. You want a smooth, elastic dough that springs back when gently pressed.
- First rise: Lightly oil a clean bowl. Place the dough inside, turning once to coat. Cover with a damp towel or plastic wrap and let it rise in a warm spot for 60–90 minutes, or until doubled in size. A slightly warm oven (off) or a sunny counter works well.
- Shape the loaf: Punch down the dough to release air. Turn it out onto the counter and press it into a rectangle about 8×12 inches. Tightly roll it up from the short side into a log, pinching the seam closed. Tuck the ends under for a clean shape.
- Prepare the pan: Grease a 9×5-inch (23×13 cm) loaf pan with butter or oil. Place the dough seam-side down in the pan.
- Second rise: Cover the pan lightly and let the dough rise until it crowns about 1 inch above the rim, 35–60 minutes depending on room temperature. The dough should look puffy and spring back slowly when gently poked.
- Preheat and bake: Preheat the oven to 350°F (175°C). Bake the loaf for 30–35 minutes, until the top is golden and the internal temperature reaches about 195–200°F (90–93°C). If the top browns too quickly, tent it loosely with foil for the last 10 minutes.
- Finish and cool: Remove from the oven and immediately brush the top with a little melted butter for a soft crust. Let the loaf rest in the pan for 10 minutes, then turn it out onto a rack to cool completely before slicing.
Keeping It Fresh
Cool completely before storing to prevent condensation and soggy crust. Store at room temperature in a bread box, paper bag lined with plastic, or a reusable bread bag for up to 4 days. Avoid refrigerating; it dries the crumb faster.
For longer storage, slice and freeze. Wrap tightly and freeze for up to 2 months. Toast slices straight from the freezer or let them sit out for a few minutes before making sandwiches.
Benefits of This Recipe
- Budget-friendly: Costs far less than store-bought artisan loaves.
- Customizable: Adjust sweetness, richness, and texture to your taste.
- No special tools required: A bowl, spoon, and loaf pan are enough.
- Better flavor and texture: Fresh-baked bread has a gentle sweetness and soft crumb you can’t beat.
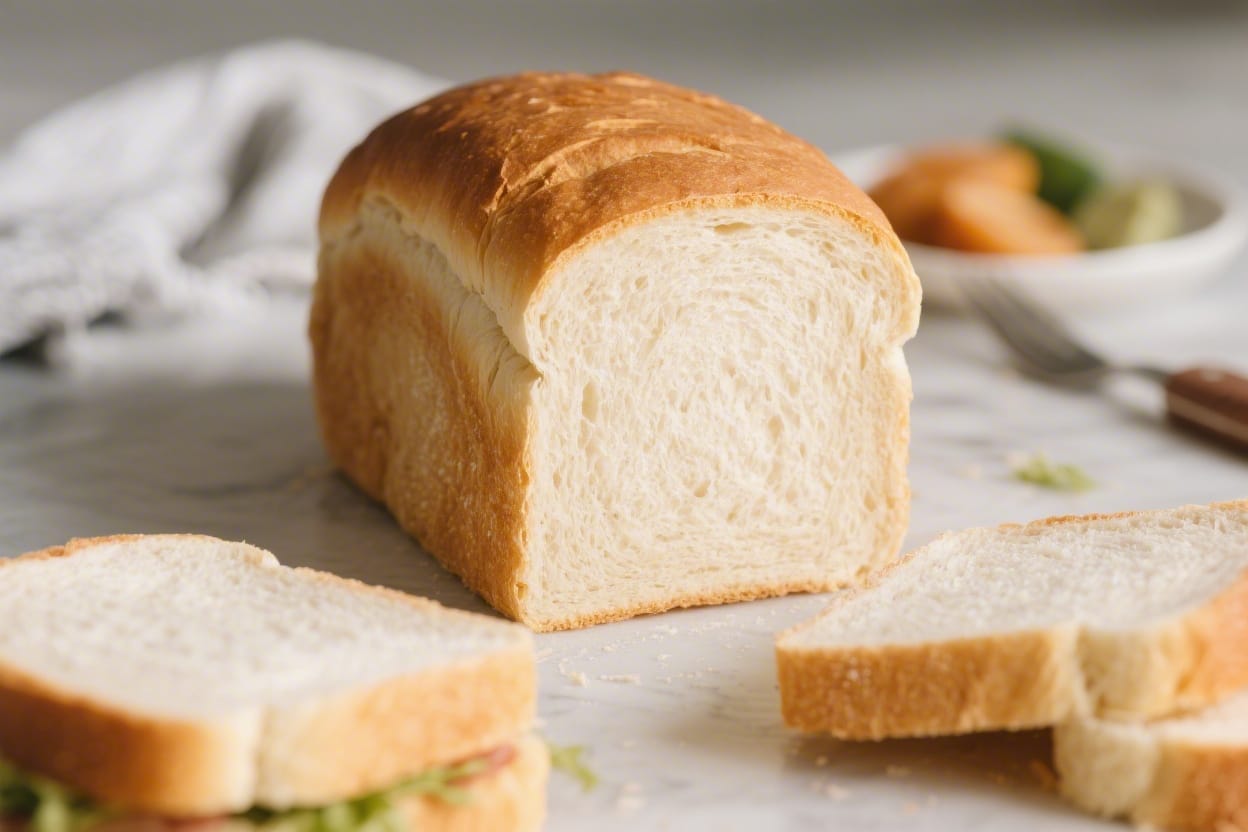
- Great for meal prep: Makes consistent slices for lunches all week.
Common Mistakes to Avoid
- Water or milk too hot: Liquids above 120°F can kill yeast. Aim for warm, not hot.
- Adding too much flour: The dough should be slightly tacky. Over-flouring makes a dense loaf.
- Under-kneading: You need enough gluten development for structure. Look for a smooth, elastic dough.
- Rushing the rise: If it hasn’t doubled, wait. Time varies with temperature and yeast activity.
- Slicing while warm: Tempting, but it compresses the crumb. Let it cool for clean slices.
Variations You Can Try
- Honey bread: Swap the sugar for 3 tablespoons of honey. Adds moisture and a mild floral sweetness.
- Milk-only loaf: Replace the water with more milk for an extra tender crumb.
- Egg-enriched: Add 1 beaten egg with the wet ingredients, and reduce the water by 2 tablespoons for a richer loaf.
- Sesame or poppy seed top: Brush with milk or egg wash before baking, then sprinkle on seeds.
- Herb and garlic: Add 1–2 teaspoons dried herbs and 1 teaspoon garlic powder to the flour for a savory twist.
- Part whole wheat: Replace 1 cup of white flour with whole wheat. Add 1–2 extra tablespoons of water if needed.
FAQ
Can I use all-purpose flour instead of bread flour?
Yes. Bread flour gives a chewier, slightly higher loaf thanks to more protein, but all-purpose flour works well and still yields a soft, tender crumb.
How do I know when the dough has been kneaded enough?
It should feel smooth and elastic, and it will slowly spring back when pressed. You can also do a quick windowpane test: stretch a small piece—if it pulls thin without tearing right away, you’re good.
My dough isn’t rising. What went wrong?
Check your yeast freshness, make sure your liquids weren’t too hot, and give it more time if your kitchen is cool. A warm, draft-free spot helps. If nothing happens after 90 minutes, the yeast may be inactive.
Can I make this without dairy?
Yes. Use warm water or a neutral plant milk and swap the butter for a neutral oil. The loaf will still be soft, though slightly less rich.
Do I need a stand mixer?
No. Hand-kneading works perfectly. A stand mixer saves effort, but the results are the same if you knead until smooth and elastic.
How do I get a softer crust?
Brush the top with melted butter right after baking and store the cooled loaf in a closed container. Steam from the bread will naturally soften the crust.
Can I double the recipe?
Yes. Make two loaves in separate pans. Kneading and rising times are roughly the same, but baking may vary by a couple minutes depending on your oven.
Final Thoughts
This easy white sandwich bread recipe is the kind you’ll make once and then keep in rotation. The dough is simple, the rise is dependable, and the result is a soft, sliceable loaf that makes everyday meals better. Whether you’re building a BLT, buttering toast, or sending sandwiches to school, this bread delivers. Once you’ve nailed the base, tweak it to suit your taste and make it truly your own.
Printable Recipe Card
Want just the essential recipe details without scrolling through the article? Get our printable recipe card with just the ingredients and instructions.