Beginner Gluten Free Bread – Simple, Reliable, and Delicious
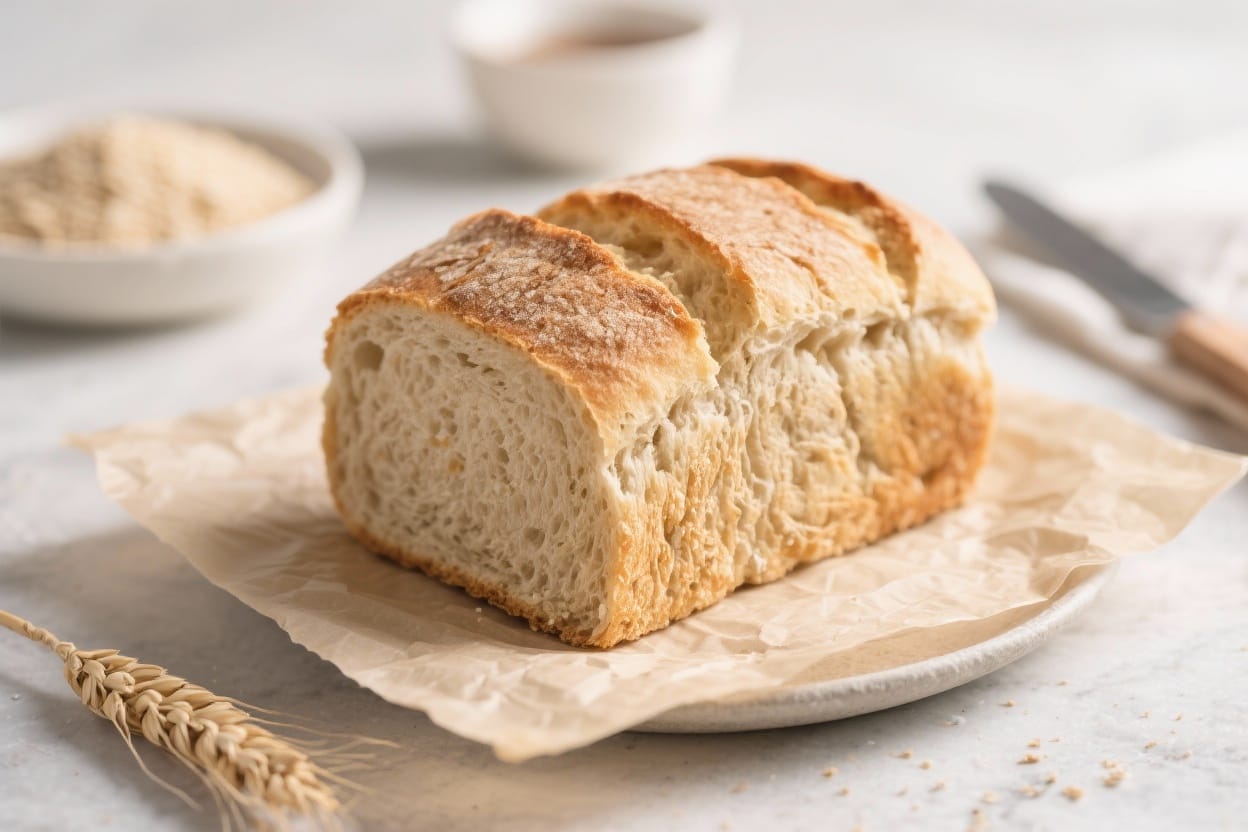
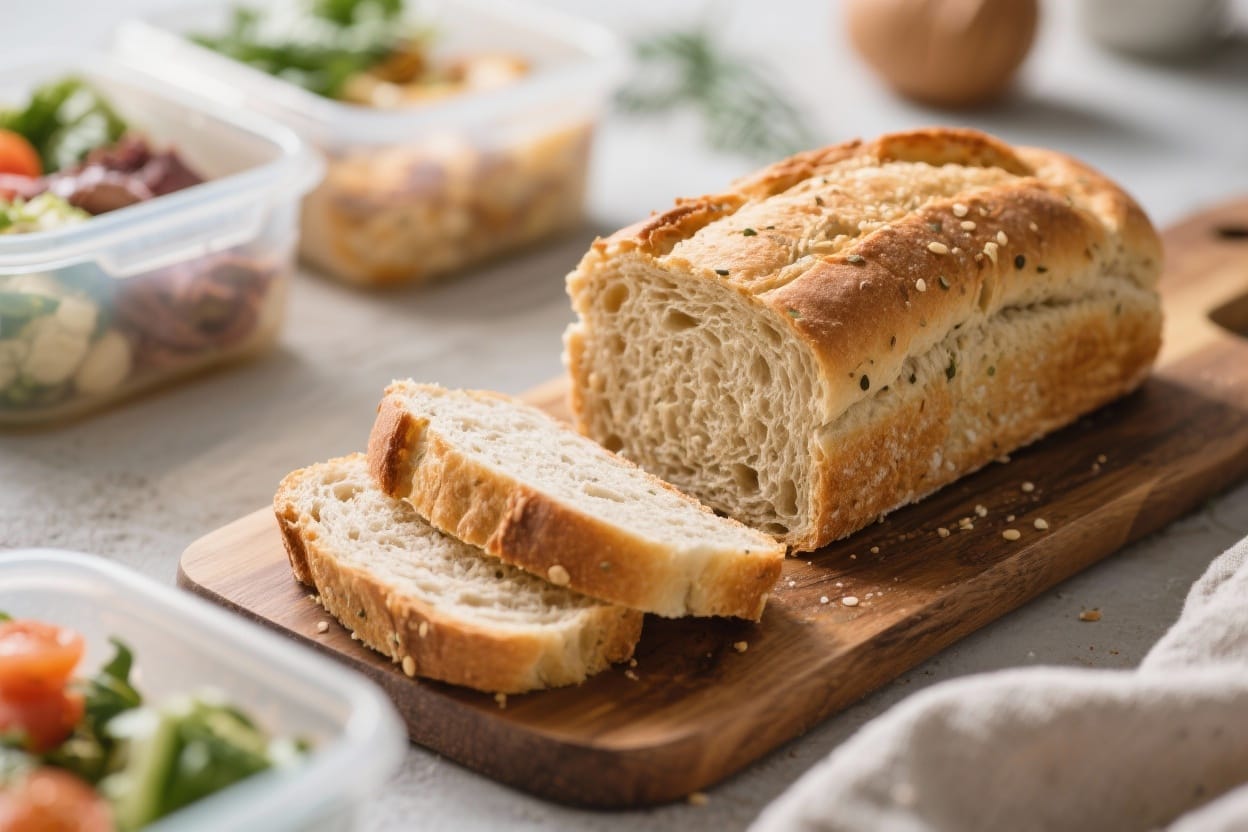
If you’re new to gluten free baking, this bread is a great place to start. It’s straightforward, forgiving, and uses easy-to-find ingredients. You’ll get a soft, sliceable loaf with a tender crumb and a golden crust—perfect for toast, sandwiches, or just warm with butter. No tricky techniques or specialty equipment required. Just follow the steps, and you’ll have a loaf you can be proud of.
What Makes This Recipe So Good

Beginner gluten free bread – Beginner Gluten Free Bread – Simple, Reliable, and Delicious If you’re new to gluten free baking, th
- Beginner-friendly: The method is simple and doesn’t require shaping or kneading like wheat bread.
- Soft and sliceable: The crumb stays moist and tender instead of turning dense or crumbly.
- Pantry ingredients: Uses gluten free all-purpose flour, eggs, milk (or a dairy-free alternative), and yeast—no complicated blends.
- Versatile: Good for toast, sandwiches, or breadcrumbs. Holds up well once cooled.
- Reliable rise: Psyllium husk or xanthan gum helps support structure so it doesn’t collapse.
Ingredients
- 3 cups (360 g) gluten free all-purpose flour blend with xanthan gum (see note below)
- 2 1/4 teaspoons (7 g) instant yeast (one packet)
- 1 1/2 teaspoons fine sea salt
- 2 tablespoons granulated sugar or honey
- 1 teaspoon baking powder
- 1 tablespoon psyllium husk powder or 1 1/2 teaspoons xanthan gum (skip if your flour blend already includes it)
- 1 1/2 cups (360 ml) warm milk or unsweetened plant milk (about 110°F/43°C)
- 2 large eggs, room temperature
- 1/4 cup (60 ml) neutral oil or melted butter
- 1 teaspoon apple cider vinegar or lemon juice
- Optional: 1–2 tablespoons olive oil for brushing the top
Note: Gluten free flour blends vary widely. A blend with rice flour, starches (like tapioca or potato), and xanthan gum works best. If your blend already contains xanthan gum, reduce or omit additional binders.
Instructions
- Prep the pan and oven: Grease a 9×5-inch loaf pan and line it with parchment for easy removal. Warm your oven to 200°F (93°C), then turn it off. This creates a cozy spot for the dough to rise later.
- Mix dry ingredients: In a large bowl, whisk together the gluten free flour, yeast, salt, sugar, baking powder, and psyllium or xanthan (if using). Make sure everything is evenly combined.
- Combine wet ingredients: In a medium bowl or large measuring cup, whisk the warm milk, eggs, oil, and vinegar until smooth.
- Make the batter-dough: Pour wet ingredients into the dry. Use a sturdy spatula or a stand mixer with a paddle attachment to mix until no dry patches remain. The mixture will be like thick cake batter—spreadable, not kneadable.
- Rest briefly: Let the batter sit for 5 minutes. This allows the flour and binders to hydrate for a better texture.
- Pan and smooth: Scrape the batter into the prepared loaf pan. Smooth the top with a wet spatula. If you like, brush with olive oil for a softer crust.
- First rise: Place the pan in the warm (now off) oven or a warm spot in your kitchen. Let rise until the dough domes about 1 inch above the rim, 30–45 minutes depending on room temperature. Don’t overproof; gluten free dough can collapse if it rises too much.
- Preheat and bake: Remove the pan from the oven. Preheat to 350°F (175°C). Bake the loaf for 45–55 minutes until the top is golden and the internal temperature reaches 205–210°F (96–99°C). If the top browns too fast, tent with foil.
- Cool in pan, then on rack: Let the loaf cool in the pan for 10 minutes. Lift it out and cool completely on a wire rack—at least 1 hour—before slicing. This helps the crumb set so it doesn’t gum up.
- Slice and serve: Use a serrated knife to cut even slices. Toast if you like a bit of crunch.
Storage Instructions
- Room temperature:Store sliced bread in an airtight container for up to 2 days. Add a paper towel to absorb moisture.
- Refrigerator:Not ideal; it can dry the crumb. If you must, toast before serving.
- Freezer:Slice, wrap tightly, and freeze up to 2 months. Toast straight from frozen or thaw at room temperature.
- Refresh:A quick toast or 5–7 minutes in a 325°F (165°C) oven revives day-old slices of fluffy brioche bread loaf.
Benefits of This Recipe
- Confidence-building: Clear steps and a forgiving batter help you learn gluten free bread basics.
- Balanced texture: Soft crumb, moderate moisture, and a crust that isn’t tough.
- Flexible ingredients: Works with dairy or non-dairy milk and different neutral oils.
- Cost-effective: Cheaper than store-bought gluten free loaves with a fresher taste.
- Meal-friendly: Sturdy enough for sandwiches once fully cooled.
Common Mistakes to Avoid
- Using the wrong flour blend: Not all blends behave the same. Avoid pure almond, coconut, or single-flour blends in this recipe. Use a balanced, commercial gluten free all-purpose blend.
- Overproofing: Letting the dough rise too long can cause collapse. Bake when it’s about 1 inch over the rim.
- Skipping binders: If your flour blend lacks xanthan gum, add xanthan or psyllium for structure. Without it, the bread will crumble.
- Cutting too soon: Slicing hot bread compresses the crumb and makes it gummy. Cool fully for best texture.
- Wrong liquid temperature: Very hot milk kills yeast; very cold milk slows it down. Aim for warm—about 110°F (43°C).
Variations You Can Try
- Seeded loaf: Stir in 3 tablespoons mixed seeds (sunflower, pumpkin, sesame) and sprinkle some on top.
- Herb and garlic: Add 1 teaspoon dried Italian herbs and 1/2 teaspoon garlic powder to the dry mix.
- Oat loaf: Replace 1/2 cup of the flour with certified gluten free oat flour for a heartier flavor.
- Dairy-free: Use unsweetened almond milk or oat milk and swap butter for oil.
- Honey wheat-style: Use honey instead of sugar and add 1 tablespoon molasses for color and warmth.
FAQ
Can I use active dry yeast instead of instant yeast?
Yes. Use the same amount, but proof it first in the warm milk with the sugar for 5–10 minutes until foamy, then add to the dry ingredients.
What if my dough doesn’t rise?
Check your yeast freshness and liquid temperature. Make sure your room isn’t too cold. Also confirm your flour blend includes a binder or that you added one. Give it a bit more time if needed.
Why is the center gummy?
It likely needed more bake time or cooling. Use a thermometer to ensure it hits 205–210°F (96–99°C). Let it cool completely before slicing.
Can I make this without eggs?
Yes. Replace each egg with 3 tablespoons aquafaba or 1 tablespoon ground flaxseed mixed with 3 tablespoons warm water. Texture will be slightly denser but still good.
Does this work in a bread machine?
Often yes, using the gluten free cycle. Add wet ingredients first, then dry. Scrape down the sides once during mixing for even hydration.
Which flour blend do you recommend?
A blend containing rice flour, potato starch or tapioca starch, and xanthan gum works best. If your blend lacks xanthan, add psyllium husk powder or xanthan as listed.
Final Thoughts
Gluten free bread doesn’t have to be intimidating. With the right flour blend, a binder, and a batter-style method, you can bake a loaf that’s soft, flavorful, and dependable. This beginner gluten free bread delivers consistent results and adapts well to your pantry and preferences. Keep notes on your flour blend and rise times, and you’ll get even better with each bake. Enjoy your slices warm, toasted, and topped with whatever you love.
Printable Recipe Card
Want just the essential recipe details without scrolling through the article? Get our printable recipe card with just the ingredients and instructions.