Cheese Filled Buns – Soft, Savory, and Comforting
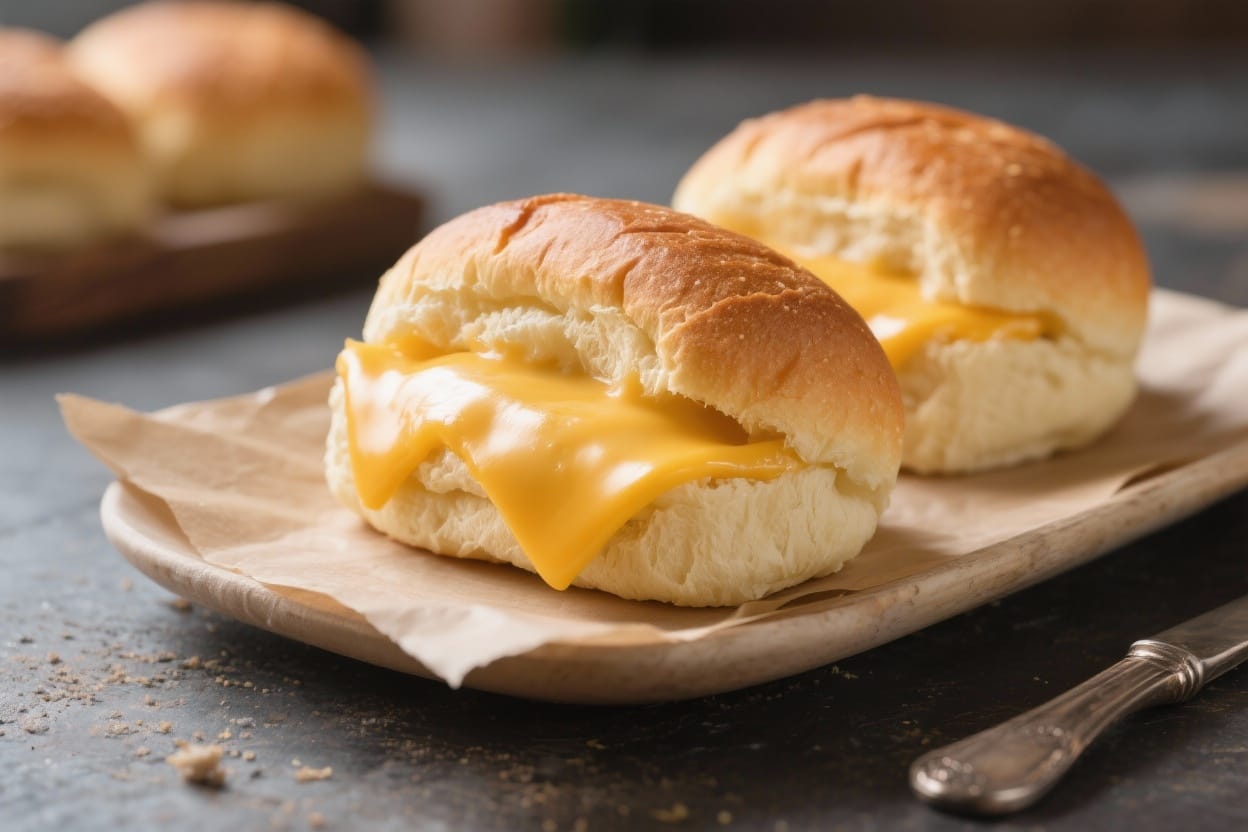
Cheese filled buns are the kind of baked treat that makes everyone pause and smile. Warm, fluffy bread wrapped around gooey, melty cheese is simple, nostalgic, and satisfying. You can serve them as a snack, a party appetizer, or alongside soup or salad for an easy meal. The dough is soft and forgiving, and the filling is flexible depending on what you love or have on hand. If you’re new to baking, don’t worry—this recipe is friendly, approachable, and very hard to mess up.
What Makes This Recipe So Good
Cheese filled buns – Cheese Filled Buns – Soft, Savory, and Comforting Cheese filled buns are the kind of baked treat tha
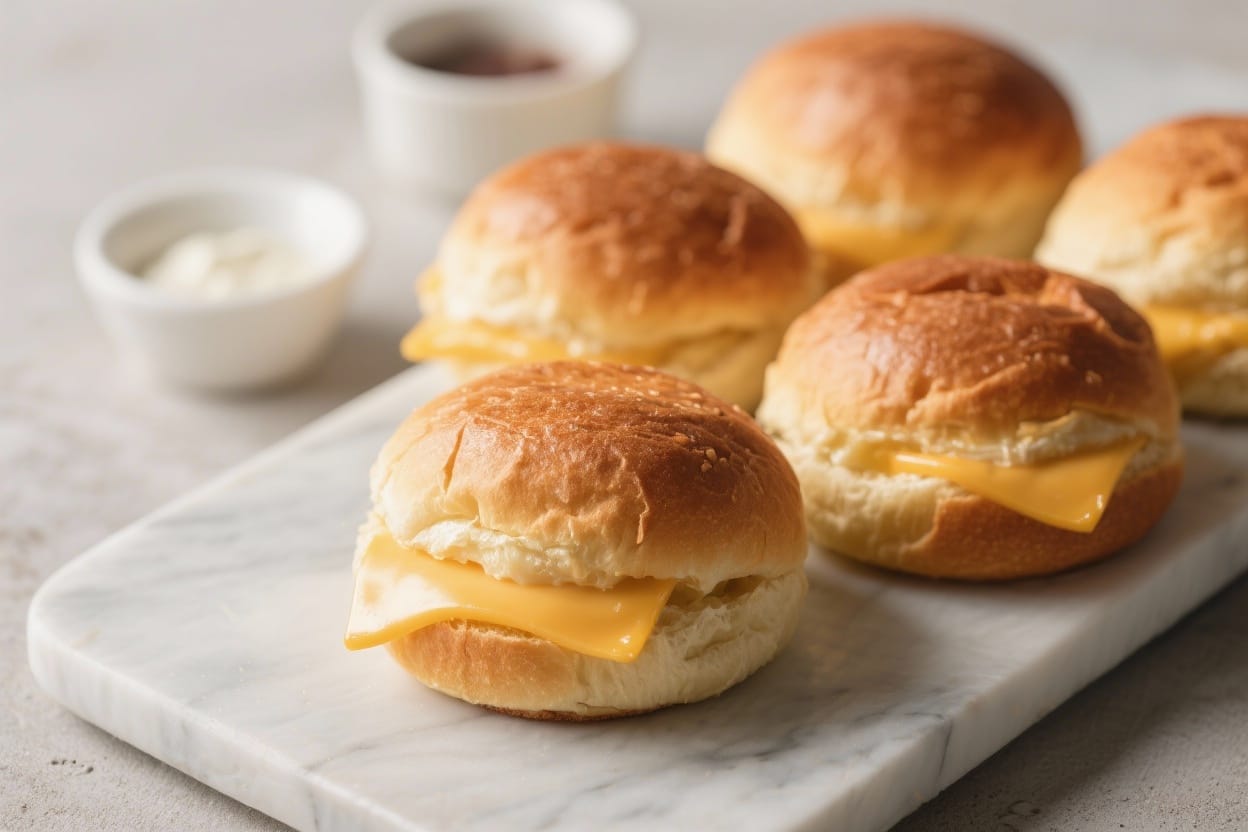
- Pillowy texture: The dough bakes up soft and tender with a light, golden crust.
- Cheesy center: Every bite has a gooey, savory pocket of cheese that feels indulgent but not heavy.
- Beginner-friendly: Straightforward steps and simple ingredients make this ideal for home bakers.
- Customizable: Swap cheeses, add herbs, toss in cooked bacon or jalapeños—make it yours.
- Make-ahead friendly: The dough and formed buns both freeze well, so fresh buns are never far away.
Ingredients
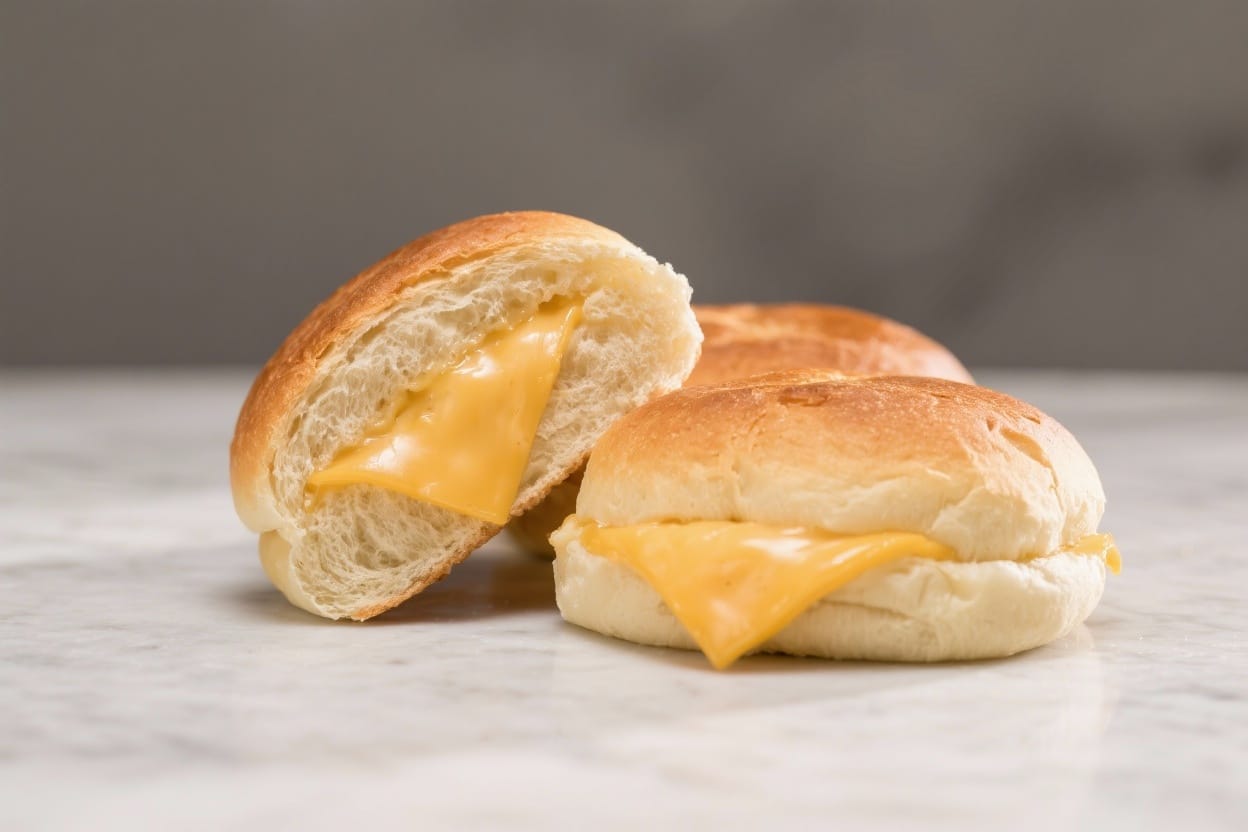
Cheese filled buns – Warm, fluffy bread wrapped around gooey, melty cheese is simple, nostalgic, and satisfying
- For the dough:
- 3 cups (375 g) all-purpose flour, plus extra for dusting
- 2 1/4 tsp instant yeast (one packet)
- 1 tbsp granulated sugar
- 1 tsp fine sea salt
- 1 cup (240 ml) warm milk (about 110°F/43°C)
- 2 tbsp unsalted butter, melted (plus more for brushing)
- 1 large egg, room temperature
- For the filling:
- 1 1/2 cups shredded cheese (mozzarella for stretch, cheddar for sharpness, or a blend)
- 2 tbsp cream cheese or ricotta (optional, for extra creaminess)
- 1 tsp garlic powder (optional)
- 1 tsp dried parsley or Italian seasoning (optional)
- For finishing:
- 1 egg, beaten with 1 tsp water (egg wash)
- Flaky salt or sesame seeds (optional)
Instructions
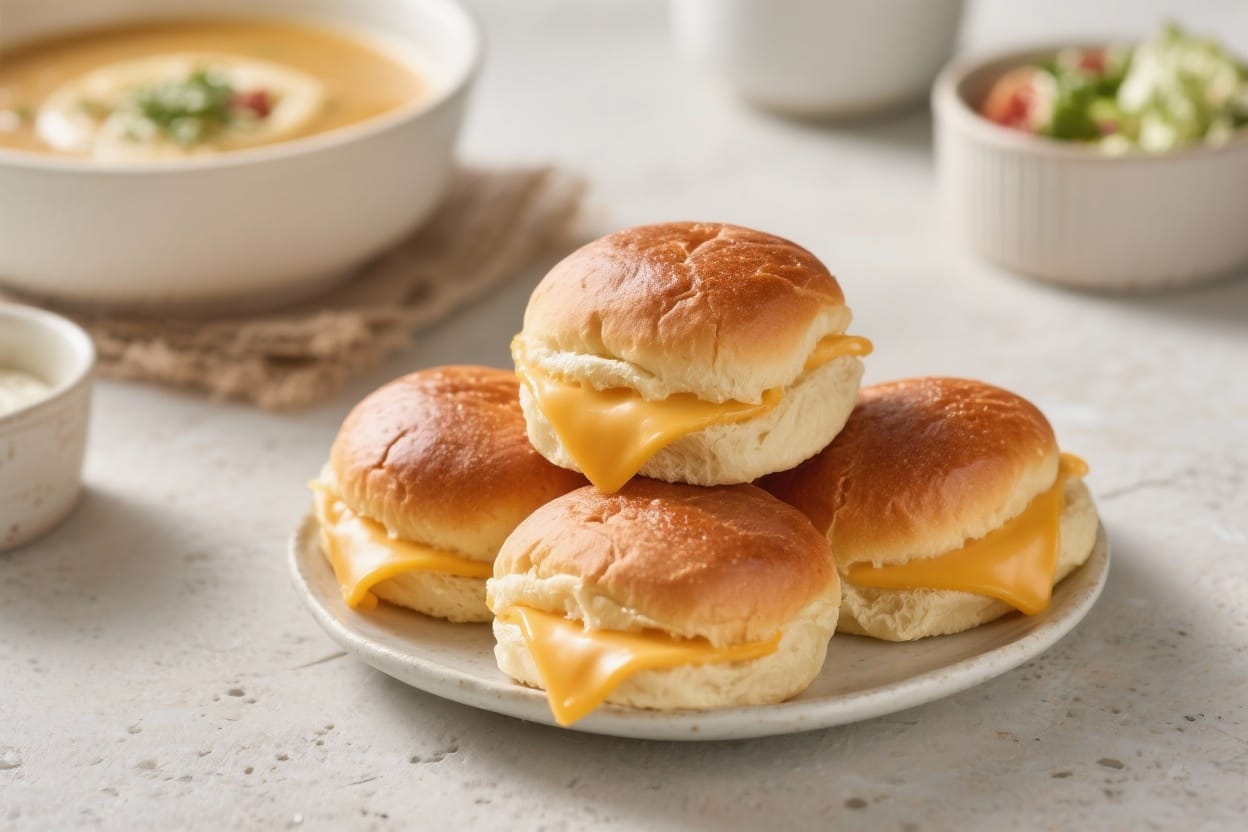
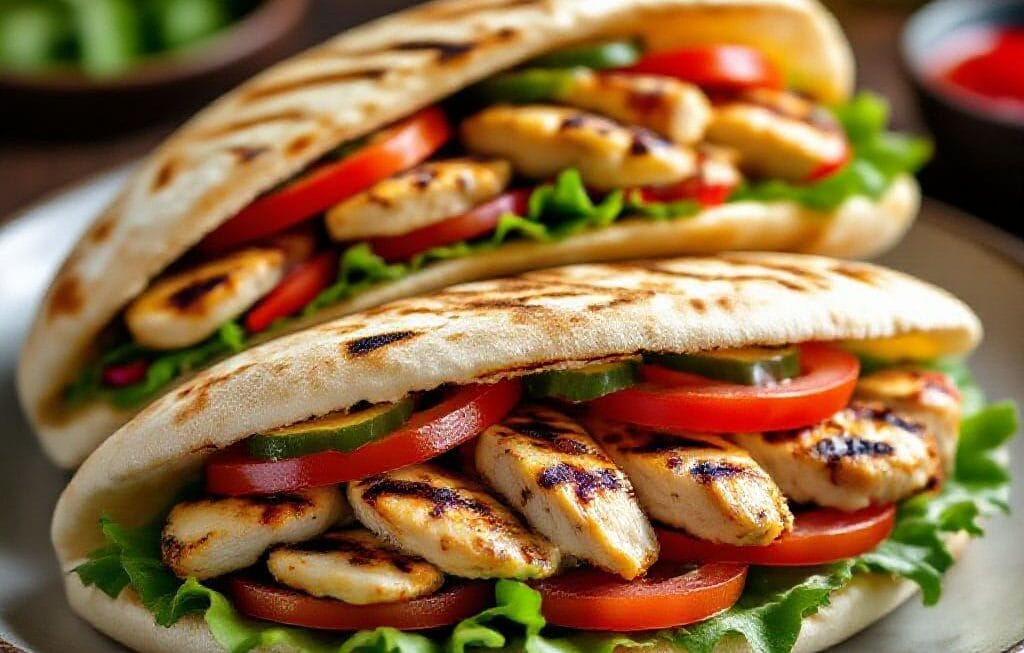
Cheese filled buns – You can serve them as a snack, a party appetizer, or alongside soup or salad for an easy meal
- Activate the yeast (if using active dry): If your yeast is active dry, whisk it with the warm milk and sugar. Let it sit for 5–10 minutes until foamy. If using instant yeast, skip this step and add it directly to the dry ingredients.
- Make the dough: In a large bowl, mix flour and salt. Add the egg, melted butter, and milk mixture (with yeast). Stir with a wooden spoon until a shaggy dough forms.
- Knead: Turn the dough onto a lightly floured surface and knead for 7–10 minutes, until smooth and elastic. Alternatively, use a stand mixer with a dough hook for 6–8 minutes on medium speed. The dough should be soft, slightly tacky, but not sticky.
- First rise: Place the dough in a lightly oiled bowl, cover, and let it rise in a warm spot for 60–90 minutes, or until doubled in size.
- Prepare the filling: In a small bowl, combine shredded cheese with cream cheese (if using), garlic powder, and herbs. Mix until evenly combined.
- Divide the dough: Punch down the risen dough. Turn it out and divide into 10–12 equal pieces. Keep the pieces covered with a towel so they don’t dry out.
- Fill the buns: Working with one piece at a time, flatten into a small circle, thicker in the center and slightly thinner at the edges. Place 1–2 tablespoons of cheese filling in the middle. Pull the edges up and over the filling, pinching to seal tightly. Roll gently into a smooth ball with the seam at the bottom.
- Second rise: Arrange the buns on a parchment-lined baking sheet, leaving space between them. Cover and let rise for 25–35 minutes, until puffy.
- Preheat the oven: Heat the oven to 375°F (190°C). Brush the buns with egg wash and sprinkle with flaky salt or sesame seeds if you like.
- Bake: Bake for 15–18 minutes, or until the buns are golden and sound hollow when tapped. The cheese may bubble slightly—this is a good sign.
- Finish and rest: Brush the tops with a little melted butter while warm for extra softness. Let them cool for 5–10 minutes before serving to avoid cheese burns.
How to Store
- Room temperature:Keep cooled buns in an airtight container for up to 1 day.
- Refrigerator:Store in a sealed container for up to 4 days. Reheat in a 300°F (150°C) oven for 8–10 minutes or air fryer for 3–5 minutes.
- Freezer:Wrap individually and freeze for up to 2 months. Reheat from frozen in a 325°F (165°C) oven for 12–15 minutes.
- Make-ahead dough:After the first rise, refrigerate the dough overnight. Bring to room temperature, then shape and proceed to make Sticky Buns With Caramel Glaze.
Why This is Good for You
- Balanced energy: The buns offer a mix of carbohydrates, protein, and fat for steady energy, especially when paired with a salad or soup.
- Customizable nutrition: Choose part-skim mozzarella or a reduced-fat cheese blend to lighten things up without losing flavor.
- Real ingredients: Homemade means no unnecessary additives or mystery fillers. You control the salt and fat.
- Portion-friendly: Individual buns make it easy to serve a sensible portion and save the rest for later.
What Not to Do
- Don’t overfill: Too much cheese can burst the bun and leak onto the baking sheet. Stick to 1–2 tablespoons per bun.
- Don’t rush the rise: Under-proofed dough bakes dense. Let it double the first time and puff the second time.
- Don’t use cold ingredients: Cold milk or eggs slow the yeast. Room temperature helps the dough rise evenly.
- Don’t skip the seal: If the seam isn’t pinched well, the filling can escape. Seal firmly and place seam-side down.
- Don’t overbake: Dry buns lose their charm. Bake until just golden and set.
Recipe Variations
- Herb and garlic: Add minced fresh parsley and chives to the dough, and stir roasted garlic into the filling.
- Jalapeño cheddar: Fold finely chopped pickled jalapeños into the cheese for heat and tang.
- Spinach ricotta: Mix ricotta with sautéed spinach (well squeezed), Parmesan, salt, and pepper.
- Ham and Swiss: Add diced ham and Swiss cheese to the filling for a deli-style bun.
- Feta and olive: Crumble feta with chopped Kalamata olives and a pinch of oregano for a Mediterranean twist.
- Everything topping: Sprinkle the buns with everything bagel seasoning before baking.
- Whole wheat swap: Replace up to 1 cup of all-purpose flour with whole wheat flour for a heartier bun. Add 1–2 tsp extra milk if needed.
FAQ
Can I use pre-shredded cheese?
Yes, but freshly grated cheese melts smoother. If using pre-shredded, pick a brand that melts well and avoid low-moisture blends meant for topping.
Do I need a stand mixer?
No. Hand-kneading works perfectly. It only takes about 8–10 minutes and helps you learn the feel of good dough.
Why did my buns open up while baking?
They were either overfilled or not sealed well. Make sure to pinch the seam tightly and place the seam side down on the baking sheet.
Can I make these without eggs?
Yes. Skip the egg in the dough and add 2–3 tablespoons more milk if needed. Brush the tops with milk or melted butter instead of egg wash.
What’s the best cheese for maximum stretch?
Low-moisture mozzarella gives that classic pull. Combine it with a little cheddar or provolone for extra flavor.
How do I know the dough has risen enough?
Gently press a floured finger into the dough. If the indentation springs back slowly and doesn’t fill in completely, it’s ready.
Can I use bread flour?
Yes. Bread flour will give a slightly chewier texture and more structure. If the dough feels stiff, add a teaspoon or two of milk.
How can I make them smaller for appetizers?
Divide the dough into 16–18 pieces and use about 1 tablespoon of filling. Bake 2–3 minutes less, watching for golden tops.
What if I don’t have milk?
Use water and add an extra tablespoon of butter for tenderness. The buns will still be soft and flavorful.
How do I reheat without drying them out?
Wrap in foil and warm in a 300°F (150°C) oven for 8–10 minutes, or use an air fryer at low heat for a few minutes.
In Conclusion
Cheese filled buns are the kind of recipe you’ll make once and keep returning to. They’re simple, cozy, and endlessly adaptable, with a soft dough and a melty center that never disappoints. Whether you’re feeding a crowd or stocking your freezer for easy snacks, this recipe fits the moment. Keep the ingredients on hand, and you’ll always have a warm, cheesy treat ready to go.
Printable Recipe Card
Want just the essential recipe details without scrolling through the article? Get our printable recipe card with just the ingredients and instructions.