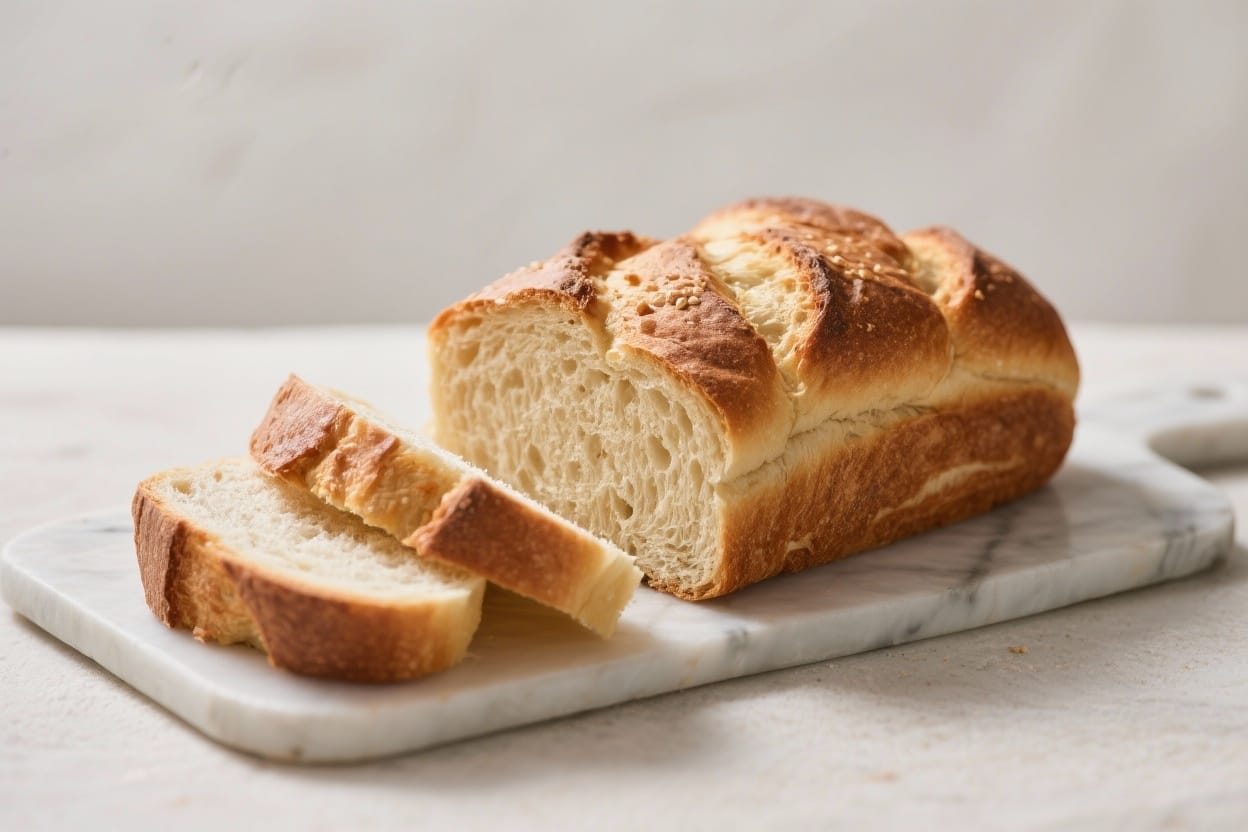
Simple No Yeast Buns – Soft, Quick, and Reliable
You want fresh, warm buns without waiting hours for dough to rise. These simple no yeast buns deliver soft, satisfying results with basic pantry ingredients and minimal effort. They’re perfect for quick breakfast sandwiches, soup sides, or an easy bake on a busy weeknight. No stand mixer, exotic flour, or special skills needed—just a bowl, a spoon, and your oven. If you’ve ever been intimidated by yeast doughs, this is a great place to start and still get that fresh-baked smell at home.
What Makes This Special
Simple no yeast buns – Simple No Yeast Buns – Soft, Quick, and Reliable You want fresh, warm buns without waiting hours for
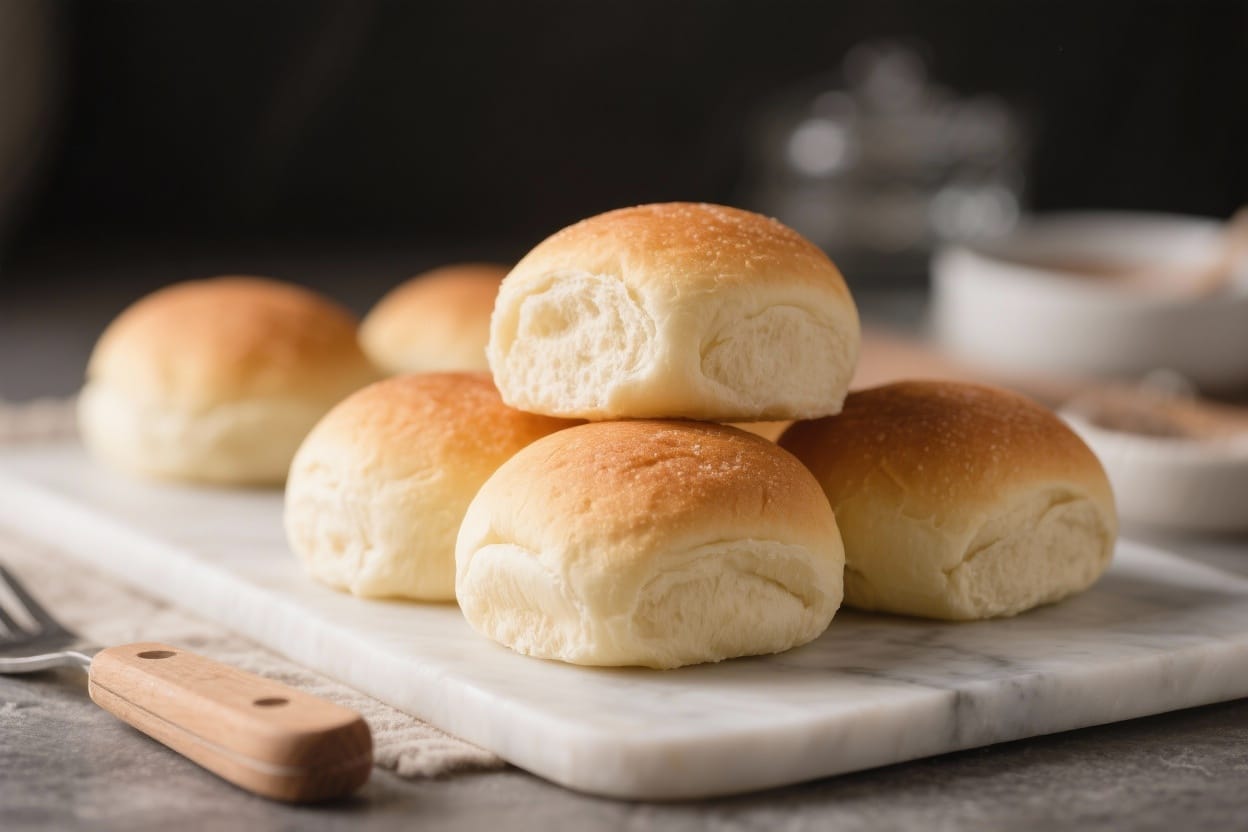
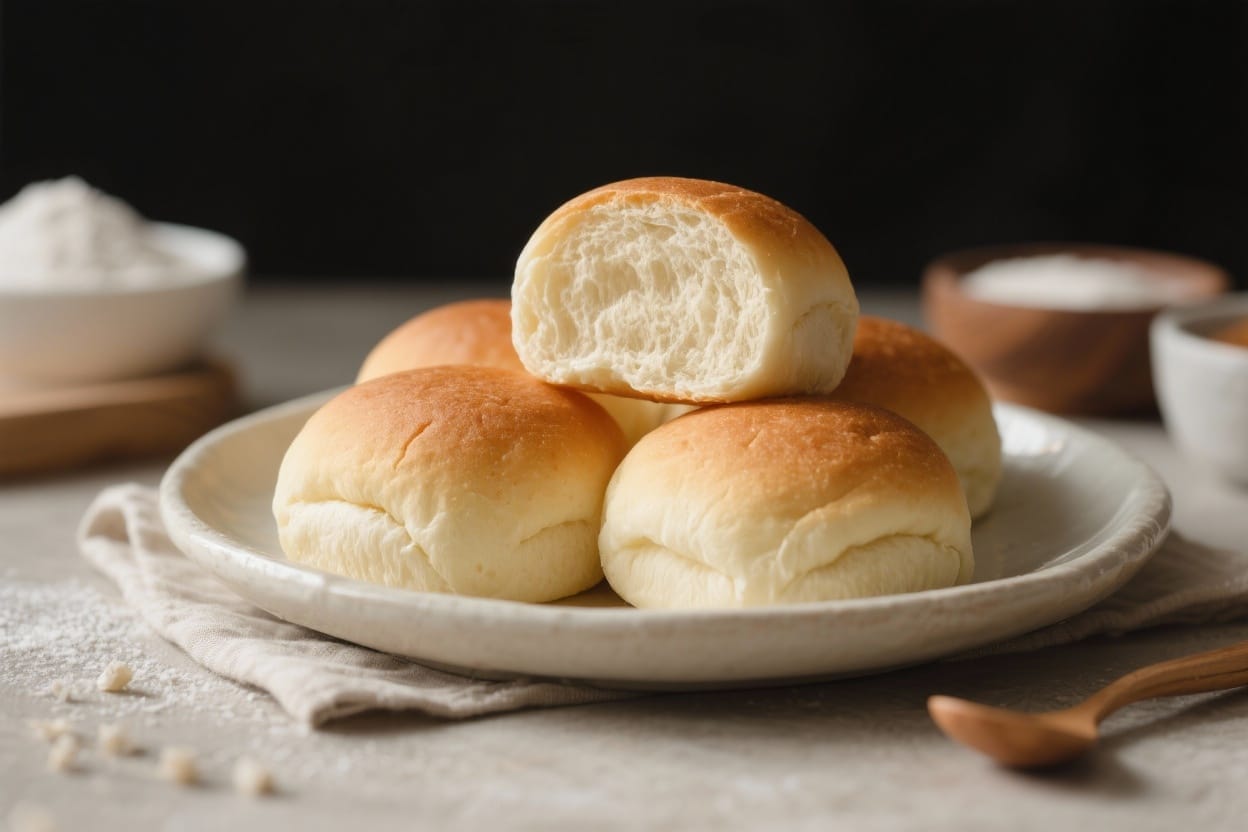
This recipe gives you light, soft buns using baking powder instead of yeast, which means no rising time and no kneading marathons. The dough comes together in minutes and bakes into tender rolls with a gentle crumb. They hold up well for small sandwiches and slather beautifully with butter.
Because there’s no fermentation, the flavor is clean and simple—ideal for sweet or savory toppings. The ingredient list is short and flexible, and you can tweak it for whole grains, dairy-free milk, or extra flavor with herbs and cheese.
Ingredients
Simple no yeast buns – These simple no yeast buns deliver soft, satisfying results with basic pantry ingredients and minima
- 2 cups (250 g) all-purpose flour, plus more for dusting
- 1 tbsp baking powder (aluminum-free recommended)
- 1/2 tsp baking soda (for extra lift and tenderness)
- 1 tsp fine salt
- 2 tbsp granulated sugar (optional, for lightly sweet buns)
- 3 tbsp unsalted butter, cold and cubed (or 3 tbsp neutral oil)
- 3/4 cup (180 ml) milk (dairy or unsweetened plant milk)
- 1/4 cup (60 g) plain yogurt or sour cream (adds tenderness and flavor)
- 1 tsp vinegar or lemon juice (boosts rise with baking soda)
- 1 egg, lightly beaten, for egg wash (optional)
- Sesame or poppy seeds for topping (optional)
Instructions
Simple no yeast buns – They’re perfect for quick breakfast sandwiches, soup sides, or an easy bake on a busy weeknight
- Heat the oven: Preheat to 400°F (200°C). Line a baking sheet with parchment paper or lightly grease it.
- Mix dry ingredients: In a large bowl, whisk together flour, baking powder, baking soda, salt, and sugar. Make sure everything is evenly distributed.
- Cut in the fat: Add cold butter cubes to the bowl. Use your fingertips or a pastry cutter to rub the butter into the flour until the mixture looks like coarse crumbs. If using oil, stir it in until evenly coated.
- Combine wet ingredients: In a measuring cup, stir together milk, yogurt, and vinegar. The mixture may look slightly curdled—that’s good. It helps create a tender texture.
- Bring the dough together: Pour the wet mixture into the dry ingredients. Stir with a spoon until a shaggy dough forms. It should be slightly sticky but not wet.
- Lightly knead: Turn the dough onto a floured surface. Gently knead 6–8 times, just until smooth. Do not overwork or the buns may turn tough.
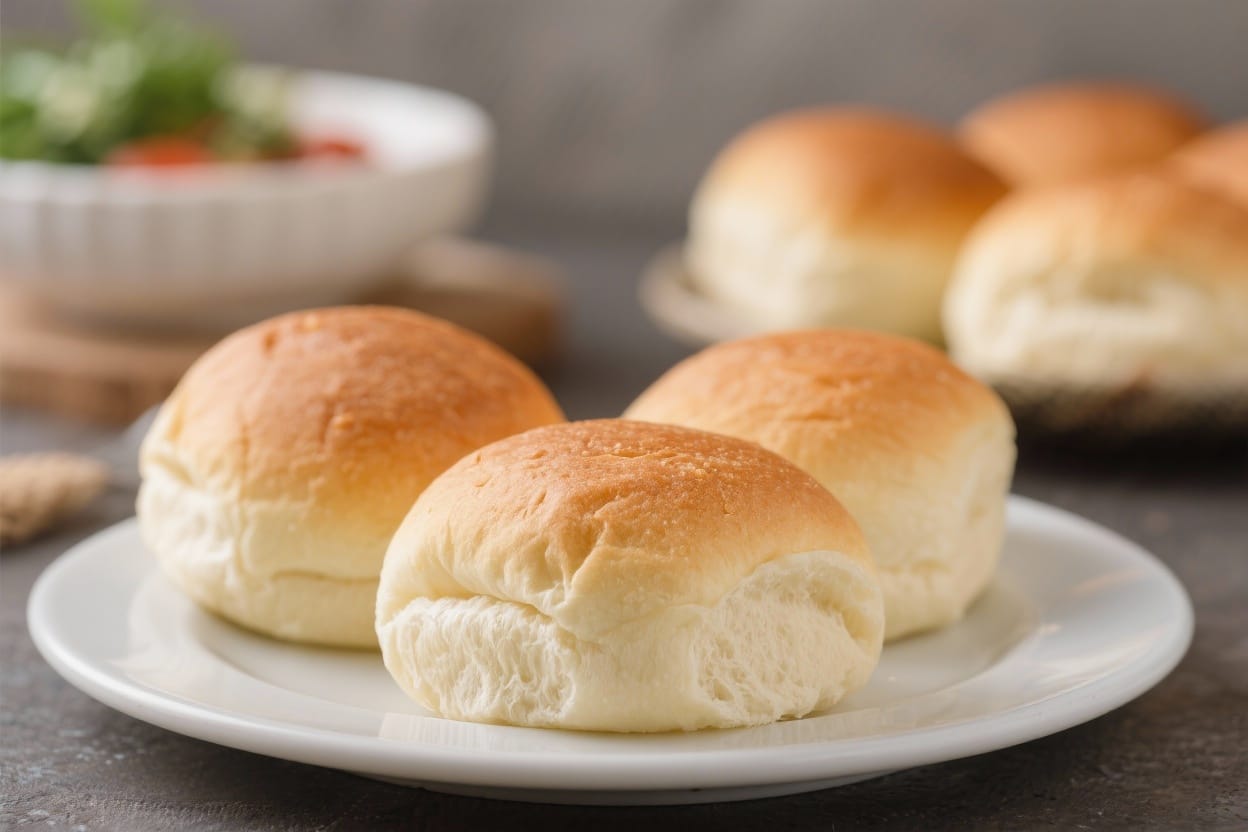
- Shape: Pat the dough into a thick disc, about 1 inch (2.5 cm) high. Cut into 6–8 equal pieces. Shape each piece into a round bun by tucking the edges under to create surface tension.
- Top and finish: Place buns on the prepared sheet, spaced slightly apart. Brush the tops with egg wash for shine (or milk for a matte look). Sprinkle seeds if using.
- Bake: Bake for 14–18 minutes until risen and pale golden on top. The bottoms should sound hollow when tapped.
- Cool slightly: Let the buns rest on a rack for 10 minutes before slicing. This helps set the crumb and keeps them soft.
Storage Instructions
- Room temperature:Store cooled buns in an airtight bag or container for up to 2 days. Add a paper towel to absorb moisture.
- Freezer:Freeze in a zip bag for up to 2 months. Slice before freezing for easy toasting.
- Reheating:Warm in a 325°F (165°C) oven for 6–8 minutes or toast halves lightly. Avoid the microwave unless you plan to eat immediately—microwaving can make them chewy as they cool. For the best results, start with our soft and fluffy burger buns recipe.
Health Benefits
- Quick energy: These buns provide carbohydrates for fuel without heavy fats or oils.
- Controlled ingredients: You can reduce sugar, use whole wheat flour, or swap dairy to fit your diet.
- Lower sodium option: Choose low-sodium baking powder and adjust salt to taste for better heart health.
- Protein bump: Using yogurt or adding cheese can increase protein, helping with satiety.
What Not to Do
- Don’t overmix or over-knead: Minimal handling keeps the crumb soft. Stop as soon as the dough comes together.
- Don’t skip the acid: The vinegar or lemon juice helps activate the baking soda for a better rise.
- Don’t flatten the buns too much: Keep them at least 1 inch thick before baking or they’ll dry out.
- Don’t bake at a low temperature: A hot oven helps the buns lift quickly. Too low and they’ll be dense.
- Don’t open the oven early: Wait at least 12 minutes before checking, or you’ll lose steam and volume.
Variations You Can Try
- Whole Wheat: Use 1 cup whole wheat flour and 1 cup all-purpose. Add 1–2 tablespoons extra milk if the dough feels dry.
- Herb and Garlic: Add 1 teaspoon garlic powder and 1 tablespoon chopped fresh herbs (or 1 teaspoon dried) to the dry mix.
- Cheddar and Chive: Fold in 1/2 cup grated cheddar and 2 tablespoons chopped chives before adding the wet ingredients.
- Sweet Breakfast Buns: Increase sugar to 3–4 tablespoons, add 1 teaspoon vanilla, and sprinkle cinnamon sugar on top before baking.
- Dairy-Free: Use plant milk and 3 tablespoons oil instead of butter. Swap yogurt for a thick dairy-free yogurt or increase milk slightly.
- Seeded Crust: Brush with egg or milk and coat with sesame, poppy, or everything seasoning for crunch.
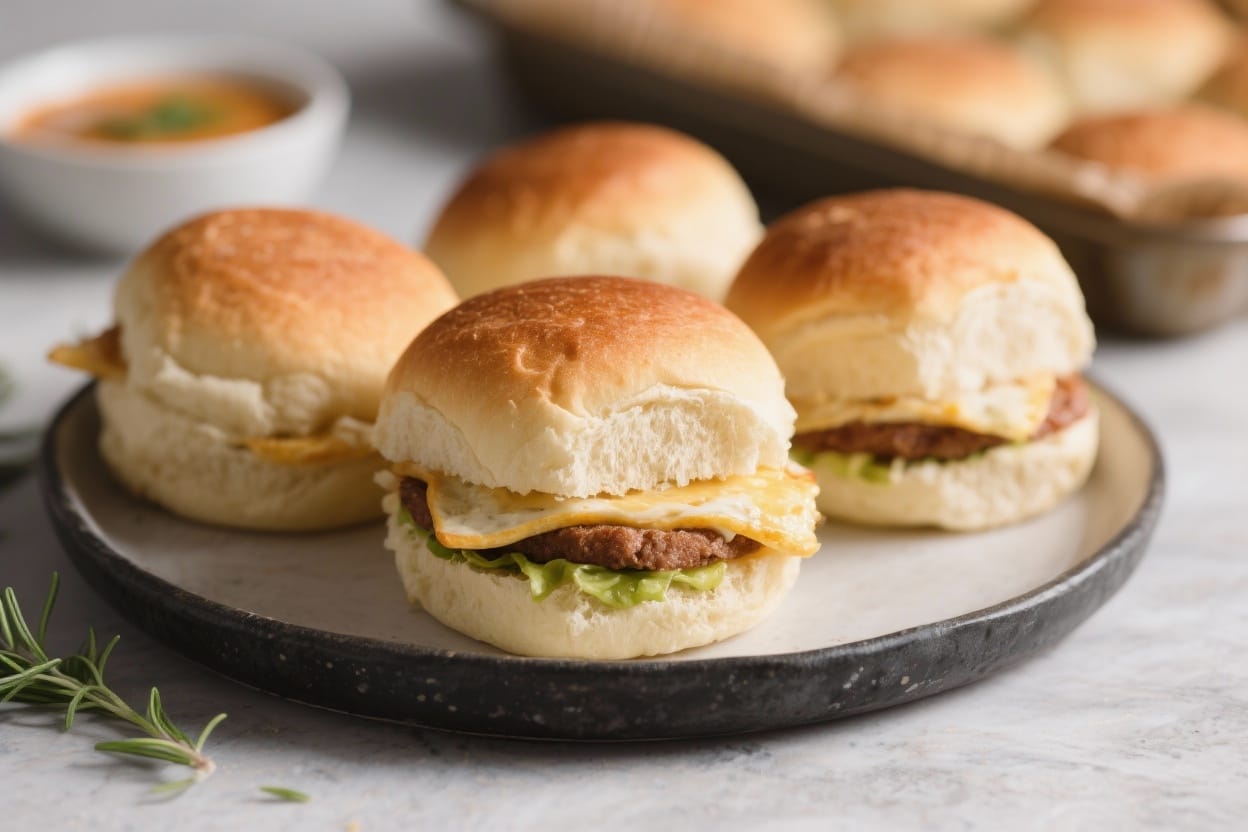
- Mini Slider Buns: Divide into 10–12 small buns and bake 10–12 minutes, watching closely.
FAQ
Can I make the dough ahead of time?
It’s best to bake right after mixing because the leavening starts working immediately. If needed, shape and refrigerate for up to 30 minutes, then bake directly from the fridge.
Why did my buns turn dense?
This usually comes from overmixing, old baking powder, or a cool oven. Use fresh leavening, mix gently, and preheat fully to 400°F (200°C).
Can I use self-rising flour?
Yes. Replace the flour, baking powder, and salt with 2 cups self-rising flour. Keep the baking soda at 1/2 teaspoon if you’re using yogurt and vinegar.
How do I make them gluten-free?
Use a 1:1 gluten-free baking flour with xanthan gum. Add an extra tablespoon of milk if the dough seems dry, and handle gently to keep them soft.
Do I need the sugar?
No. Sugar adds mild sweetness and helps browning, but the buns bake well without it. For savory buns, you can reduce or omit it.
Can I cook these in an air fryer?
Yes. Preheat to 350°F (175°C). Place buns in a lined basket with space between them and cook 10–14 minutes, checking for golden tops and a hollow sound underneath.
What’s the best way to slice them?
Let the buns rest 10 minutes, then use a serrated knife and a gentle sawing motion. Slicing too hot can squash the crumb.
How can I add more flavor without making them heavy?
Try zesting a lemon into the dough, adding a teaspoon of mustard powder for savory buns, or brushing with melted butter and herbs right after baking.
Wrapping Up
These simple no yeast buns are quick, forgiving, and crowd-pleasing. They’re soft inside, lightly crisp on top, and ready in under 30 minutes. Keep this recipe on hand for last-minute dinners, brunch spreads, or when a bread craving hits and the yeast jar is empty. Once you try them, you’ll wonder how you ever did without this easy, dependable bake.
Printable Recipe Card
Want just the essential recipe details without scrolling through the article? Get our printable recipe card with just the ingredients and instructions.