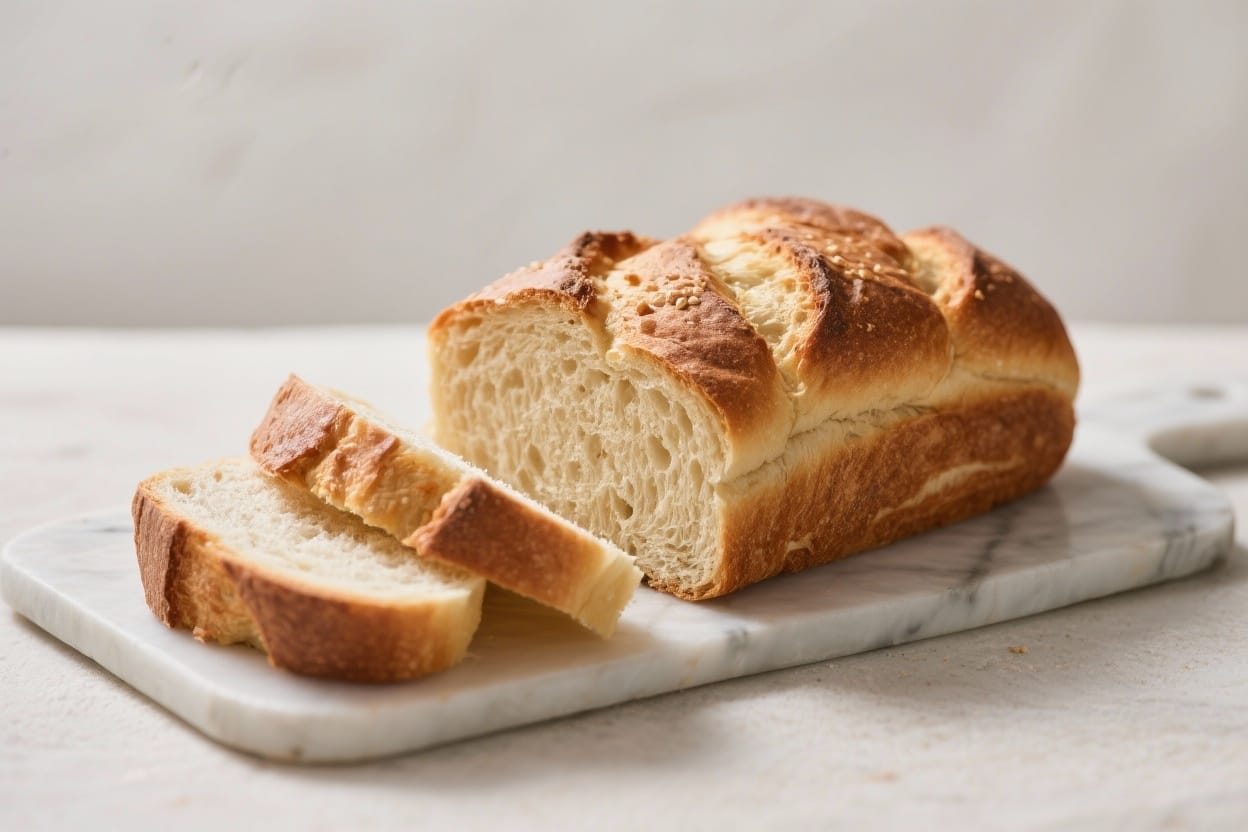
One Bowl Bread Recipe – Simple, Reliable, and Fresh From the Oven
Warm bread makes any meal better, and this one bowl bread recipe keeps the process easy from start to finish. There’s no special equipment, no complicated steps, and no mess across the kitchen—just one bowl, a simple dough, and a golden loaf. The crust turns crisp, the inside is soft and chewy, and the flavor is mild enough to go with anything. Whether you’re new to bread or you bake often, this is a recipe you can trust. It’s the kind of loaf you’ll make on a weeknight and feel good about every time.
Why This Recipe Works
One bowl bread recipe – One Bowl Bread Recipe – Simple, Reliable, and Fresh From the Oven Warm bread makes any meal better,
This recipe uses a straightforward, high-hydration dough that delivers a soft, tender crumb without complicated kneading. A brief rest (autolyse) helps the flour hydrate, so the dough becomes more elastic with less effort. Instant yeast provides a steady rise, and a touch of sugar wakes it up quickly. Baking in a hot oven builds a crisp crust while keeping the interior moist. Because everything happens in one bowl, the process stays clean and approachable, even if it’s your first loaf.
Ingredients
One bowl bread recipe – There’s no special equipment, no complicated steps, and no mess across the kitchen—just one bowl, a
- 3 cups (360 g) bread flour (all-purpose works too)
- 1 1/4 cups (300 ml) warm water (about 105–110°F / 40–43°C)
- 2 teaspoons instant yeast (or 2 1/4 teaspoons active dry yeast)
- 1 1/2 teaspoons fine sea salt
- 1 tablespoon sugar or honey (optional, for quicker rise and light sweetness)
- 1 tablespoon olive oil (optional, for a softer crust)
- Flour for dusting
- Oil or butter for greasing (if not using parchment)
Instructions
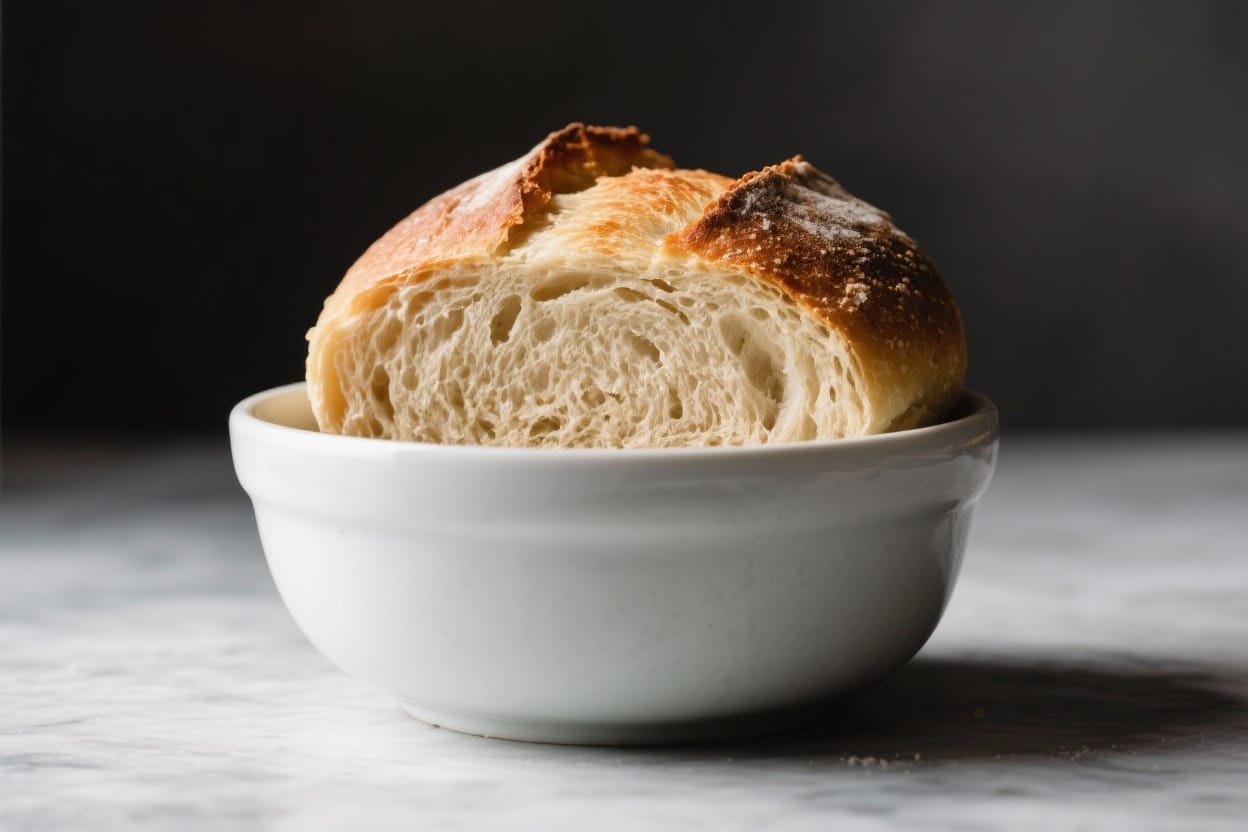
One bowl bread recipe – The crust turns crisp, the inside is soft and chewy, and the flavor is mild enough to go with anythi
- Mix the dough. In a large bowl, whisk the warm water, yeast, and sugar (or honey). Let it sit for 3–5 minutes if using active dry yeast, until lightly foamy. Add the flour and salt. Stir with a sturdy spoon until no dry patches remain. The dough will be sticky; that’s good.
- Rest briefly. Let the dough sit for 10 minutes. This short rest helps the flour absorb water and makes the dough easier to handle.
- Fold to strengthen. With a damp hand, scoop up one edge of the dough, stretch it up, and fold it over the center. Rotate the bowl a quarter turn and repeat 6–8 times. This replaces heavy kneading and builds structure.
- First rise. Drizzle in the olive oil, turning the dough to coat. Cover the bowl with a clean towel or plastic wrap. Let it rise in a warm spot until doubled, 45–75 minutes depending on room temperature.
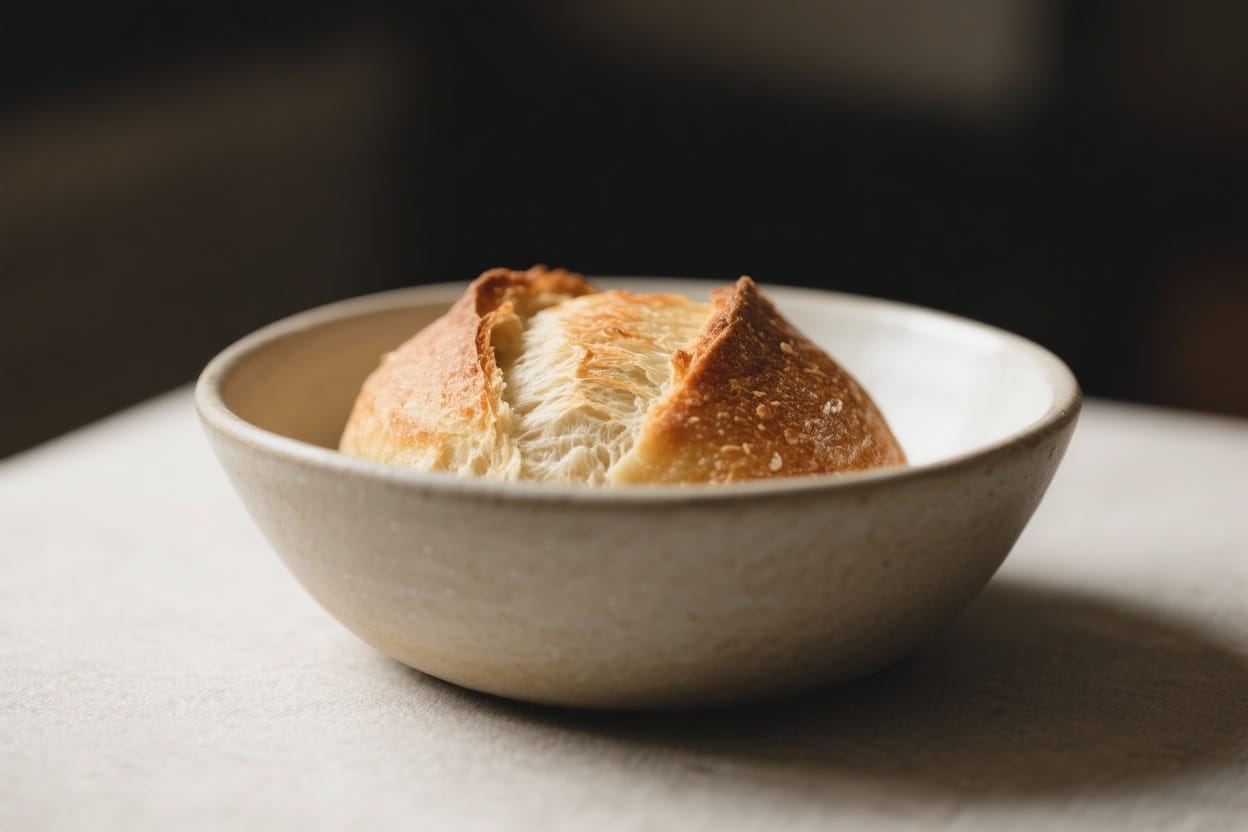
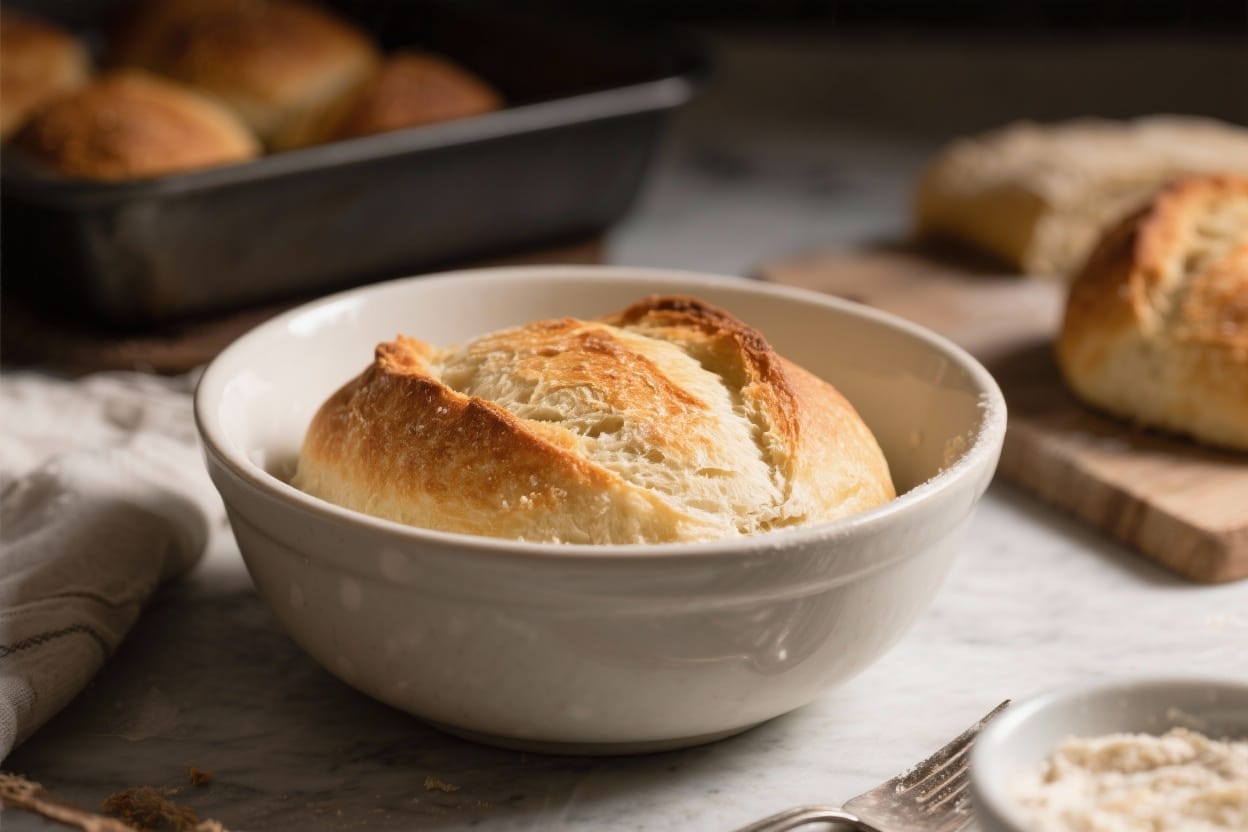
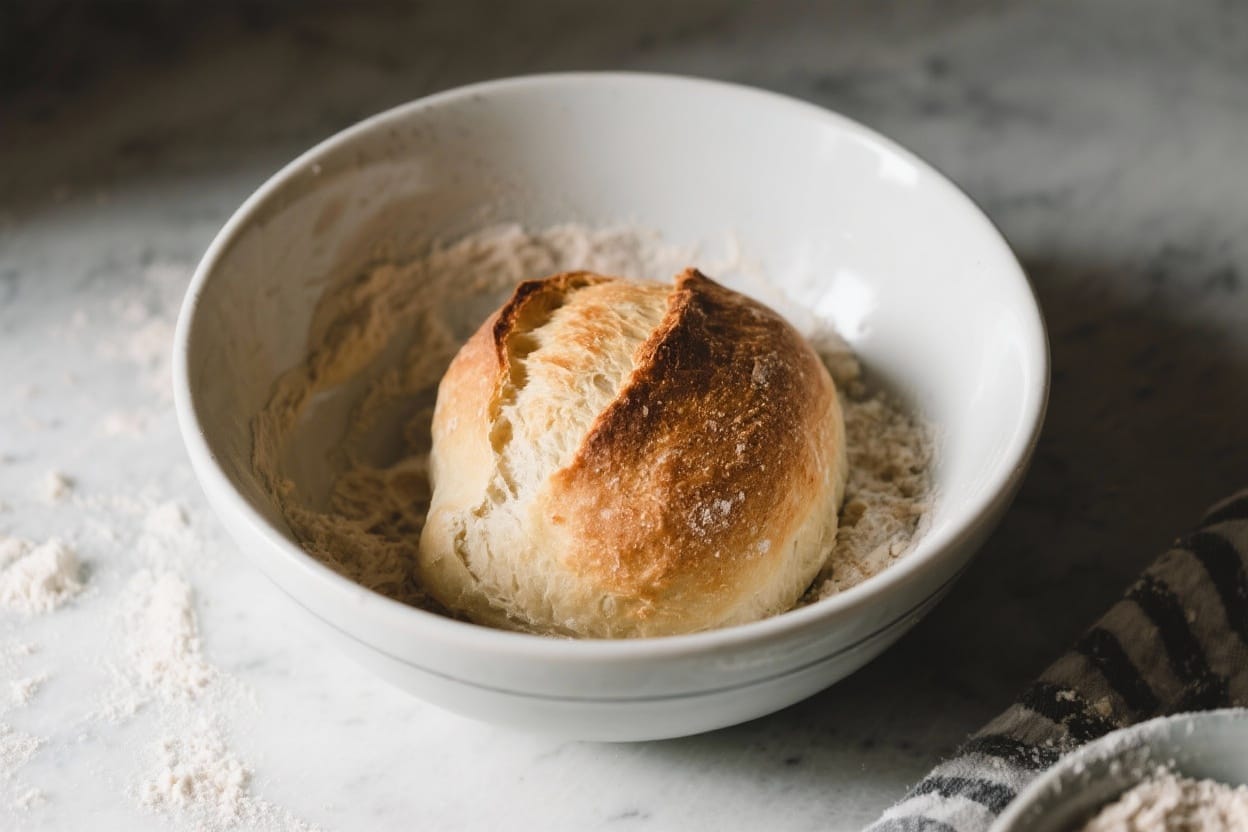
- Shape the loaf. Lightly flour your hands and the top of the dough. Gently scrape it onto a lightly floured surface. Pat it into a rough rectangle. Fold the long edges toward the center, then roll it up into a tight log, pinching the seam closed. Tuck the ends under.
- Second rise. Place the loaf seam side down on a parchment-lined baking sheet or in a greased loaf pan. Cover loosely and let it rise until puffy and slightly springy, about 30–45 minutes. It should rise about 50%.
- Preheat the oven. While the dough rises, heat the oven to 425°F (220°C). Place a metal pan on a lower rack to create steam later (optional but helpful).
- Score the top. Using a sharp knife or razor, make 1–3 shallow slashes on top. This guides the expansion and prevents random cracks.
- Bake. If using steam, pour a cup of hot water into the preheated metal pan as you put the bread in the oven. Bake for 25–32 minutes, until the crust is deep golden and the loaf sounds hollow when tapped. Internal temperature should read about 200–205°F (93–96°C).
- Cool before slicing. Transfer to a rack and cool at least 30 minutes. This sets the crumb so slices are clean and not gummy.
Storage Instructions
- Room temperature: Keep the loaf at room temp, cut side down on a board or wrapped in a clean towel for up to 2 days. Avoid sealing in plastic immediately—it softens the crust.
- Longer storage: After day 2, place in a paper bag inside a plastic bag to balance moisture and crust. Or slice and freeze in a freezer bag for up to 2 months.
- Reheating: Toast slices straight from the freezer. For a whole loaf, bake at 350°F (175°C) for 8–10 minutes to refresh the crust.
Benefits of This Recipe
- Minimal mess: One bowl from start to finish keeps cleanup easy.
- Beginner-friendly: No stand mixer or long kneading required.
- Flexible ingredients: Works with bread flour or all-purpose, and takes add-ins well.
- Quick timeline: You can have fresh bread in about 2 to 2.5 hours.
- Great texture: Crisp crust, soft crumb, and good sliceability for sandwiches or toast.
Pitfalls to Watch Out For
- Water too hot: If the water is above 115°F (46°C), it can kill the yeast. Aim for warm, not hot.
- Under-proofing: If the dough hasn’t risen enough, the loaf may split or turn dense. Look for a noticeable puff and a gentle spring-back when poked.
- Over-flouring: Adding too much flour while shaping creates a dry, tough crumb. Use just enough to prevent sticking.
- Slicing too soon: Cutting into a hot loaf compresses the crumb. Let it cool so the interior sets.
- Skipping the score: Without slashes, steam can blow out the side, causing odd shapes.
Alternatives
- Whole wheat version: Swap 1 cup of the white flour for whole wheat. Add 1–2 tablespoons more water if needed. Expect a slightly denser, nutty loaf.
- Herb and garlic: Mix in 1–2 teaspoons dried Italian herbs and 1 teaspoon garlic powder during the initial mix. Finish with a light brush of olive oil on top before baking.
- Seeded crust: After shaping, brush the loaf with water and roll it in sesame, poppy, or sunflower seeds.
- No sugar: Leave out the sugar or honey for a cleaner flavor. Rising may take a few extra minutes.
- Dutch oven method: Shape into a round and proof on parchment. Preheat a covered Dutch oven to 450°F (230°C). Bake covered for 20 minutes, then uncovered 10–15 minutes until deep golden.
FAQ
Can I use active dry yeast instead of instant?
Yes. If using active dry yeast, proof it first with the warm water and sugar for 5–10 minutes until foamy, then proceed. Rise times may be slightly longer, but the result is the same.
How do I know when the dough has risen enough?
It should look visibly larger—about doubled on the first rise and about 50% bigger on the second. When you gently poke it, the indentation should slowly spring back but not close completely.
What if I don’t have a loaf pan?
Shape into a tight round or oval and bake on a parchment-lined sheet. The loaf will spread a bit more but still bake beautifully with a good crust.
Why is my crust too soft?
Cooling the loaf in a sealed container traps steam, softening the crust. Let it cool on a rack in open air. For extra crispness, bake a few minutes longer or reheat in the oven before serving.
Can I add cheese or olives?
Absolutely. Fold in up to 1 cup of shredded cheese or chopped olives after the first rise. Pat the dough out, scatter the add-ins, and roll it up to distribute evenly.
How can I make this recipe vegan?
It already is, as written, if you use sugar or skip sweetener. Just avoid honey. Olive oil is optional and plant-based.
What’s the best way to get steam without a special setup?
Place a preheated metal pan on a lower rack and pour in hot water as the bread goes into the oven. Avoid glass, which can shatter. Steam helps the loaf rise and improves crust.
My dough is very sticky. Should I add more flour?
Sticky dough usually makes better bread. Lightly flour your hands and surface, but avoid adding lots of extra flour. Use the fold method to strengthen the dough without making it dense.
Can I make the dough ahead?
Yes. After the first rise, refrigerate the covered dough for up to 24 hours. Shape cold, let it come to room temp and rise, then bake. The flavor will be deeper.
How do I get a glossy crust?
Brush the loaf with water before baking and use steam for the first 10 minutes. For a softer shine, brush with a little olive oil or melted butter right after baking.
In Conclusion
This one bowl bread recipe keeps things simple without sacrificing quality. It rises well, bakes up with a crisp crust and soft interior, and adapts to your pantry. With a little patience and a few folds, you’ll have a fresh, homemade loaf that fits any meal. Keep it in your rotation—you’ll use it more than you think.
Printable Recipe Card
Want just the essential recipe details without scrolling through the article? Get our printable recipe card with just the ingredients and instructions.