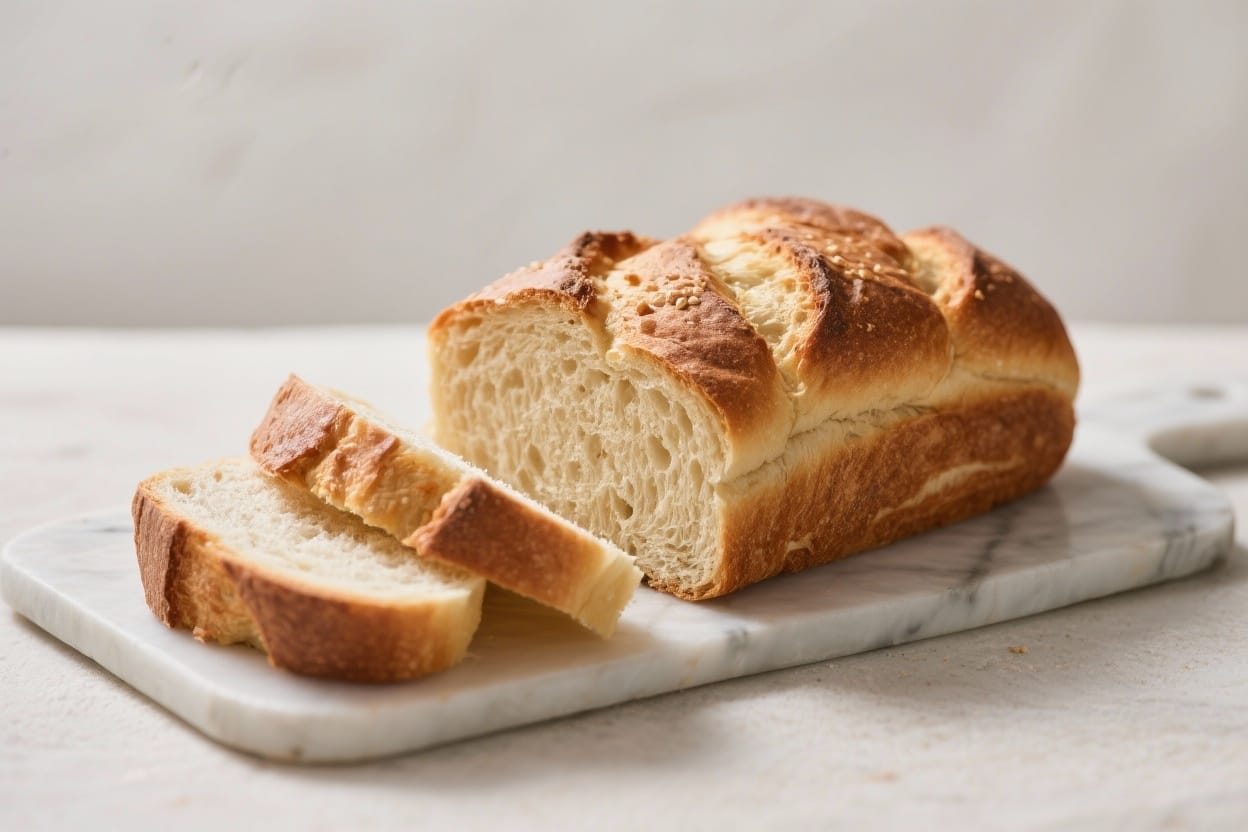
No Oven Bread Recipe – Simple, Soft, and Made on the Stovetop

If you’ve ever wanted fresh bread but don’t have an oven, this no oven bread recipe is a game-changer. It’s soft, chewy, and made right on your stovetop without special tools. The dough is straightforward, the rise time is forgiving, and the result is a warm loaf that feels homemade in the best way. You’ll get that satisfying bread aroma and a tender crumb without heating up your kitchen. Whether you’re a beginner or just short on equipment, this is a reliable, friendly recipe you’ll make again and again.
What Makes This Special
No oven bread recipe – No Oven Bread Recipe – Simple, Soft, and Made on the Stovetop If you’ve ever wanted fresh bread but
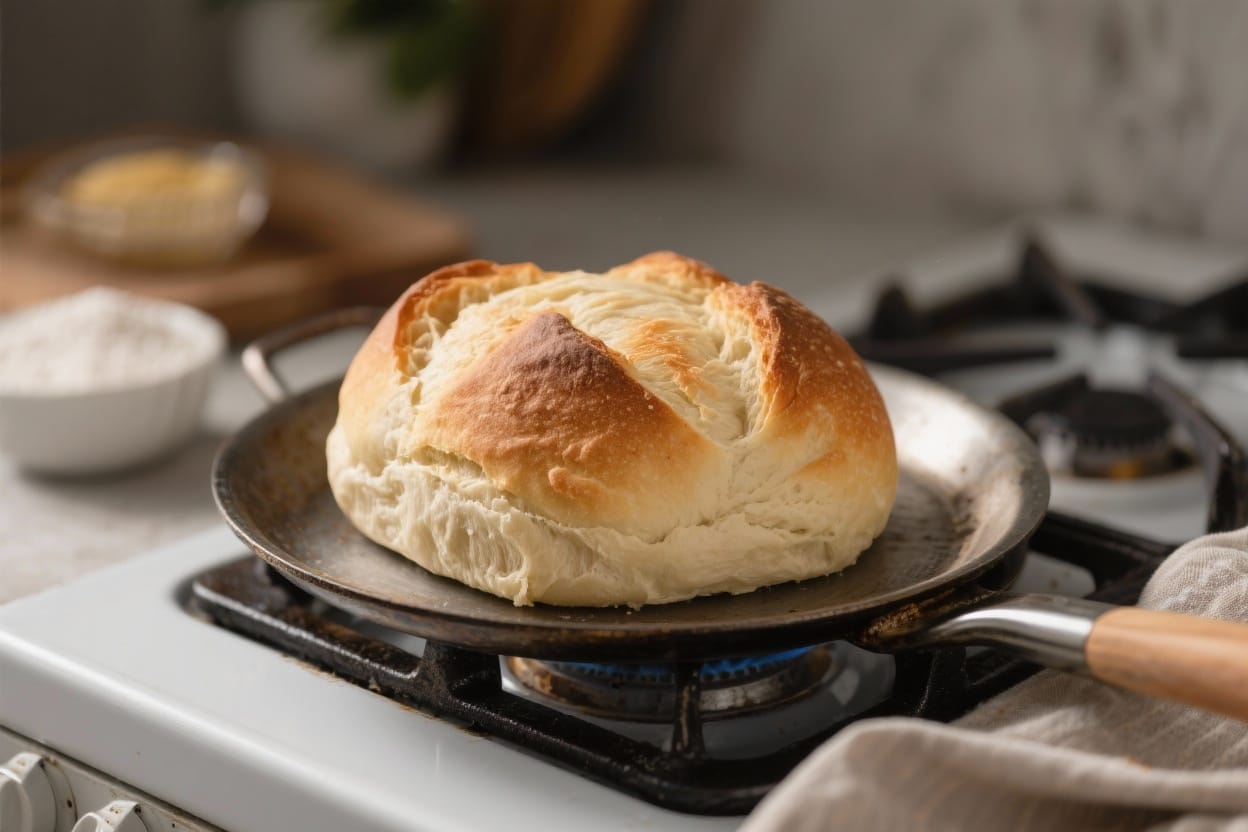
- No oven needed: Cooked in a heavy skillet or pot on the stovetop.
- Beginner-friendly: Simple ingredients and clear steps with room for small mistakes.
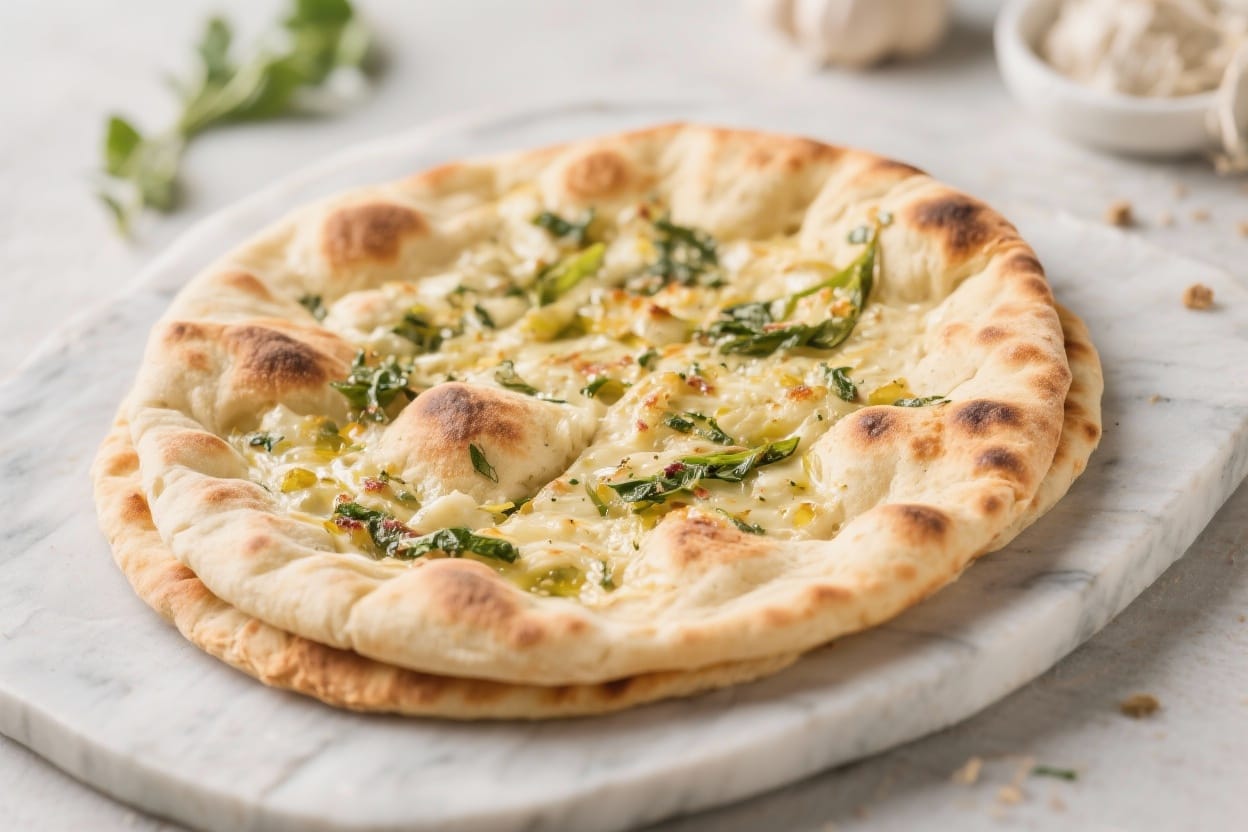
- Versatile: Great as a sandwich loaf, flatbread-style rounds, or mini buns.
- Quick to cook: While it still needs time to rise, the stovetop cook is faster than baking a full loaf.
- Budget-friendly: Pantry staples turn into something special with minimal effort.
Ingredients
No oven bread recipe – It’s soft, chewy, and made right on your stovetop without special tools
- 3 cups (360 g) all-purpose flour, plus extra for dusting
- 1 cup (240 ml) warm water, about 105–110°F (40–43°C)
- 2 teaspoons instant yeast (or 2 1/4 tsp active dry yeast)
- 1 tablespoon sugar or honey
- 1 teaspoon fine salt
- 2 tablespoons olive oil (plus a little more for greasing the pan)
- Optional: 2–3 tablespoons milk or yogurt for extra softness
- Optional topping: melted butter or olive oil for brushing
Instructions
No oven bread recipe – The dough is straightforward, the rise time is forgiving, and the result is a warm loaf that feels h
- Activate the yeast (if using active dry): In a bowl, mix warm water with sugar or honey. Sprinkle in the yeast, stir, and let it sit for 5–10 minutes until foamy. If using instant yeast, you can skip this step and add it directly to the flour.
- Make the dough: In a large bowl, combine flour and salt. Add the yeast mixture (or water plus instant yeast), olive oil, and optional milk or yogurt. Stir with a spoon until a shaggy dough forms.
- Knead until smooth: Turn the dough onto a lightly floured surface. Knead for 6–8 minutes, until the dough is smooth, elastic, and slightly tacky but not sticky. Add a dusting of flour if it’s too wet, a teaspoon at a time.
- First rise: Place the dough in a lightly oiled bowl, cover with a clean towel or plastic wrap, and let it rise in a warm spot until doubled, about 60–90 minutes.
- Shape the dough: For a single skillet loaf, gently deflate and form a tight round by tucking the edges underneath. For flatbread-style rounds, divide into 6–8 pieces and roll each into a ball.
- Second rise: If making a single loaf, set it on a lightly oiled plate or parchment, cover, and let rest 20–30 minutes. For rounds, rest the dough balls 15–20 minutes before flattening.
- Choose your cooking method:
- Heavy skillet method (flat rounds): Preheat a cast-iron or heavy nonstick skillet over medium heat for 5 minutes. Flatten each dough ball to about 1/2 inch thick. Cook one at a time, 3–4 minutes per side, until puffed with deep golden spots. Adjust heat to avoid burning.
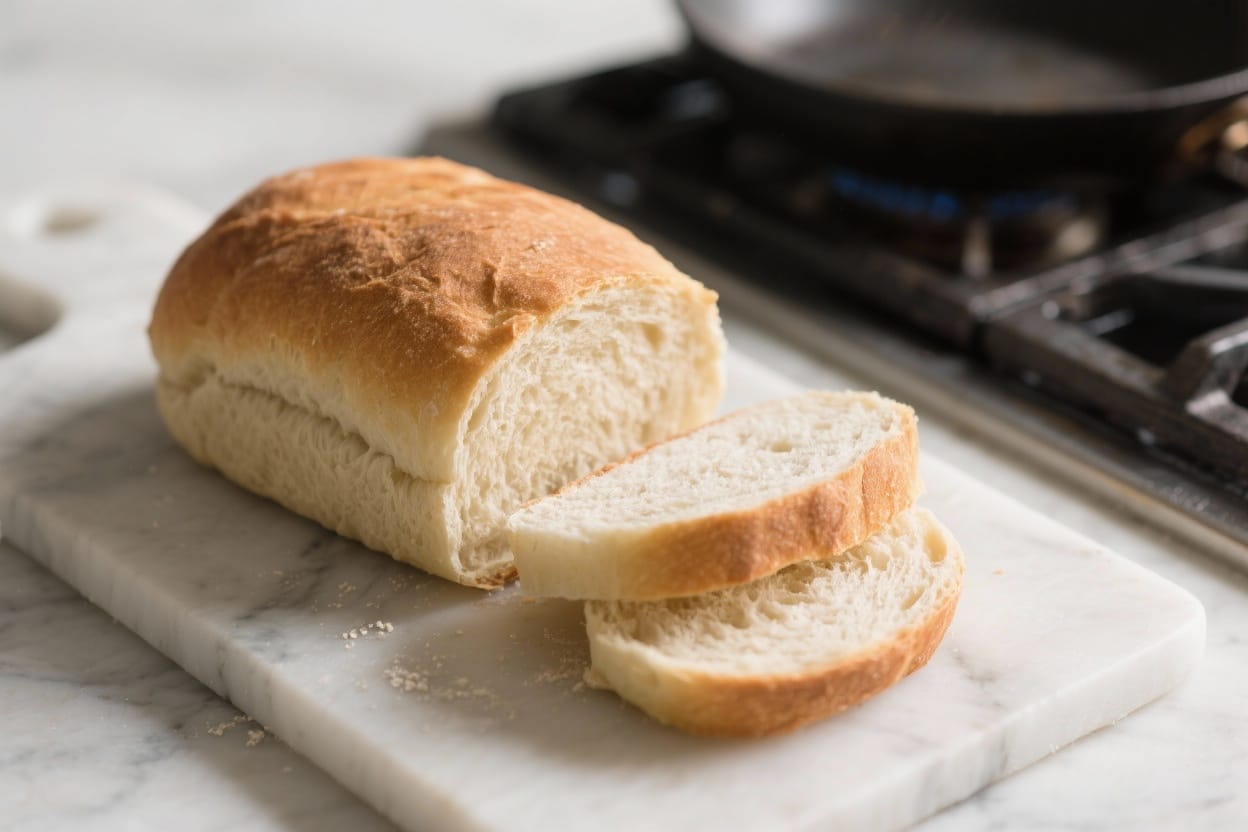
- Covered pot method (single loaf): Preheat a heavy pot with a lid (like a Dutch oven) over low-medium heat for 5 minutes. Lightly oil the base. Place the round loaf inside, cover, and cook 12–15 minutes. Flip carefully, cover, and cook another 10–12 minutes until the bottom sounds hollow when tapped.
- Check doneness: The bread should be deeply golden with a firm crust. For a single loaf, an instant-read thermometer should read about 195–200°F (90–93°C) in the center.
- Finish and rest: Brush with melted butter or olive oil if desired. Cool on a rack for at least 15 minutes before slicing to keep the crumb tender.
Storage Instructions
- Room temperature: Store in an airtight bag or container for up to 2 days. Let the bread cool completely before sealing to prevent condensation.
- Refrigerator: Not ideal—it can dry the bread. If you must, wrap well and rewarm before serving.
- Freezer: Slice, wrap tightly, and freeze for up to 2 months. Toast or warm in a covered skillet to revive the texture.
- Reheating: Sprinkle with a little water, then heat in a covered skillet over low heat for 2–3 minutes per side.
Why This is Good for You
- Simple ingredients: You know exactly what’s in your bread—no preservatives or hidden additives.
- Customizable nutrition: Swap in partial whole wheat, add seeds, or use yogurt for extra protein and softness.
- Less energy use: Cooking on the stovetop uses less energy than heating a full oven, and it keeps your kitchen cooler.
- Flexible portions: Make small rounds for portion control or a single loaf for sharing.
Pitfalls to Watch Out For
- Overheating the pan: Too much heat burns the crust before the inside cooks. Keep it at medium to medium-low and preheat gradually.
- Skipping the rest: Cutting into hot bread makes it gummy. Rest at least 15 minutes.
- Too much flour: Adding lots of flour during kneading makes the bread dense. Aim for slightly tacky dough.
- Underproofing: If the dough hasn’t doubled, it won’t be airy. Give it time in a warm spot.
- Lid leaks heat: For the covered pot method, a loose lid traps less steam. Use a well-fitting lid for even cooking.
Recipe Variations
- Whole Wheat Boost: Replace 1 cup of all-purpose flour with whole wheat. Add 1–2 teaspoons extra water if needed.
- Garlic and Herb: Mix in 1–2 teaspoons dried herbs (like rosemary or oregano) and 1 grated garlic clove. Brush cooked bread with garlic butter.
- Yogurt Flatbreads: Use 3/4 cup water and 1/4 cup plain yogurt for softer, tangier rounds.
- Seeded Crunch: Add 2 tablespoons each of sesame and sunflower seeds to the dough; sprinkle more on top before cooking.
- Cinnamon Honey: For a lightly sweet version, add 1 teaspoon cinnamon and 1 extra tablespoon honey. Great with butter.
- Cheesy Skillet Rounds: Press shredded cheese between two thin rounds and seal the edges; cook until bubbly and golden.
FAQ
Can I use whole wheat flour only?
You can, but the bread will be denser and may need more water. For a softer result, start with half whole wheat and half all-purpose, then adjust water 1 tablespoon at a time.
Do I need a cast-iron skillet?
No, but it helps with even browning. A heavy nonstick skillet or a thick-bottomed pot with a lid works well. Avoid thin pans that scorch easily.
How do I know the pan is the right temperature?
Sprinkle a few drops of water on the surface. They should sizzle gently and evaporate within a second or two. If they vanish instantly or smoke, the pan is too hot.
Can I make the dough ahead?
Yes. After the first rise, refrigerate the dough for up to 12 hours. Bring it to room temperature, shape, let it rest, and cook as directed.
What if my dough isn’t rising?
Check your yeast’s freshness and the water temperature. Move the bowl to a warmer spot, like near a sunny window or on top of the fridge. Give it an extra 30–45 minutes.
How do I get a softer crust?
Brush the bread with butter or olive oil right after cooking and cover it loosely with a clean towel while it cools. The steam softens the crust.
Can I add fillings?
Yes. For rounds, flatten the dough, add fillings like cheese, sautéed onions, or herbs, fold, and seal edges well. Cook over medium heat to avoid burning the outside.
Is this good for sandwiches?
Absolutely. The covered pot loaf makes a great sandwich bread. Let it cool fully before slicing thinly for clean cuts.
Can I make it gluten-free?
Use a 1:1 gluten-free flour blend that includes xanthan gum. The texture will differ, and you may need a bit less water. Cook over lower heat to avoid scorching.
How can I add more flavor?
Use a splash of milk or yogurt, add herbs, or swap some water for whey from strained yogurt. A longer, cooler rise in the fridge also deepens flavor.
In Conclusion
This no oven bread recipe proves you don’t need fancy equipment to make something warm, fresh, and satisfying. With a handful of ingredients and a steady stovetop, you can turn out loaves or rounds that fit weeknight meals, brunch spreads, or quick snacks. Keep the heat moderate, give the dough time, and let the bread rest before slicing. Once you master the rhythm, this will become a go-to recipe you’ll adapt in countless delicious ways.
Printable Recipe Card
Want just the essential recipe details without scrolling through the article? Get our printable recipe card with just the ingredients and instructions.