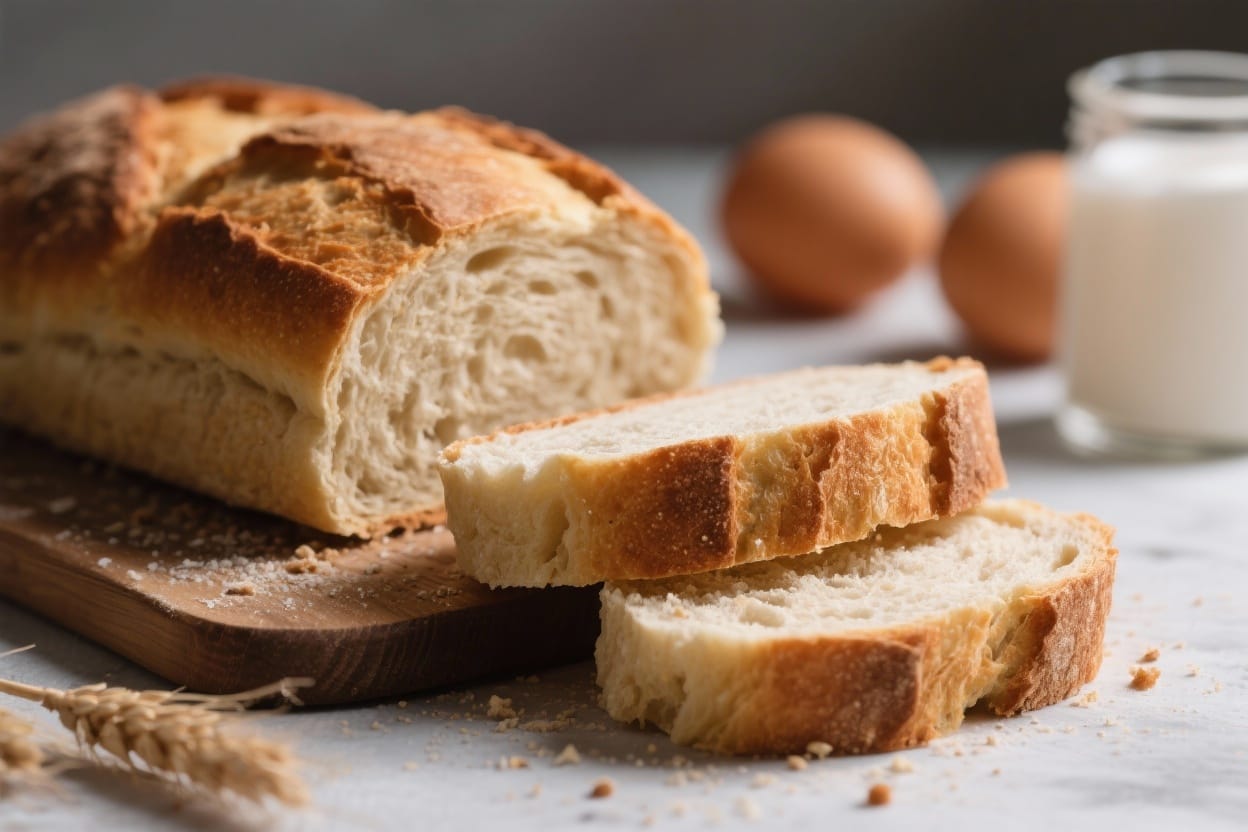
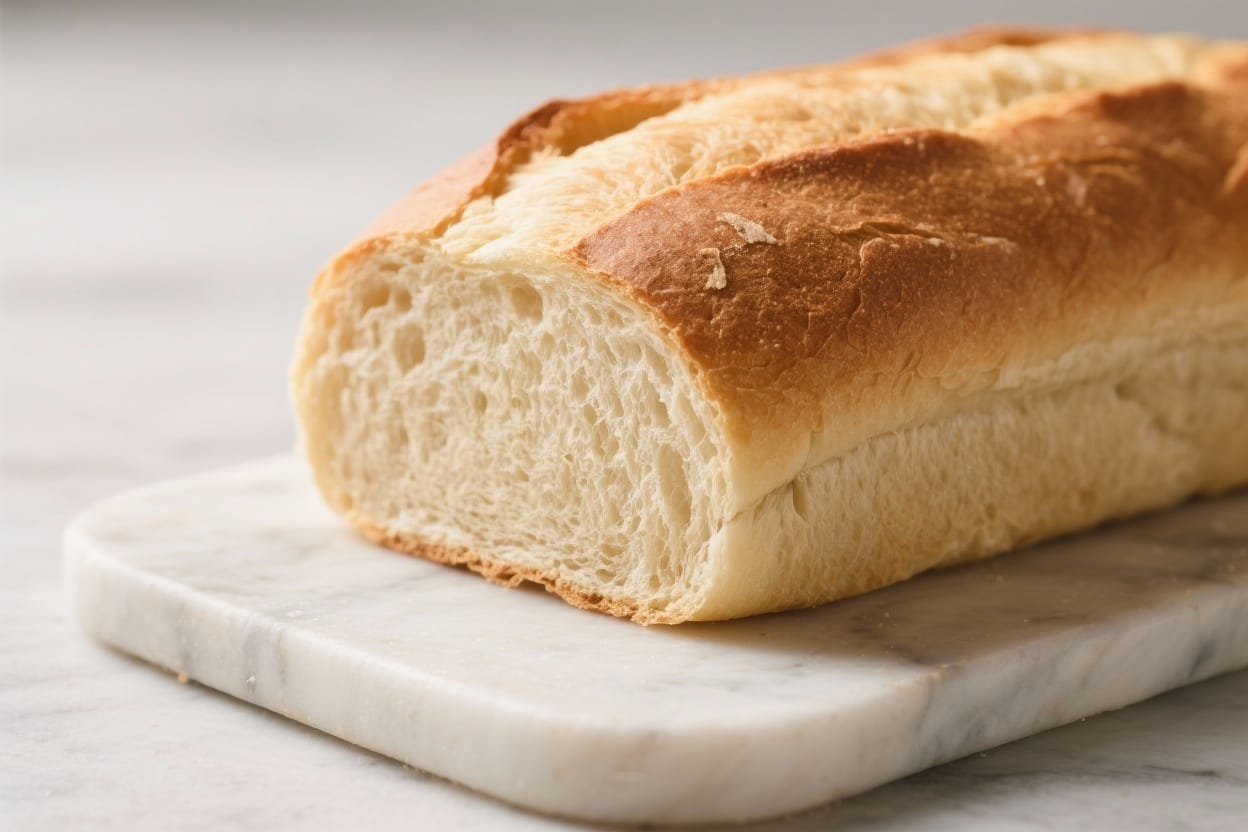
Family Size Bread Loaf – Soft, Simple, and Perfect for Sharing
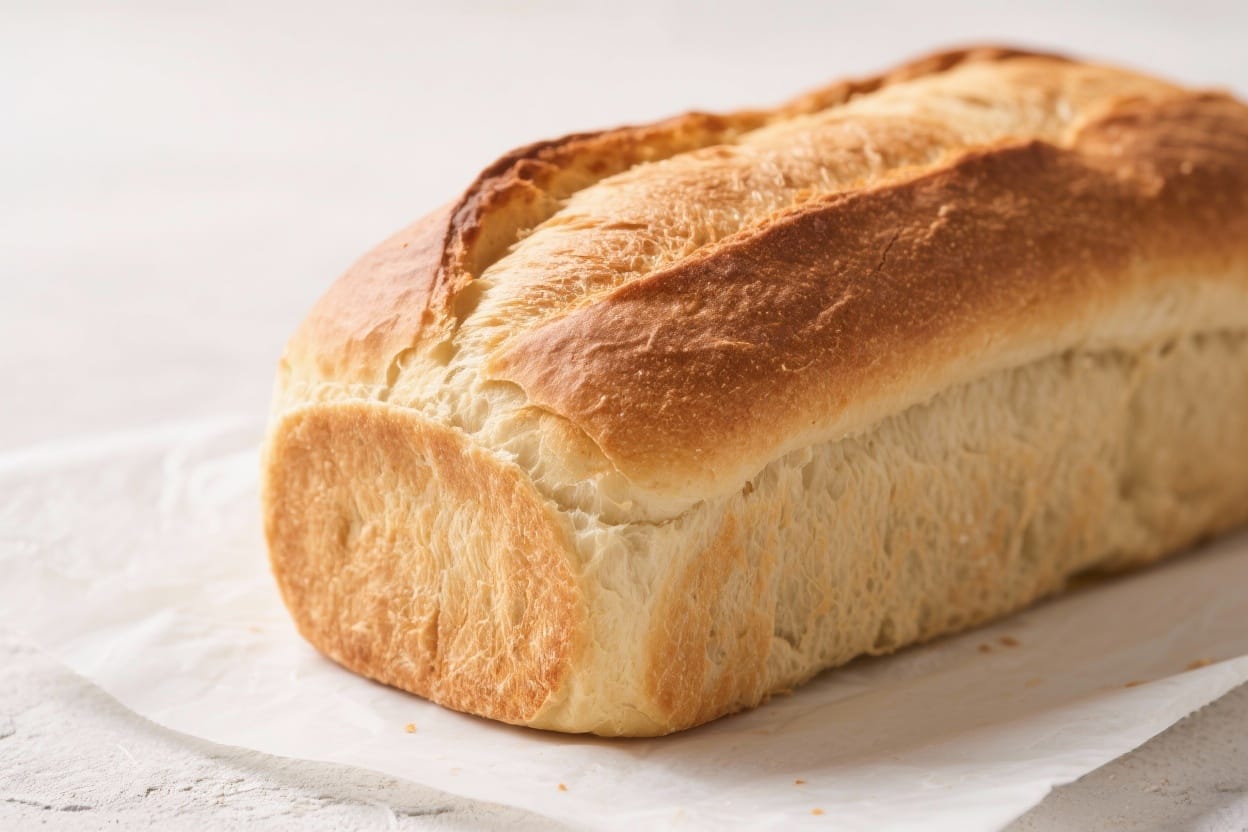
Nothing beats the smell of a fresh loaf coming out of the oven, especially one big enough to feed everyone at the table. This family size bread loaf is soft inside, with a golden crust that holds up to butter, jam, or a hearty sandwich. It’s simple to make with pantry staples and a little patience. If you’ve ever wanted a reliable, no-fuss bread that feels special but fits a busy day, this is a great one to keep on repeat. You’ll end up with slices that freeze well, toast beautifully, and make amazing grilled cheese.
What Makes This Special
Family size bread loaf – Family Size Bread Loaf – Soft, Simple, and Perfect for Sharing Nothing beats the smell of a fresh lo
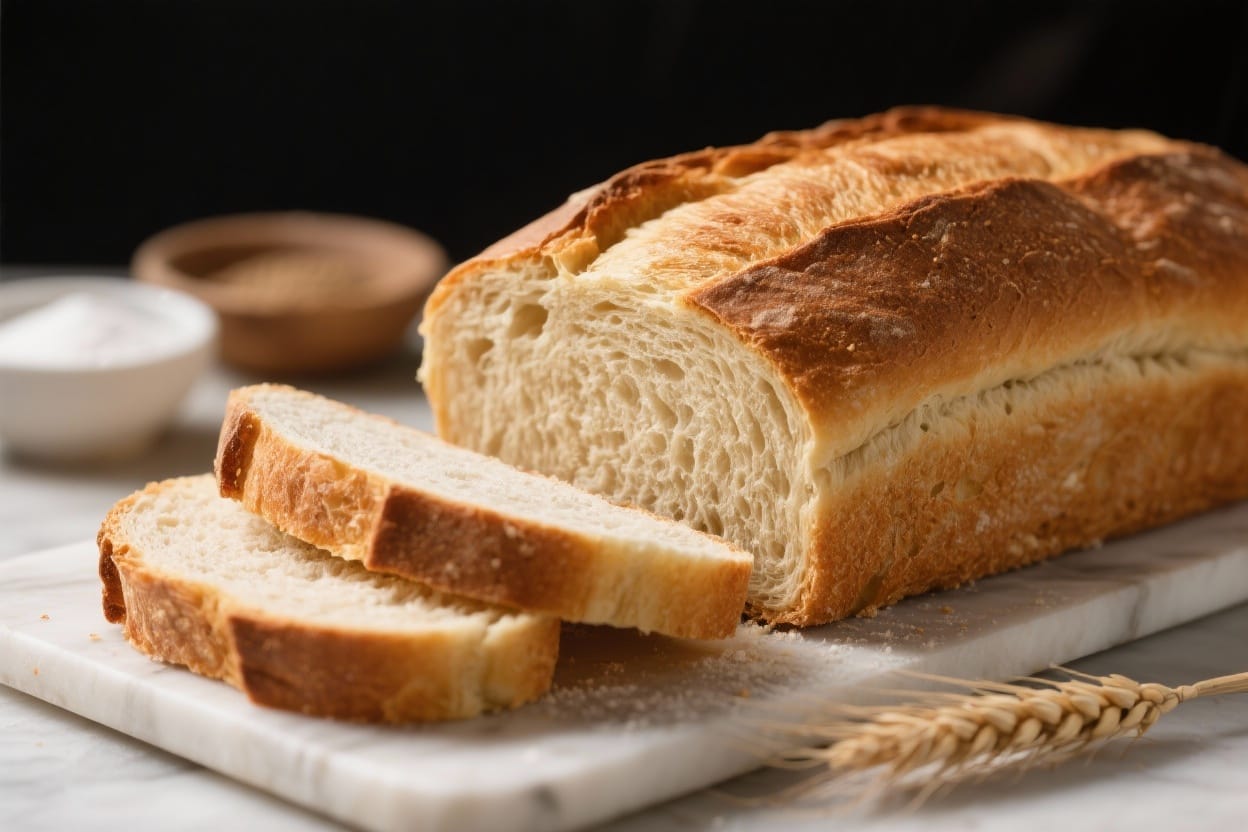
This loaf is designed for a crowd—or for leftovers you’ll actually use. It bakes tall and slices clean, so it’s great for sandwiches and toast without crumbling. The dough is enriched with a touch of oil and milk, which creates a soft, tender crumb and helps it stay fresh longer. You don’t need special equipment beyond a large loaf pan and your hands, though a stand mixer makes things simpler. Most of all, the flavor is warm and gently wheaty, with just the right chew.
Ingredients
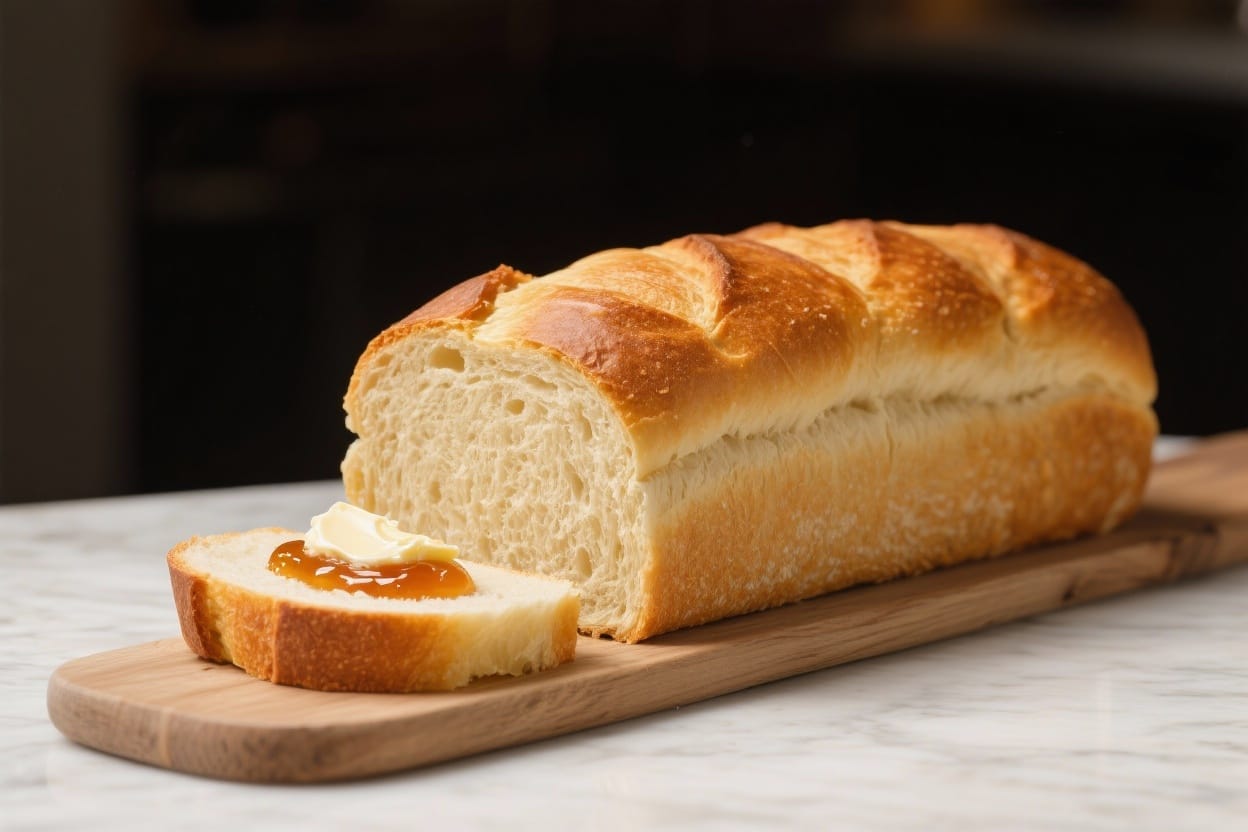
Family size bread loaf – This family size bread loaf is soft inside, with a golden crust that holds up to butter, jam, or a h
- 5 cups (600 g) bread flour (or all-purpose flour, plus 1–2 extra tablespoons if dough is sticky)
- 2 teaspoons fine sea salt
- 2 tablespoons granulated sugar
- 2 1/4 teaspoons instant yeast (one standard packet)
- 1 3/4 cups (415 ml) warm water (about 105–115°F/40–46°C)
- 1/2 cup (120 ml) warm milk (dairy or unsweetened plant milk)
- 3 tablespoons neutral oil (or melted unsalted butter)
- Optional: 1 egg for egg wash, or 1 tablespoon milk for brushing
- Optional toppings: sesame seeds, poppy seeds, or rolled oats
Instructions
Family size bread loaf – It’s simple to make with pantry staples and a little patience
- Prep your pan: Grease a large 9×5-inch or 10×5-inch loaf pan, or line it with parchment with overhang for easy lifting.
- Combine dry ingredients: In a big mixing bowl, whisk together flour, salt, sugar, and instant yeast. Keep the salt and yeast distributed well so fermentation stays even.
- Add liquids: Pour in warm water, warm milk, and oil. Stir with a sturdy spoon or a dough hook until a rough dough forms. If it looks too dry, add 1–2 tablespoons more warm water.
- Knead the dough: Knead on a lightly floured surface for 8–10 minutes (or 6–8 minutes in a stand mixer on low). You’re aiming for a smooth, elastic dough that springs back when pressed. It should be soft and slightly tacky, not sticky.
- First rise: Shape into a ball and place in a lightly oiled bowl. Cover with a damp towel or plastic wrap. Let rise in a warm, draft-free spot until doubled, about 60–90 minutes.
- Shape the loaf: Gently deflate the dough. Pat into a rectangle roughly the length of your pan. Roll it up snugly from the short end, pinching the seam. Tuck the ends under for a clean shape.
- Pan and second rise: Place the log seam-side down into the prepared pan. Cover and let rise until the dough crowns about 1 inch above the rim, 45–75 minutes depending on your room temperature. Do not overproof—it should feel puffy and slow to spring back when gently pressed.
- Preheat the oven: Heat to 375°F (190°C) during the second rise so it’s ready to go.
- Brush and top: For a glossy finish, brush with beaten egg or milk. Sprinkle seeds or oats if you like.
- Bake: Bake for 35–45 minutes, until the top is deep golden and the loaf sounds hollow when tapped. Internal temperature should reach 195–200°F (90–93°C) for doneness.
- Cool properly: Let the loaf rest in the pan for 10 minutes, then transfer to a wire rack. Cool at least 1 hour before slicing to set the crumb and avoid gumminess.
Keeping It Fresh
Once cooled, store the loaf at room temperature in a breathable bag or wrapped in a clean towel for up to 3 days. Avoid the fridge, which dries bread out quickly. For longer storage, slice the loaf, then freeze in a sealed bag with the air pressed out. You can toast slices straight from the freezer. If the crust softens over time, refresh slices in a toaster or warm the whole loaf at 300°F (150°C) for 8–10 minutes.
Why This is Good for You
Homemade bread gives you control over ingredients—no hidden preservatives or excess sodium. This loaf uses simple, recognizable staples and a modest amount of fat for tenderness, not heaviness. Bread also delivers steady energy from complex carbohydrates, especially when you pair slices with protein and fiber-rich toppings. If you swap in part whole wheat flour, you’ll add more fiber and micronutrients without losing softness.
Pitfalls to Watch Out For
- Water too hot: If your water is too hot, it can kill the yeast. Aim for pleasantly warm, not steaming.
- Under-kneading: A short knead can lead to a dense loaf. Make sure the dough passes the “windowpane test”—a thin stretch without tearing.
- Overproofing: If the dough rises too long, it may collapse or bake with tunnels. Check early and often in warm rooms.
- Cutting too soon: Slicing hot bread compresses the crumb. Wait until it’s mostly cool for neat slices.
- Flour overload: Adding too much flour while kneading makes a dry, tough loaf. Keep the dough slightly tacky.
Recipe Variations
- Half Whole Wheat: Replace 2 cups of the bread flour with whole wheat flour. Add 1–2 tablespoons extra water if needed.
- Honey-Oat: Swap sugar for 2 tablespoons honey and press rolled oats onto the top after brushing. Gentle sweetness and a rustic look.
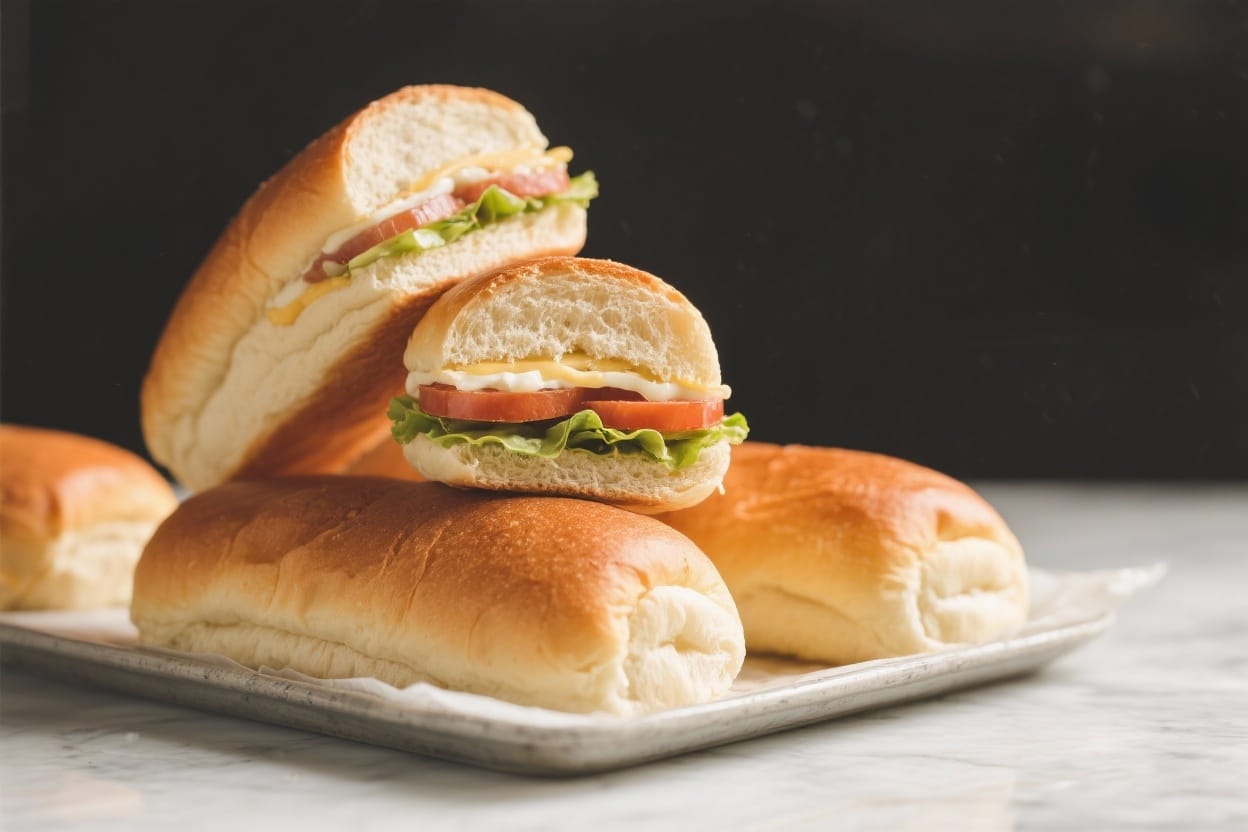
- Garlic and Herb: Mix 2 teaspoons dried Italian herbs and 1 teaspoon garlic powder into the dry ingredients. Great for savory sandwiches.
- Milk-Only Soft Loaf: Replace all water with milk for an ultra-soft crumb and a slightly richer taste.
- Seeded Loaf: Fold 1/2 cup mixed seeds (sunflower, pumpkin, sesame) into the dough during the last minute of kneading.
- Olive Oil and Sea Salt: Use olive oil and sprinkle flaky salt over the top after brushing for a bakery-style finish.
FAQ
Can I use active dry yeast instead of instant yeast?
Yes. Use the same amount, but proof it first: stir the yeast with the warm water and sugar, let it sit 5–10 minutes until foamy, then proceed. Adjust the remaining liquids as needed to keep the dough soft.
What if I don’t have a large loaf pan?
Split the dough into two smaller 8×4-inch pans and start checking for doneness around 28–32 minutes. You can also shape it into a freeform bâtard on a sheet pan; it will spread more and bake a bit faster.
How can I tell if I’ve kneaded enough?
The dough should be smooth and elastic, and when you stretch a small piece, it should form a thin “windowpane” without tearing quickly. It should also spring back slowly when poked with a finger, just like soft dinner rolls.
Why is my loaf pale on top?
Underbaking or low oven temperature can cause a pale crust. Make sure your oven is fully preheated, and consider brushing with egg wash or milk for deeper browning. You can also bake the last 5 minutes without the pan for extra color.
Can I make this dough ahead?
Yes. After the first rise, punch down, cover tightly, and refrigerate up to 18 hours. Let it sit at room temperature for 45–60 minutes, shape, proof in the pan, and bake as directed.
How do I get a crispier crust?
Place a preheated baking stone or an inverted sheet pan in the oven and add a small pan of hot water to create steam for the first 10 minutes. Bake directly on the hot surface for better oven spring and a crisper crust.
Can I make it dairy-free?
Yes. Use warm water or unsweetened plant milk in place of dairy milk, and choose oil instead of butter. The loaf will still be soft and flavorful.
What’s the best way to slice it?
Let the loaf cool fully, then use a long serrated bread knife. For even slices, turn the loaf on its side and cut with gentle sawing motions.
Final Thoughts
This family size bread loaf brings comfort and practicality in one pan. It’s easy enough for a weekday and special enough for a weekend breakfast spread. With a few simple steps and reliable ingredients, you get a tall, soft, versatile loaf that suits almost any meal. Keep a batch of slices in the freezer, and you’ll always be a minute away from fresh, homemade bread.
Printable Recipe Card
Want just the essential recipe details without scrolling through the article? Get our printable recipe card with just the ingredients and instructions.