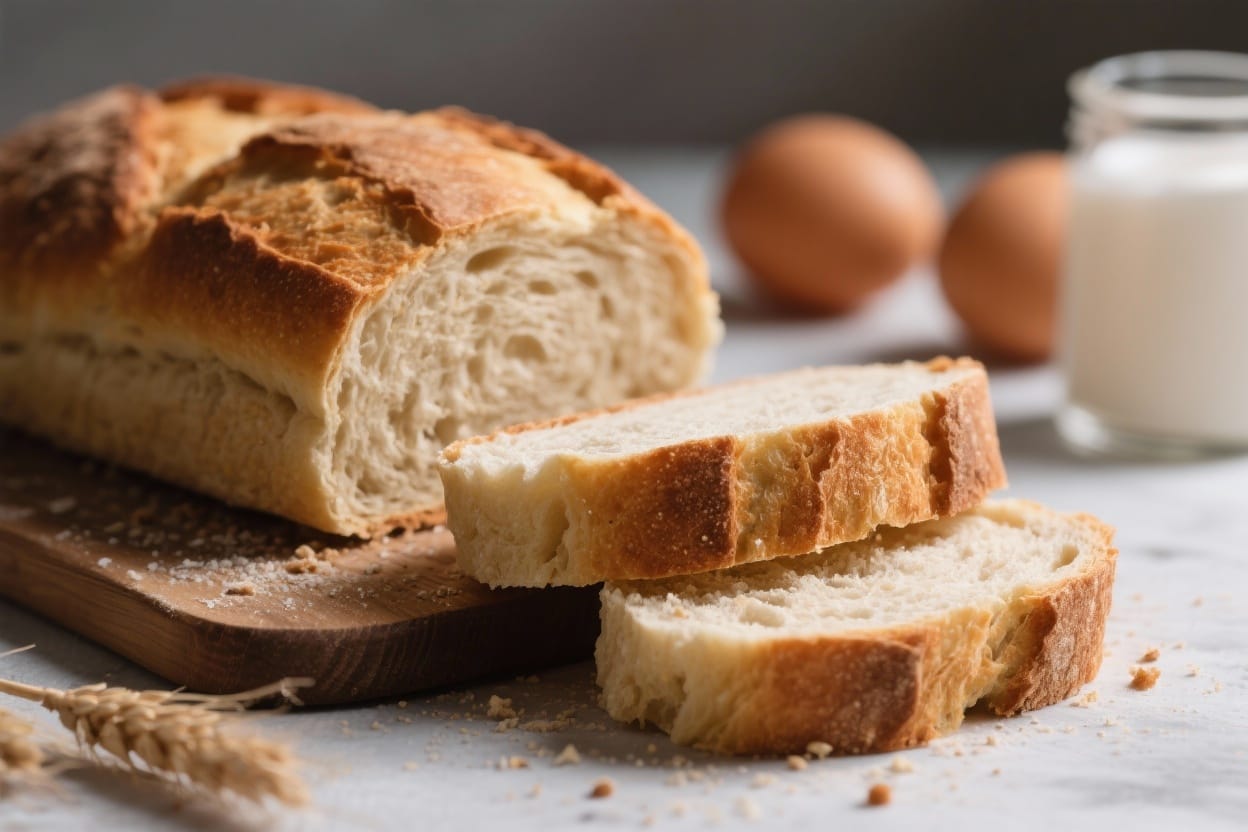
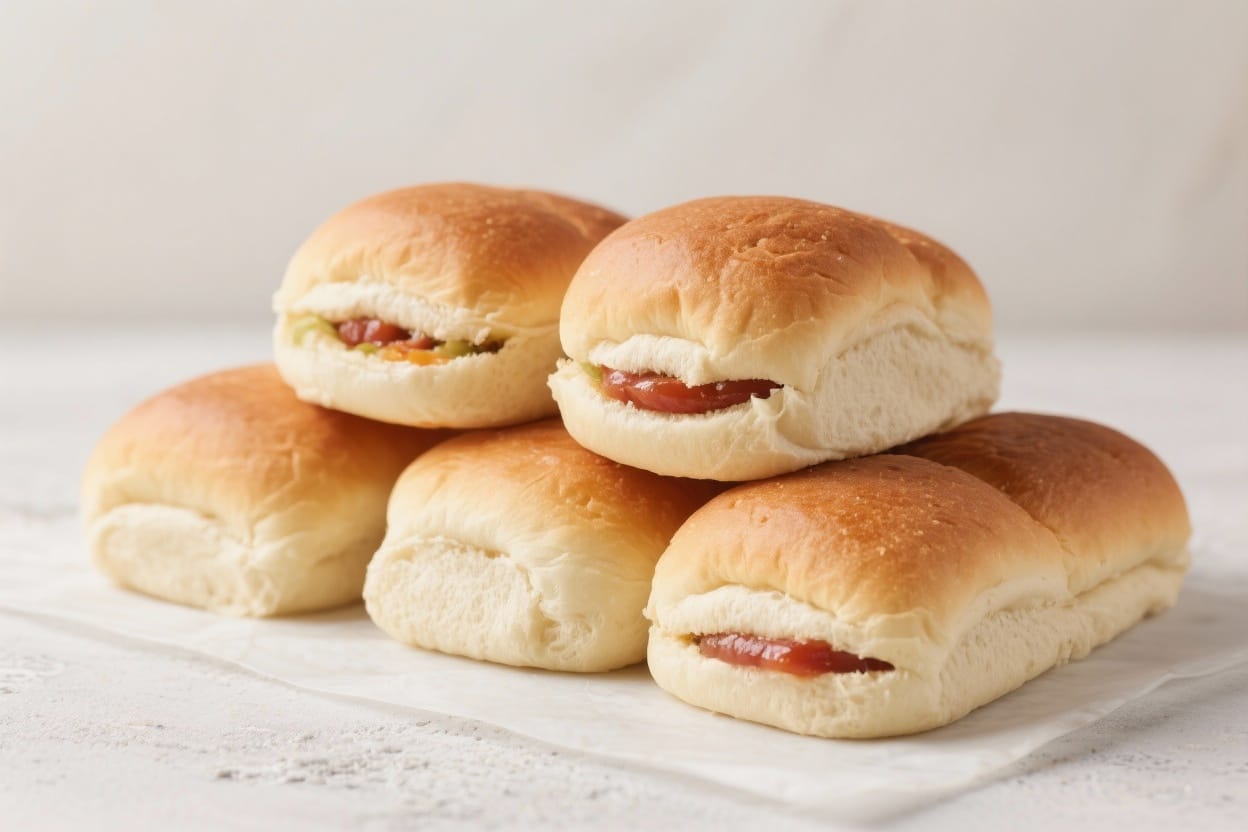
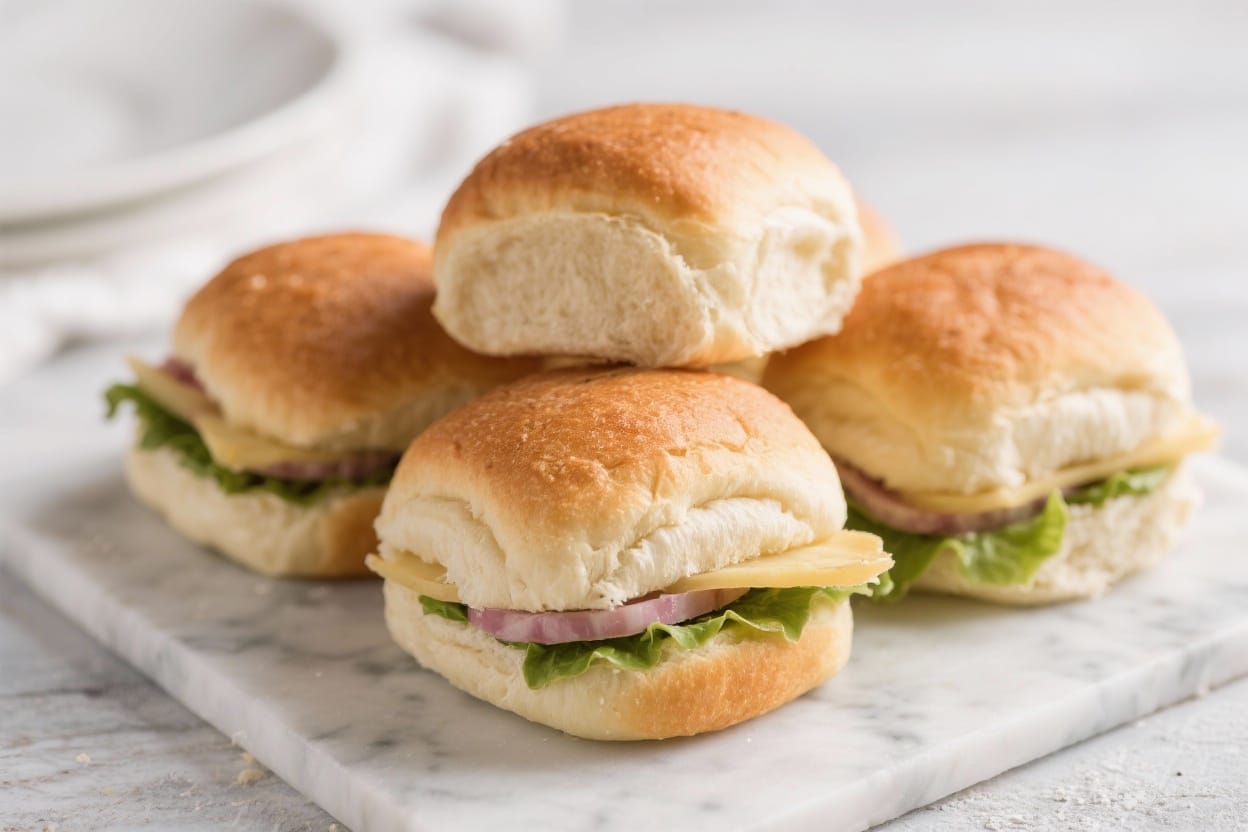
Classic Sandwich Rolls – Soft, Sturdy, and Perfect for Everyday Sandwiches
If you love a good sandwich, having the right roll makes all the difference. These classic sandwich rolls are soft inside, slightly chewy outside, and strong enough to hold juicy fillings without falling apart. They’re simple to make, even if you’re new to baking, and they beat store-bought every time. Use them for deli sandwiches, burgers, pulled pork, or breakfast egg sandwiches. You’ll get dependable results with ingredients you probably already have in your kitchen.
What Makes This Special
Classic sandwich rolls – Classic Sandwich Rolls – Soft, Sturdy, and Perfect for Everyday Sandwiches If you love a good sandwi
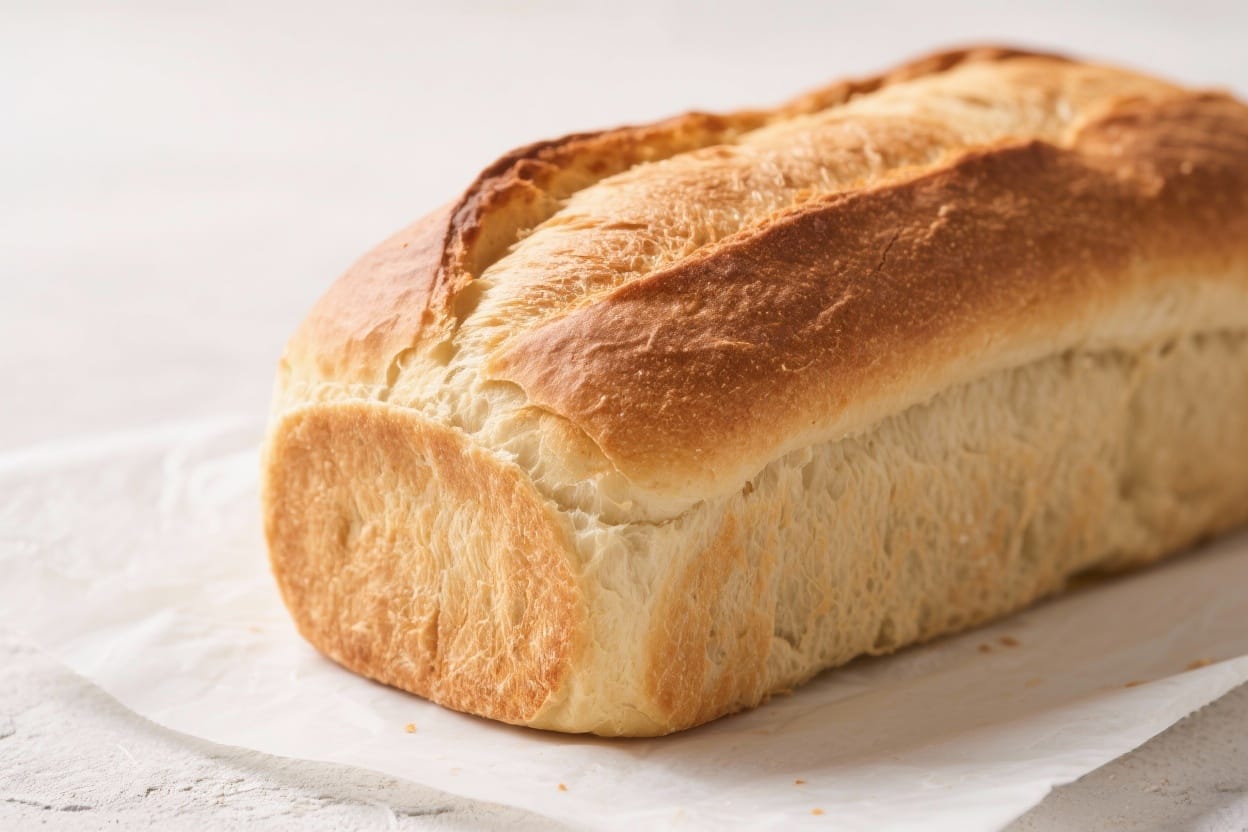
These rolls strike the sweet spot between soft and sturdy. They have a tender crumb that’s great for biting into, but enough structure to carry heavier fillings. The dough includes a touch of butter and milk to keep the rolls moist for days. The shaping method creates that classic rounded look with a smooth top. And best of all, the process is straightforward and forgiving, so you get bakery-quality rolls at home without stress.
Ingredients
Classic sandwich rolls – These classic sandwich rolls are soft inside, slightly chewy outside, and strong enough to hold juic
- 3 1/2 cups (420 g) bread flour(or all-purpose flour, see Burger And Sandwich Bread Rolls)
- 1 cup (240 ml) warm milk(about 105–110°F / 40–43°C)
- 1/3 cup (80 ml) warm water
- 2 tablespoons (25 g) granulated sugar
- 2 1/4 teaspoons (7 g) instant yeast(or active dry, see FAQ)
- 1 1/2 teaspoons fine sea salt
- 3 tablespoons (42 g) unsalted butter, softened
- 1 large egg
- Optional for topping:1 egg white + 1 tablespoon water for egg wash; sesame or poppy seeds
Instructions
Classic sandwich rolls – They’re simple to make, even if you’re new to baking, and they beat store-bought every time
- Warm the liquids. In a small bowl or measuring cup, combine warm milk and warm water. The mixture should feel warm but not hot. If it’s too hot, let it cool a bit to avoid harming the yeast.
- Mix the dough. In a large bowl, add flour, sugar, instant yeast, and salt. Stir to combine. Add the warm milk mixture, egg, and softened butter. Mix with a spoon or stand mixer until a shaggy dough forms.
- Knead until smooth. Knead by hand on a lightly floured surface or with a dough hook on medium speed for 8–10 minutes. The dough should be slightly tacky but pull away cleanly from the bowl. If very sticky, add 1–2 tablespoons more flour as needed.
- First rise. Shape the dough into a ball and place it in a lightly oiled bowl. Cover and let rise in a warm, draft-free spot until doubled, about 60–90 minutes, depending on room temperature.
- Divide and pre-shape. Turn the dough out and gently deflate it. Divide into 8 equal pieces for larger sandwich rolls or 10 for smaller buns. Pre-shape each piece into a loose ball and let rest for 10 minutes (this relaxes the gluten).
- Shape the rolls. Cup your hand over each piece and roll it against the counter in tight circles to create a smooth, taut ball. For sub-style rolls, roll each piece into a short log about 5–6 inches long.
- Second rise. Place shaped rolls on a parchment-lined baking sheet, spacing them a couple inches apart. Lightly cover and let rise until puffy and almost doubled, 40–60 minutes. They should slowly spring back when gently pressed.
- Preheat and prepare. Heat the oven to 375°F (190°C). If using egg wash, whisk egg white with water and gently brush the tops. Sprinkle seeds if desired.
- Bake. Bake for 15–18 minutes, rotating the pan once, until the rolls are golden and an instant-read thermometer in the center reads about 195°F (90°C). They should sound hollow when tapped.
- Cool. Let the rolls cool on a wire rack for at least 20 minutes before slicing. This sets the crumb and prevents squishing.
Storage Instructions
- Room temperature: Store cooled rolls in an airtight bag or container for up to 3 days.
- Freeze: Wrap each roll tightly, then place in a freezer bag. Freeze up to 2 months. Thaw at room temperature and refresh in a warm oven for 5–8 minutes.
- Slice before freezing: For easy sandwiches, slice the rolls before freezing. Toast straight from frozen.
Benefits of This Recipe
- Reliable texture: Soft interior and light chew that holds sauces and fillings.
- Simple ingredients: No special additives or conditioners needed.
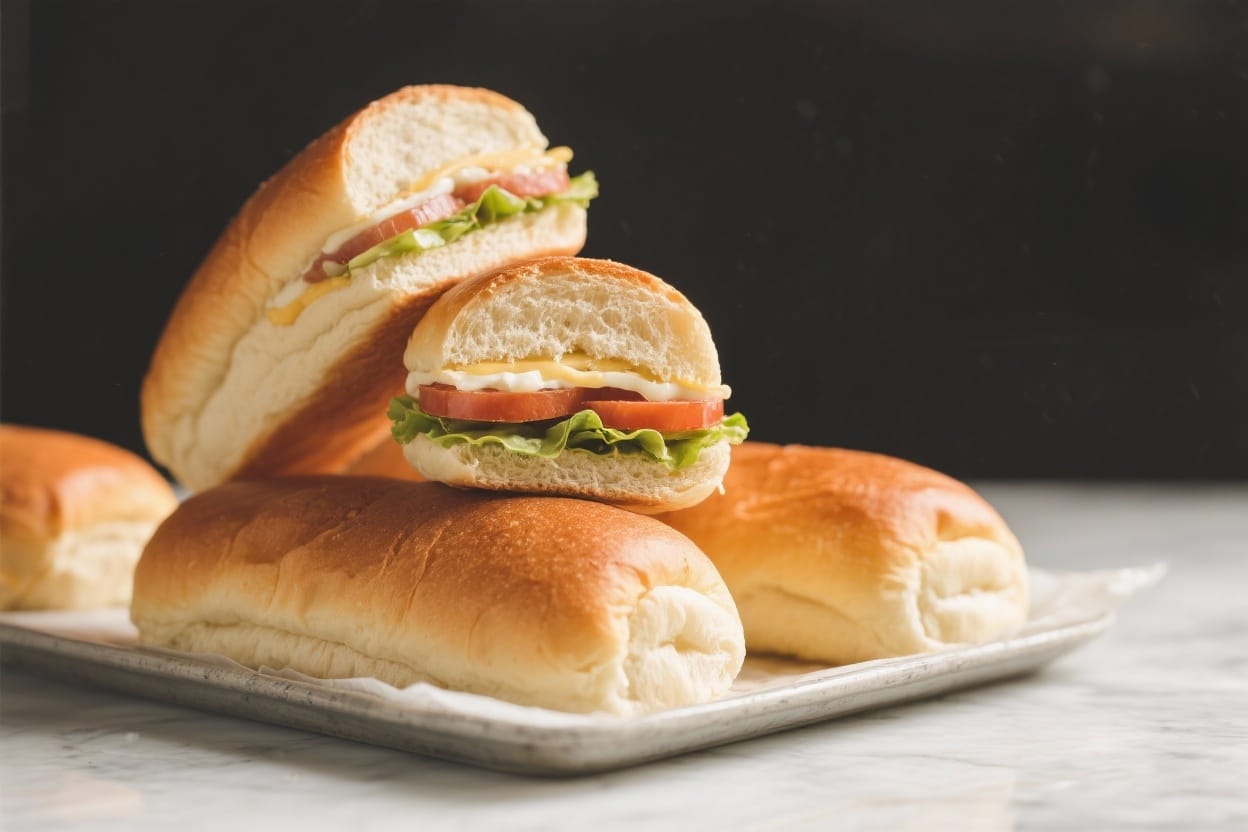
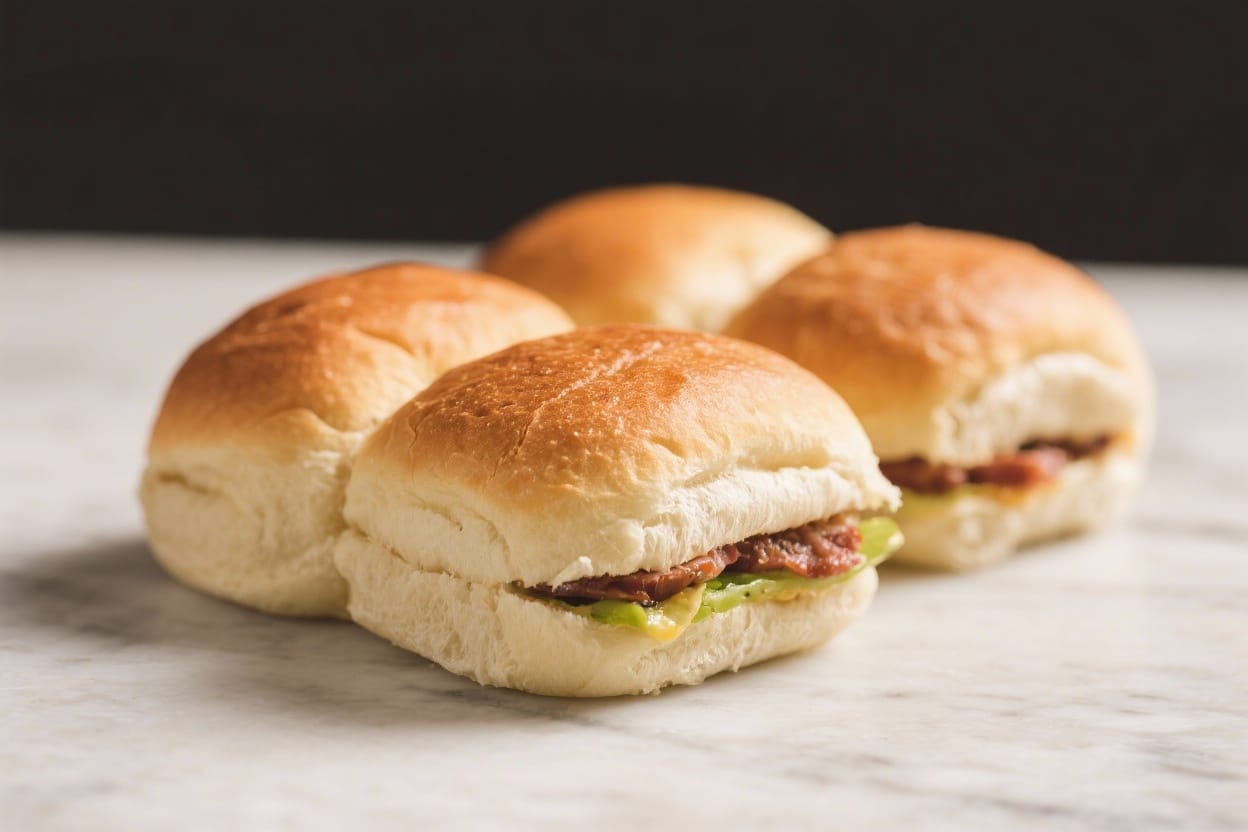
- Flexible shaping: Make round buns, sub rolls, or slider-sized mini rolls.
- Great flavor: A touch of butter and milk makes them richer than basic water rolls.
- Budget-friendly: Homemade rolls cost less and taste better than store-bought.
What Not to Do
- Don’t rush the rises. Under-proofed dough makes dense, tight rolls.
- Don’t add too much flour. Extra flour can dry out the dough and lead to tough rolls. Aim for slightly tacky.
- Don’t bake too hot. High heat browns fast but leaves centers underdone.
- Don’t slice too soon. Cutting hot rolls compresses the crumb and makes them gummy.
- Don’t skimp on salt. Salt controls yeast and boosts flavor; reducing it can affect texture.
Alternatives
- No milk: Use all water and add 1 tablespoon olive oil for softness. Rolls will be slightly less rich but still tender.
- No butter: Swap in 3 tablespoons olive oil or neutral oil.
- All-purpose flour: Works fine. Rolls will be a bit softer and less chewy than with bread flour.
- Whole wheat: Replace up to 40% of the flour with whole wheat. Add 1–2 tablespoons extra water if the dough feels stiff.
- Sweet topping: Brush with milk and sprinkle a pinch of sugar for a lightly sweet crust.
- Everything seasoning: After egg wash, add everything bagel seasoning for a deli-style twist.
FAQ
Can I use active dry yeast instead of instant yeast?
Yes. Proof 2 1/4 teaspoons active dry yeast in the warm milk and water with the sugar for 5–10 minutes until foamy, then proceed. Rising times may be slightly longer.
How do I know when the dough is kneaded enough?
The dough should be smooth and elastic, slightly tacky but not sticky. If you stretch a small piece, it should form a thin window without tearing easily. That’s your cue to stop.
My rolls spread too much. What went wrong?
Likely under-kneading or over-proofing. Knead until elastic, and during the second rise, bake when the rolls look puffy but still hold their shape. Also verify your oven is fully preheated.
Can I make the dough ahead?
Yes. After the first rise, punch down, cover, and refrigerate up to 24 hours. Bring to room temperature, shape, let rise, and bake. Cold dough may need extra time to proof.
How do I get a shinier crust?
Brush with egg wash before baking. For extra sheen and softness, lightly brush with melted butter right after baking.
What’s the best way to slice the rolls?
Use a serrated knife once the rolls are fully cool. For sandwich buns, slice almost all the way through to create a hinge that holds fillings neatly.
Can I make them gluten-free?
Use a high-quality gluten-free bread flour blend designed for yeasted breads and follow the package guidance for hydration. Texture will differ, but you can still get a good sandwich roll.
How can I add more flavor?
Mix in 1–2 teaspoons of dried herbs, roasted garlic, or a teaspoon of onion powder. You can also use a preferment like a poolish for deeper flavor, resting it overnight before mixing the dough.
Wrapping Up
These classic sandwich rolls are the kind of recipe you keep coming back to—easy steps, dependable texture, and a taste that beats anything in the bread aisle. Once you make a batch, you’ll find endless uses for them throughout the week. Keep a few in the freezer, and great sandwiches are always within reach. Simple ingredients, simple method, standout results—that’s a win for any home cook.
Printable Recipe Card
Want just the essential recipe details without scrolling through the article? Get our printable recipe card with just the ingredients and instructions.