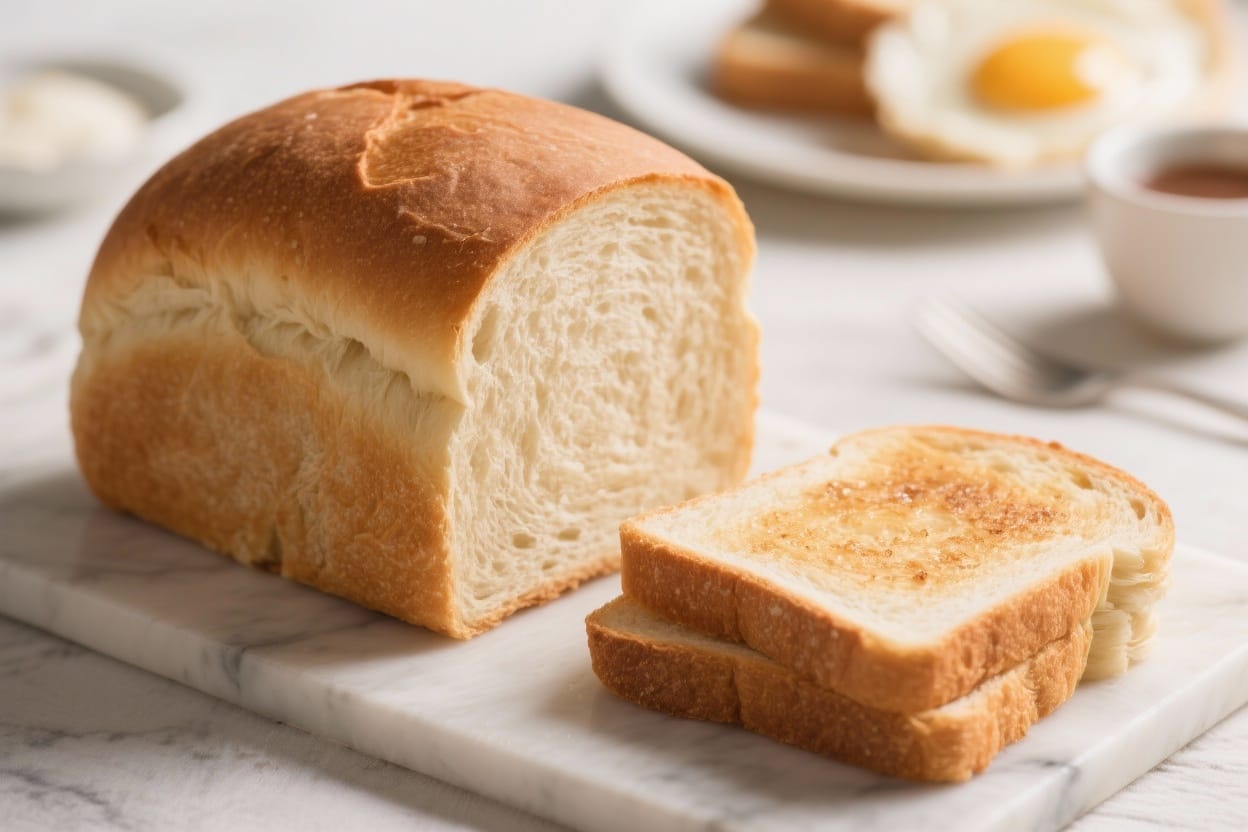
Soft Bread for Toast Recipe – Pillowy Loaf With a Golden Crunch
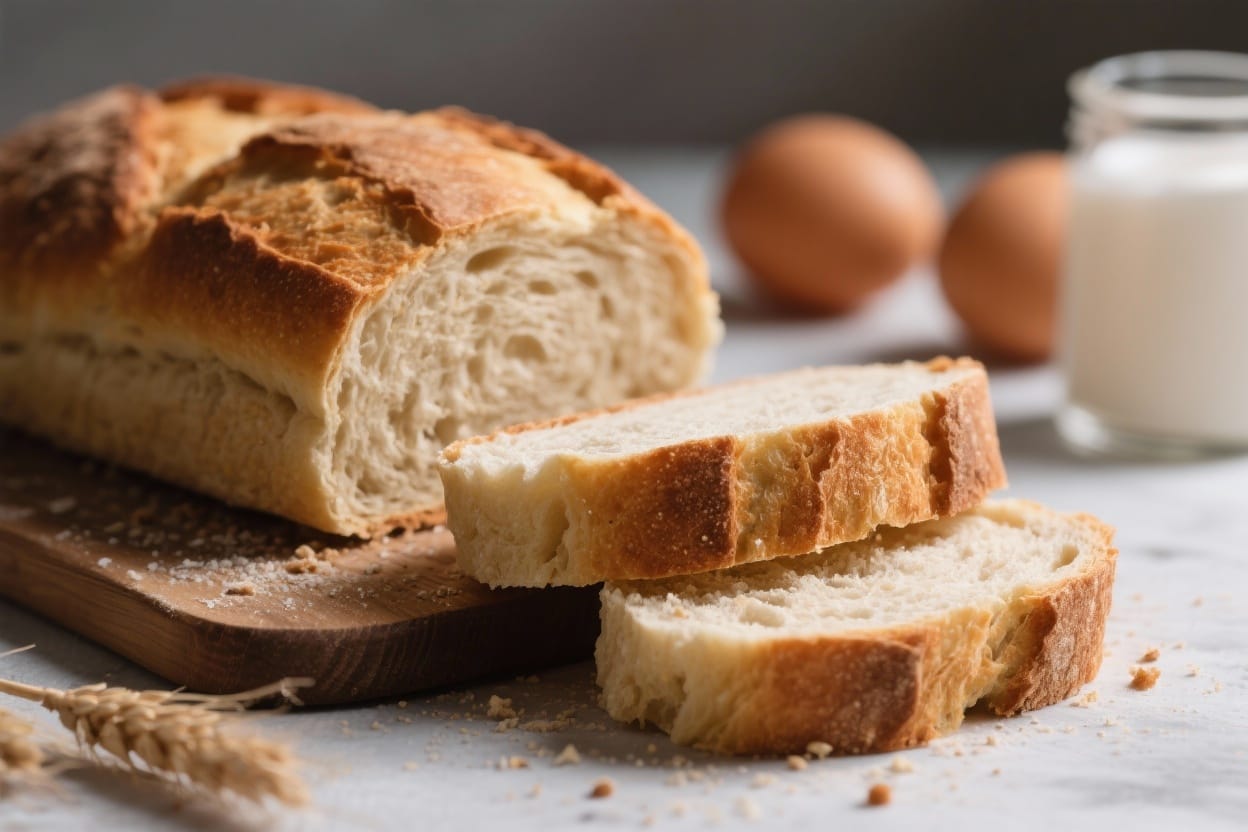
This soft bread for toast recipe gives you a loaf that slices beautifully and toasts up golden, crisp at the edges, and tender inside. It’s the kind of bread that turns a simple breakfast into something comforting and satisfying. You don’t need special equipment, just a mixing bowl and a bit of patience. The dough is easy to handle and forgiving, and the results are consistently great. Make it once, and you’ll want a loaf on your counter every week.
Why This Recipe Works
Soft bread for toast recipe – Soft Bread for Toast Recipe – Pillowy Loaf With a Golden Crunch This soft bread for toast recipe giv
This bread uses a mix of milk and butter for a tender crumb that stays soft for days. A touch of sugar feeds the yeast and adds gentle sweetness without making it taste like dessert. The dough is enriched but not heavy, so it bakes up light, springy, and perfect for toasting. Resting the dough long enough builds gluten, which gives the loaf structure and that satisfying, even slice. Finally, baking in a loaf pan keeps it tall and uniform for clean, toaster-ready slices.
Ingredients
Soft bread for toast recipe – It’s the kind of bread that turns a simple breakfast into something comforting and satisfying
- 3 cups (360 g) bread flour (or all-purpose flour, plus 1–2 tablespoons more as needed)
- 2 1/4 teaspoons (7 g) instant or active dry yeast
- 2 tablespoons (25 g) granulated sugar
- 1 teaspoon fine sea salt
- 3/4 cup (180 ml) warm milk (about 105–110°F / 40–43°C)
- 1/2 cup (120 ml) warm water (about 105–110°F / 40–43°C)
- 3 tablespoons (42 g) unsalted butter, softened
- 1 large egg (room temperature, optional but recommended for extra softness)
- Neutral oil or softened butter for greasing
- 1 tablespoon milk for brushing the top (optional)
Instructions
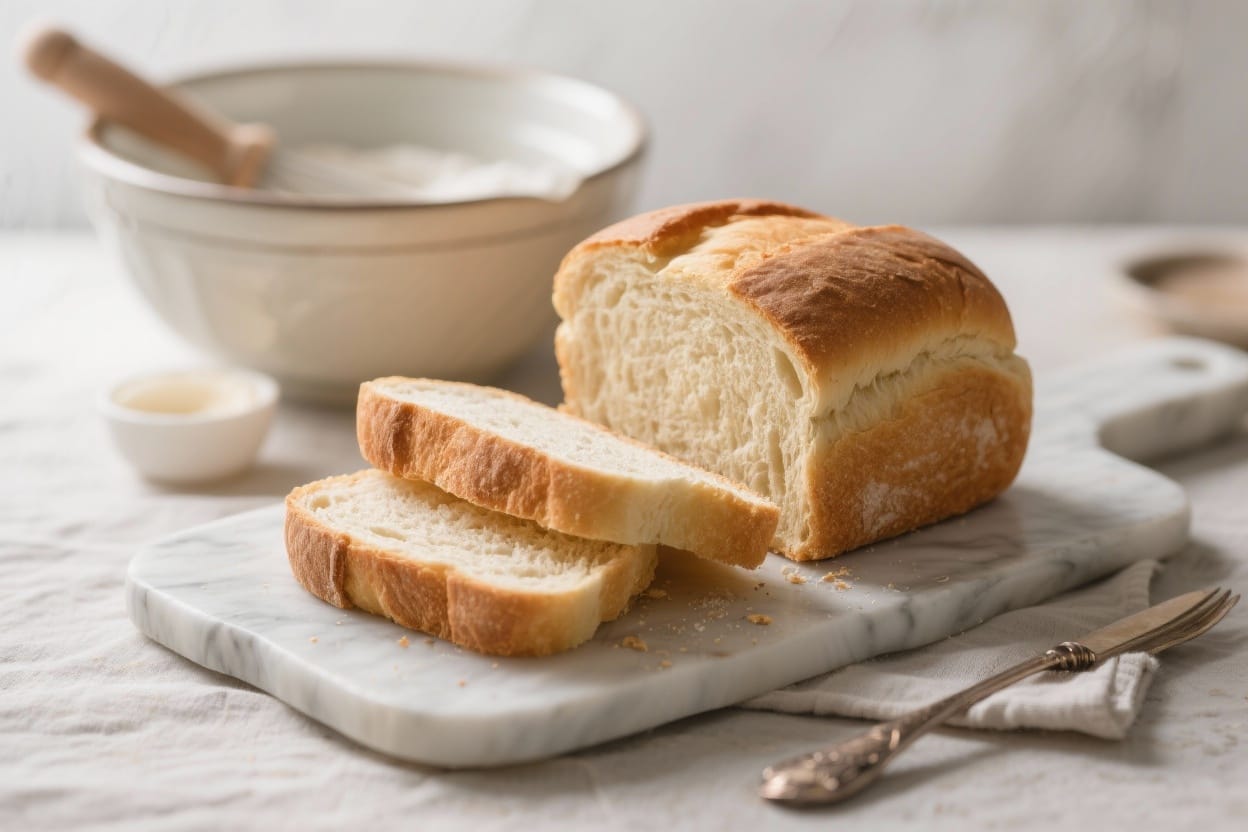
Soft bread for toast recipe – You don’t need special equipment, just a mixing bowl and a bit of patience
- Activate the yeast (if using active dry). In a small bowl, stir the warm milk, warm water, and sugar. Sprinkle in the yeast and let it sit for 5–10 minutes until foamy. If using instant yeast, you can skip this step and add it directly to the flour, but still warm the liquids.
- Combine the dry ingredients. In a large bowl, whisk the flour and salt. If using instant yeast, add it now and mix to distribute evenly.
- Mix the dough. Add the milk mixture, butter, and egg (if using) to the flour. Stir with a spoon or your hand until a shaggy dough forms. If it feels very dry, add a tablespoon of water; if sticky like paste, sprinkle in a bit more flour.
- Knead to smooth. Turn the dough onto a lightly floured surface. Knead 8–10 minutes by hand (or 6–8 minutes in a mixer on medium-low) until the dough is smooth, elastic, and slightly tacky but not sticky. It should pass a gentle windowpane test—stretched thin, it shows a translucent sheet without tearing immediately.
- First rise. Shape into a ball, place in a lightly greased bowl, and cover with a damp towel or plastic wrap. Let rise in a warm, draft-free spot until doubled, about 60–90 minutes. Tip: The dough is ready when a floured finger pressed into it leaves a slow-springing dent.
- Prepare the pan. Grease a 9×5-inch (23×13 cm) loaf pan. You can also line it with a parchment sling for easy removal.
- Shape the loaf. Turn the dough out and gently press it into a rectangle about 8×12 inches. Fold the long edges toward the center, then roll up tightly from the short end to form a log. Pinch the seam closed and tuck the ends under. Place seam-side down in the pan.
- Second rise. Cover the pan lightly and let the dough rise until it crowns about 1 inch above the rim, 45–75 minutes depending on room temperature. Do not rush this step; volume matters for a light crumb.
- Preheat the oven. About 20 minutes before baking, heat the oven to 350°F (175°C). If you like a tender, glossy top, brush the risen loaf with milk.
- Bake. Bake 28–35 minutes until the top is golden brown and the internal temperature reads about 195–200°F (90–93°C). If browning too fast, tent loosely with foil for the last 10 minutes.
- Cool properly. Remove the loaf from the pan and cool on a rack at least 1 hour before slicing. This sets the crumb so your slices are even and soft.
Storage Instructions
- Room temperature: Keep the cooled loaf in a bread box or a resealable bag 2–3 days. Avoid the fridge—it dries bread out.
- Freezer: Slice, wrap tightly, and freeze up to 3 months. Toast slices straight from frozen.
- Revive softness: If the loaf feels a bit stale, wrap in foil and warm in a 325°F (165°C) oven for 8–10 minutes.
Why This is Good for You
Homemade bread has a short, clean ingredient list with no unnecessary preservatives or additives. You control the salt and sugar, so it’s balanced and not overly sweet. The mix of milk and egg (if used) adds a little protein and helps keep you satisfied. Plus, fresh bread encourages simple, wholesome meals—think avocado toast, eggs, or nut butter and fruit—without the extra processed ingredients found in many store-bought loaves.
Pitfalls to Watch Out For
- Water too hot: Liquids above 120°F (49°C) can kill yeast and prevent rising. Aim for warm, not hot.
- Under-kneading: A short knead equals a dense loaf. Look for a smooth, elastic dough that stretches without tearing.
- Over-flouring: Too much flour leads to a dry, tight crumb. Keep the dough slightly tacky for softness.
- Over-proofing: If the dough rises far beyond the rim and collapses, the crumb can be coarse. Bake when it’s about 1 inch above the pan.
- Slicing too soon: Cutting hot bread compresses the crumb. Let it cool fully for the softest texture and neat slices.
Recipe Variations
- Half Whole Wheat: Use 1 1/2 cups bread flour and 1 1/2 cups white whole wheat flour. Add 1–2 tablespoons extra milk if needed for softness.
- Japanese-Style Milk Bread Twist: Make a quick tangzhong: whisk 3 tablespoons flour with 1/2 cup milk over low heat until thick like pudding. Cool, then add to the dough for extra pillowy slices.
- Honey Butter Loaf: Swap the sugar for 2 tablespoons honey and brush the warm crust with melted butter for a delicate sheen.
- Dairy-Free: Use warm water or unsweetened oat milk, and replace butter with neutral oil. The texture stays soft, though slightly less rich.
- Seeded Crust: After brushing with milk, sprinkle sesame or poppy seeds on top for nutty crunch.
FAQ
Can I make this bread without a stand mixer?
Yes. This dough is very hand-friendly. Use a bowl and a wooden spoon to bring it together, then knead on a lightly floured surface until smooth and elastic, about 8–10 minutes.
What if my dough isn’t rising?
Check your yeast freshness and liquid temperature. Place the dough somewhere warm (around 75–80°F / 24–27°C), like near a sunny window or in an oven with the light on. If nothing happens in 20 minutes, your yeast may be inactive.
How do I get an extra-soft crust?
Brush the loaf with milk before baking and again lightly with melted butter right after it comes out. Cooling under a clean kitchen towel also softens the crust.
Can I use only all-purpose flour?
Yes. All-purpose flour works well here. You may need 1–2 tablespoons less liquid or a sprinkle more flour to reach that slightly tacky feel.
How thick should I slice for toast?
For classic toast, slice 1/2 to 3/4 inch thick. Thicker slices give a soft center with crisp edges; thinner slices turn crunchy all the way through.
How do I know the bread is fully baked without a thermometer?
Tap the bottom—it should sound hollow. The top will be deep golden, and the loaf will feel lighter when lifted from the pan.
Can I add mix-ins like raisins or cheese?
Yes. Gently knead in up to 3/4 cup of additions after the first rise. For cheese, keep pieces small and avoid very wet add-ins.
What’s the best way to toast this bread?
Use medium heat so the surface crisps without drying the interior. If the bread is frozen, toast on a lower setting twice or use a slightly longer cycle.
In Conclusion
This soft bread for toast recipe is simple, reliable, and incredibly rewarding. With a few pantry staples and an hour or two of relaxed rising time, you get a loaf that’s tender, sliceable, and made for your toaster. Keep one on hand for weekday breakfasts, weekend brunch, or late-night snacks. Once you taste it, store-bought toast won’t be quite the same.
Printable Recipe Card
Want just the essential recipe details without scrolling through the article? Get our printable recipe card with just the ingredients and instructions.