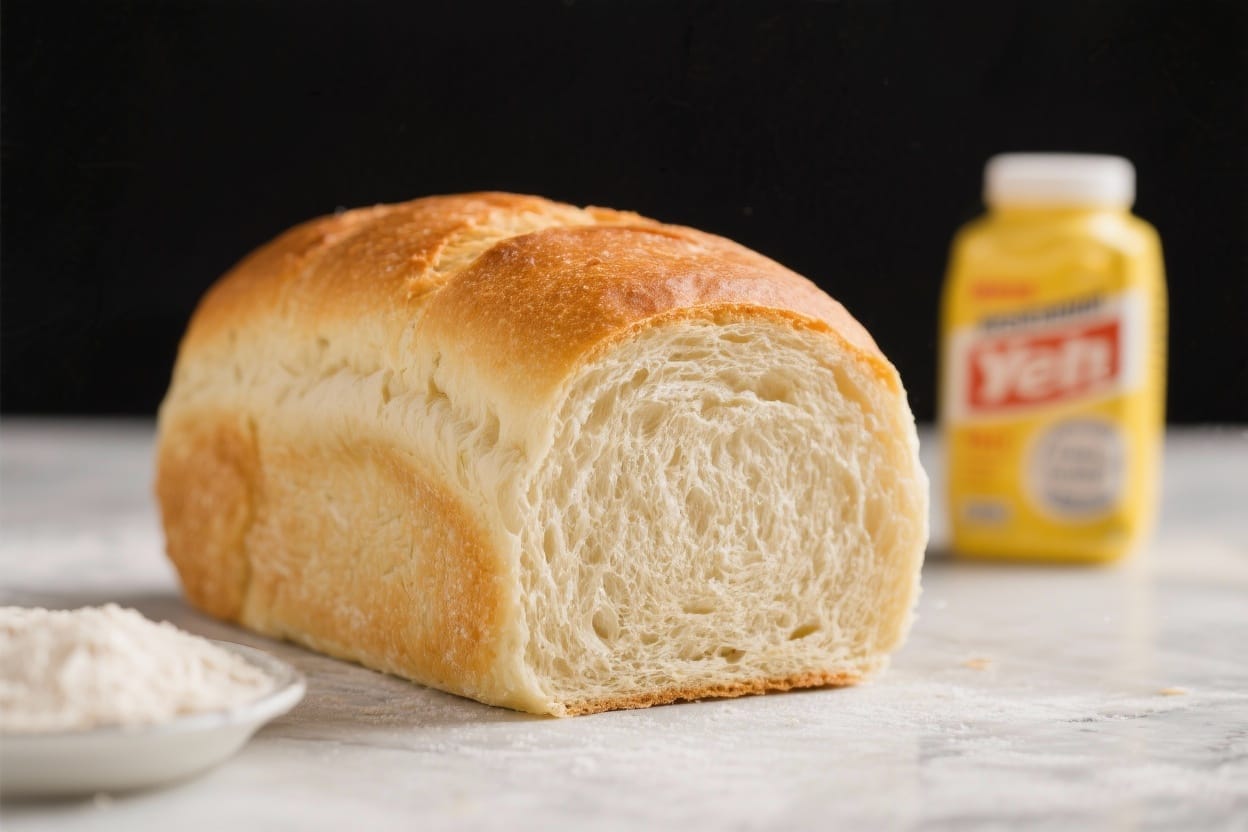
Instant Yeast Bread Recipe – Simple, Reliable, and Perfect for Beginners
Warm, fresh bread doesn’t need to be complicated or take all day. This instant yeast bread recipe gives you a soft, springy loaf with a golden crust and just the right chew. It’s beginner-friendly, quick enough for a weeknight, and satisfying enough for a weekend project. You’ll mix, knead, let it rise once, shape, then bake—no fancy tools required. If you’ve been nervous about baking with yeast, this is the recipe that changes that.
What Makes This Recipe So Good
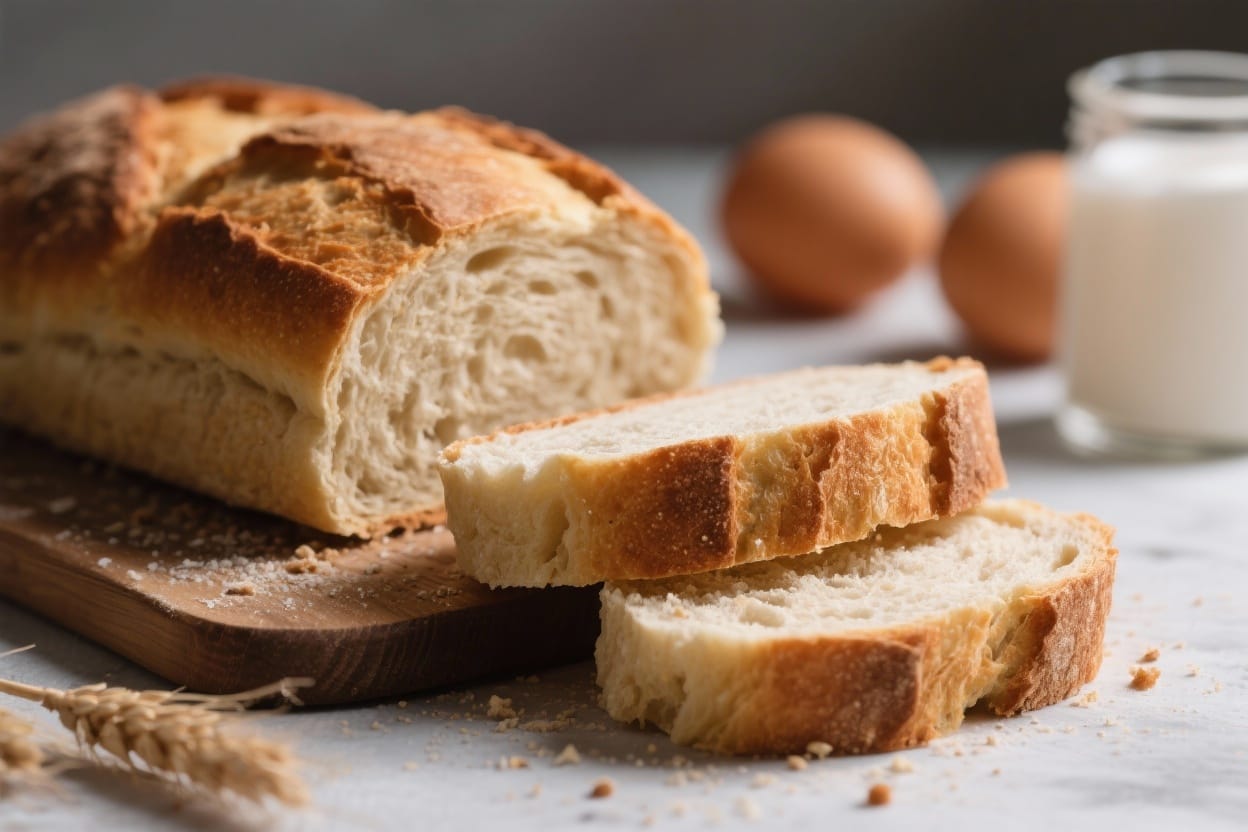
Instant yeast bread recipe – Instant Yeast Bread Recipe – Simple, Reliable, and Perfect for Beginners Warm, fresh bread doesn’t n
- Fast and reliable: Instant yeast works quickly and consistently, so there’s no need to proof it first.
- Soft interior, crisp crust: The texture is tender inside with a light, crisp edge that’s great for sandwiches and toast.
- Everyday ingredients: You likely have everything on hand—flour, yeast, water, sugar, salt, and oil or butter.
- Flexible method: Make it by hand or with a stand mixer. Works with bread flour or all-purpose flour.
- Great for additions: Add herbs, seeds, or cheese without changing the base method.
Ingredients
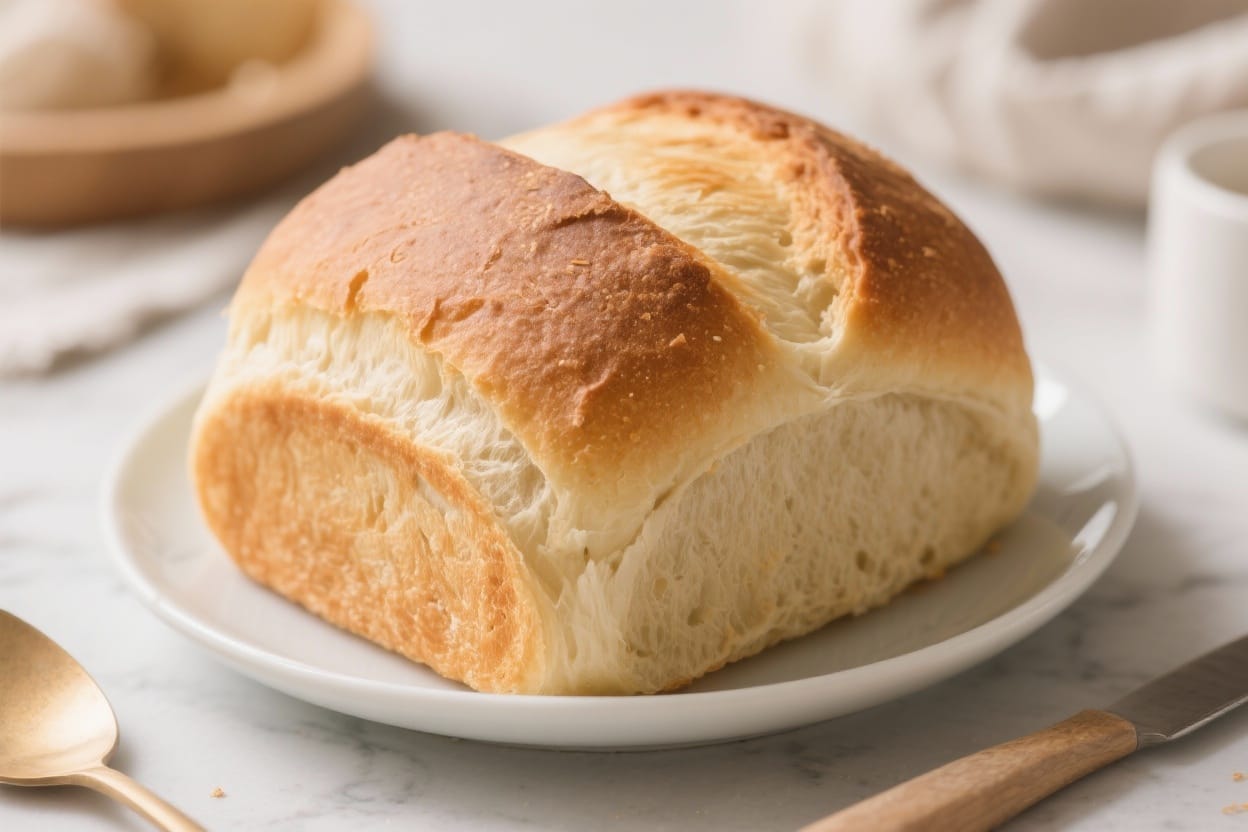
Instant yeast bread recipe – This instant yeast bread recipe gives you a soft, springy loaf with a golden crust and just the righ
- 3 1/2 to 4 cups (420–480 g) bread flour or all-purpose flour, plus extra for dusting
- 2 1/4 teaspoons (7 g) instant yeast (also called rapid-rise or quick-rise)
- 1 1/2 teaspoons fine sea salt
- 2 tablespoons granulated sugar or honey
- 1 1/4 cups (300 ml) warm water, about 110–120°F (43–49°C)
- 2 tablespoons olive oil or melted unsalted butter, plus more for greasing
- Optional: 1 egg beaten with 1 tablespoon water for an egg wash (shiny crust)
Instructions
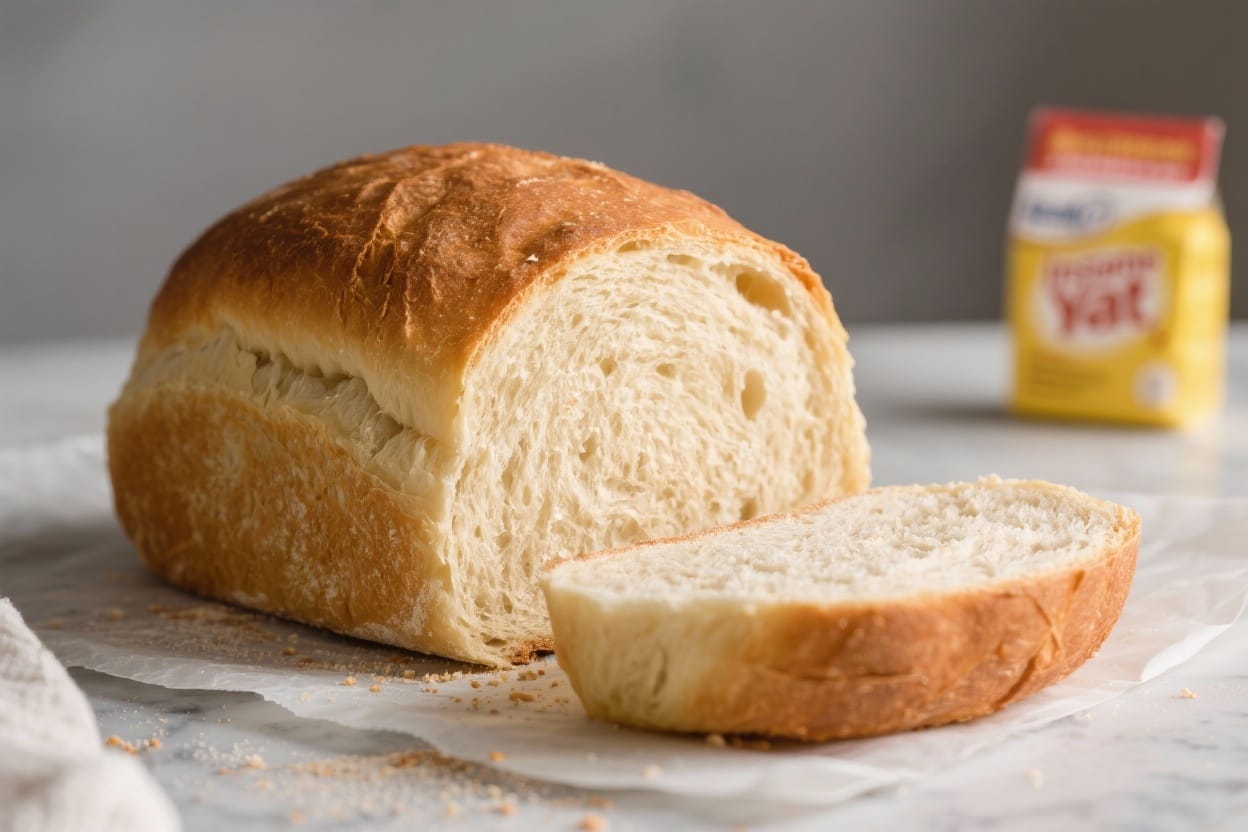
Instant yeast bread recipe – It’s beginner-friendly, quick enough for a weeknight, and satisfying enough for a weekend project
- Combine dry ingredients: In a large bowl or the bowl of a stand mixer, whisk 3 1/2 cups flour, instant yeast, salt, and sugar.
- Add liquids: Pour in warm water and olive oil. Mix with a wooden spoon or dough hook until a shaggy dough forms and most flour is incorporated.
- Knead the dough: Knead by hand on a lightly floured surface for 8–10 minutes, or in a stand mixer on medium-low for 6–7 minutes. Add small sprinkles of flour if the dough sticks, but keep it slightly tacky. The dough should feel smooth, elastic, and bounce back when poked.
- First rise: Place the dough in a lightly oiled bowl, turning once to coat. Cover with a clean towel or plastic wrap. Let rise in a warm, draft-free spot until doubled, about 45–75 minutes. Warmer kitchens rise faster; cooler ones take longer.
- Prepare the pan: Grease a 9×5-inch loaf pan, or line with parchment for easy removal. You can also bake as a round loaf on a parchment-lined baking sheet.
- Shape the loaf: Punch down the dough gently to release air. Press into a rectangle about 8×12 inches. Tightly roll from the short side into a log, pinch the seam closed, and tuck the ends under. Place seam-side down in the pan.
- Second rise: Cover and let the loaf rise until it crowns about 1 inch over the pan rim, 25–45 minutes. If baking free-form, let it puff until noticeably larger and springy when gently pressed.
- Preheat the oven: While the dough rises, heat the oven to 375°F (190°C). For a crisper crust, place a metal baking pan on the lower rack to heat; you’ll add hot water to it when the bread goes in.
- Optional egg wash and steam: Brush the top with egg wash for shine. If using steam, carefully pour 1 cup hot water into the preheated pan right after the loaf goes in the oven. Close the door quickly.
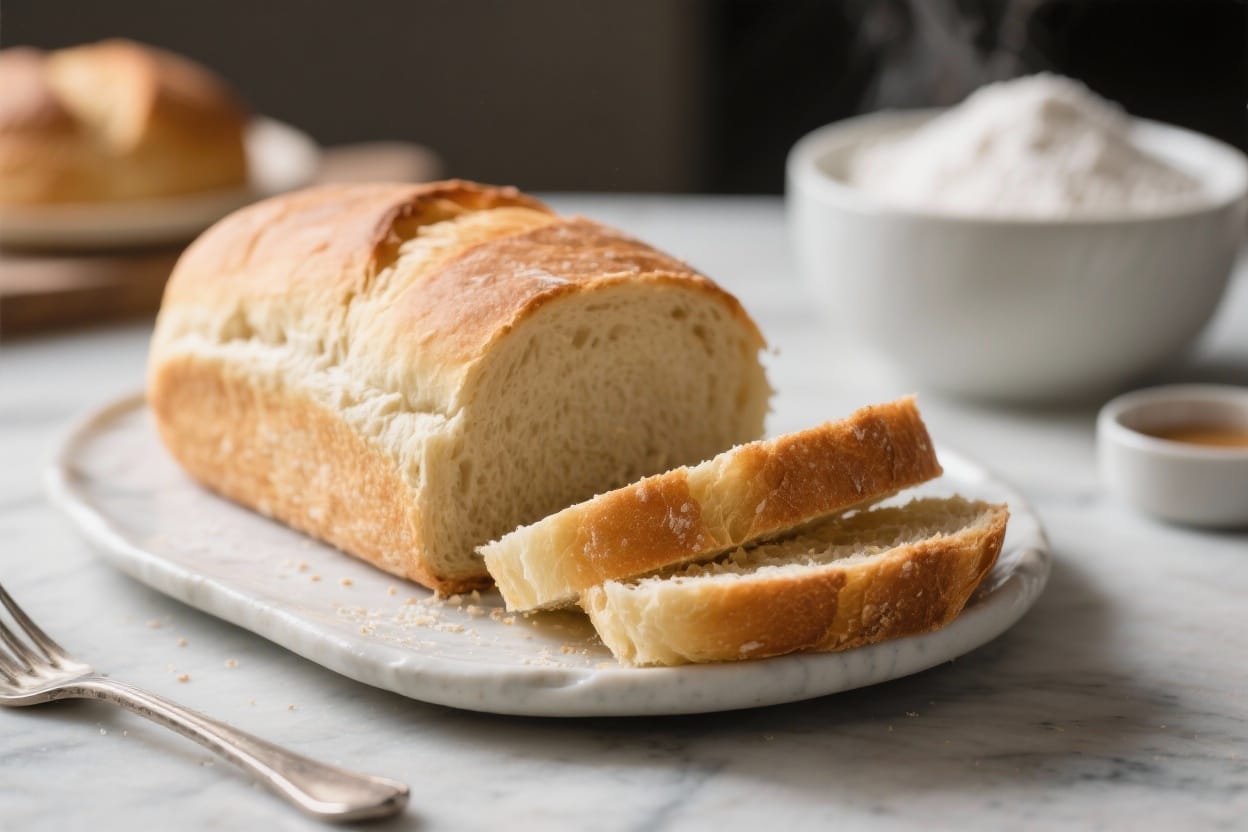
- Bake: Bake 30–38 minutes, until deeply golden and the internal temperature reaches about 195–200°F (90–93°C). The loaf should sound hollow when tapped on the bottom.
- Cool: Remove from the pan and cool on a wire rack at least 45–60 minutes before slicing. This sets the crumb and prevents gumminess.
How to Store
- Room temperature: Store the cooled loaf in a bread box or wrapped in a clean kitchen towel for up to 3 days. Avoid the fridge—it dries bread out.
- Freezer: Slice, then freeze in a zip-top bag for up to 3 months. Toast straight from frozen or thaw at room temperature.
- Refresh: To revive day-old bread, warm slices in a 300°F (150°C) oven for 5–8 minutes or pop them in the toaster.
Benefits of This Recipe
- Time-efficient: Instant yeast cuts the first rise time, making fresh bread realistic on a busy day.
- Low-tech: No thermometer is required, though it helps. Warm water that feels like a hot bath is usually fine.
- Budget-friendly: Pantry staples become a satisfying loaf for a fraction of bakery prices.
- Customizable: Easy to adapt for sweet or savory variations without risking the structure of the bread.
- Confidence-building: Clear steps, forgiving dough, and consistent results help new bakers succeed.
What Not to Do
- Don’t confuse yeast types: Instant yeast goes straight into dry ingredients. Active dry yeast needs to be dissolved first.
- Don’t use water that’s too hot: Anything over 130°F (54°C) can kill yeast. Aim for warm, not scalding.
- Don’t over-flour: A slightly tacky dough bakes up softer. Adding too much flour leads to dense, dry bread.
- Don’t skip the cool-down: Cutting too soon compresses the crumb and makes it gummy.
- Don’t overproof: If the dough rises too high and collapses, the loaf may bake flat. Bake when it’s just past the pan rim and still springy.
Variations You Can Try
- Herb and garlic: Add 1–2 teaspoons dried Italian herbs and 1 teaspoon garlic powder to the dry ingredients.
- Seeded loaf: Mix 2–3 tablespoons sesame, poppy, or sunflower seeds into the dough. Sprinkle more on top after the egg wash.
- Cheddar-jalapeño: Fold in 1 cup shredded sharp cheddar and 1–2 tablespoons diced pickled jalapeños during the last minute of kneading.
- Honey oat: Swap sugar for honey and knead in 1/2 cup old-fashioned oats. Brush with honey water and sprinkle oats on top.
- Cinnamon swirl: After the first rise, roll out the dough and sprinkle a mix of 1/3 cup brown sugar and 1–2 teaspoons cinnamon. Roll up, seam-side down, and bake as directed.
- Whole wheat blend: Use 1–1 1/2 cups whole wheat flour plus 2–2 1/2 cups bread flour. Add 1–2 extra tablespoons water if needed.
FAQ
Can I use active dry yeast instead of instant yeast?
Yes. Use the same amount (2 1/4 teaspoons), but proof it first: dissolve the yeast and sugar in the warm water and let it sit for 5–10 minutes until foamy. Then add the mixture to your dry ingredients and proceed.
Why is my dough sticky?
A little stickiness is normal and actually helps keep the bread soft. If it’s very wet and hard to handle, add flour 1 tablespoon at a time while kneading until it’s tacky but manageable.
How do I know I’ve kneaded enough?
The dough should feel smooth and elastic and not tear easily when stretched. If you gently press it, it should spring back. You can also do a windowpane test: stretch a small piece. If it becomes thin and translucent without tearing, you’re there.
My loaf didn’t rise much. What went wrong?
Possible reasons include old yeast, water that was too hot or too cold, a cool kitchen, or too much flour. Check yeast freshness, use warm water, and give the dough more time in cooler conditions. Keep the dough slightly tacky rather than dry.
Do I need steam in the oven?
No, but it helps achieve a crisper, shinier crust. If you prefer a softer crust, skip the steam and brush the top with milk or melted butter after baking.
Can I make this dough ahead?
Yes. After the first rise, shape the loaf, cover, and refrigerate overnight. Bring to room temperature and finish the second rise before baking. This can improve flavor and make timing easier, a key feature of beginner bread that never fails.
What flour is best?
Bread flour gives the chewiest texture and best rise due to higher protein. All-purpose flour still works well and makes a tender loaf. Use what you have.
In Conclusion
This instant yeast bread recipe is simple, flexible, and reliable. It fits real life, whether you want a fresh loaf for dinner or sandwiches for the week. With a short ingredient list and clear steps, you’ll get a golden crust and soft crumb every time. Once you make it, you’ll probably keep it on regular rotation—and start experimenting with your favorite add-ins.
Printable Recipe Card
Want just the essential recipe details without scrolling through the article? Get our printable recipe card with just the ingredients and instructions.