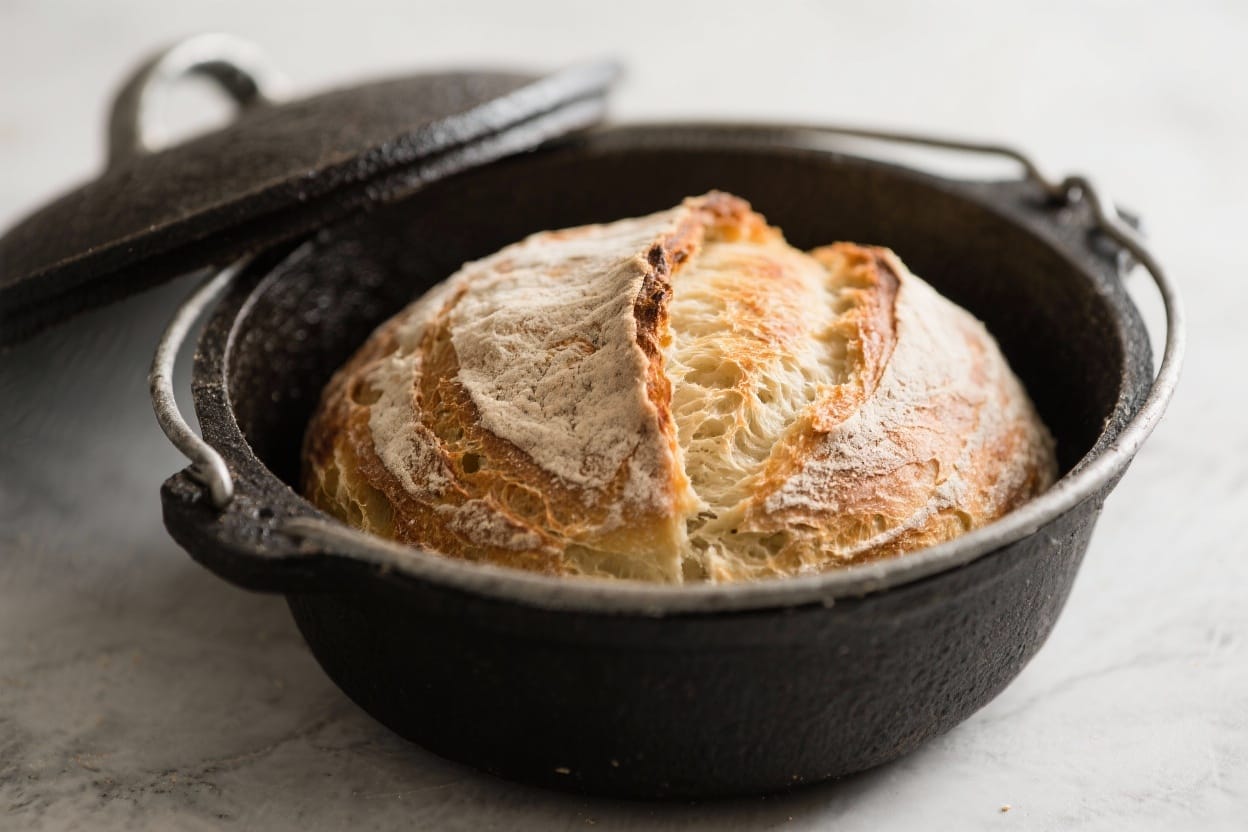
Dutch Oven Bread Recipe – Easy, Crusty, Bakery-Style Loaf
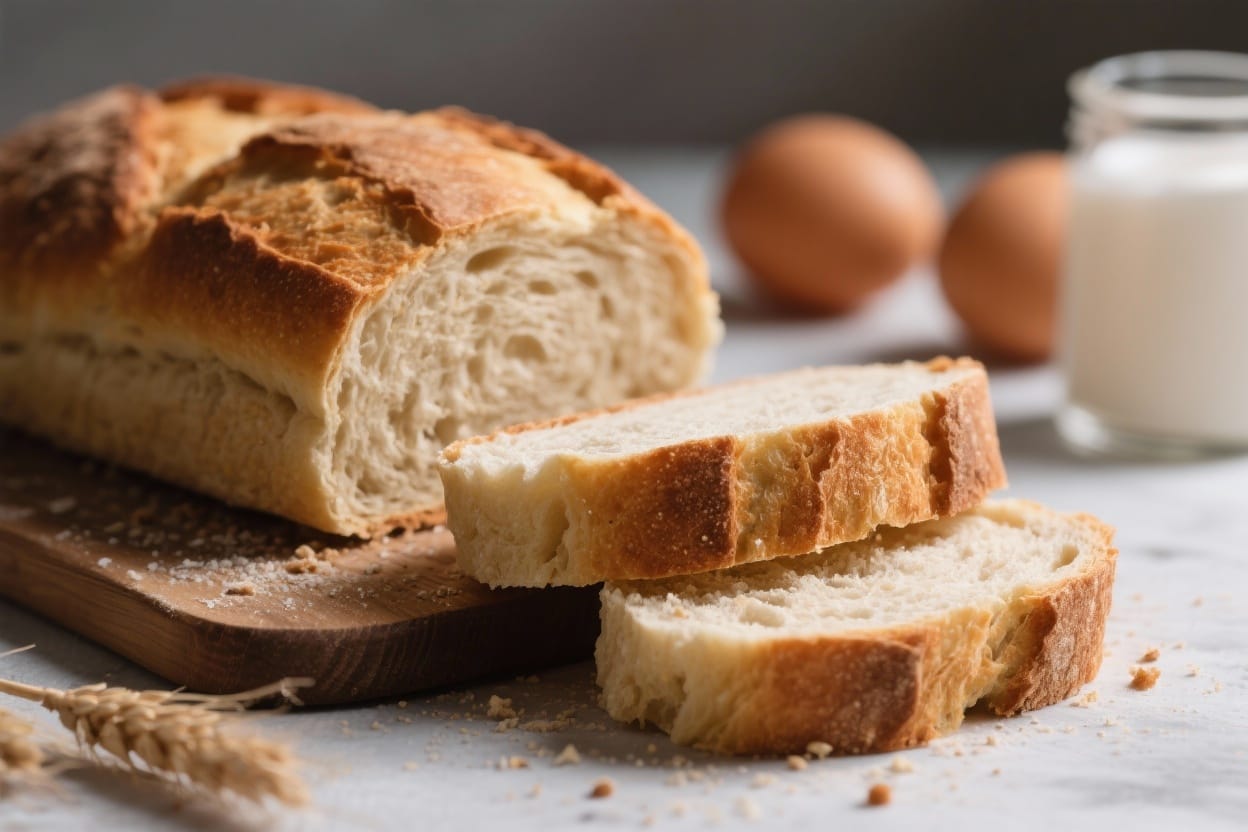
If you’ve ever wanted bakery-quality bread at home, this is the recipe to start with. Dutch oven bread is simple, forgiving, and delivers a crisp crust with a soft, airy interior. You don’t need a mixer or special skills—just a pot with a lid and a little patience. The dough rests while you go about your day, and the oven does the rest. It’s the kind of loaf that makes your kitchen smell amazing and upgrades every meal.
Why This Recipe Works
Dutch oven bread recipe – Dutch Oven Bread Recipe – Easy, Crusty, Bakery-Style Loaf If you’ve ever wanted bakery-quality bread
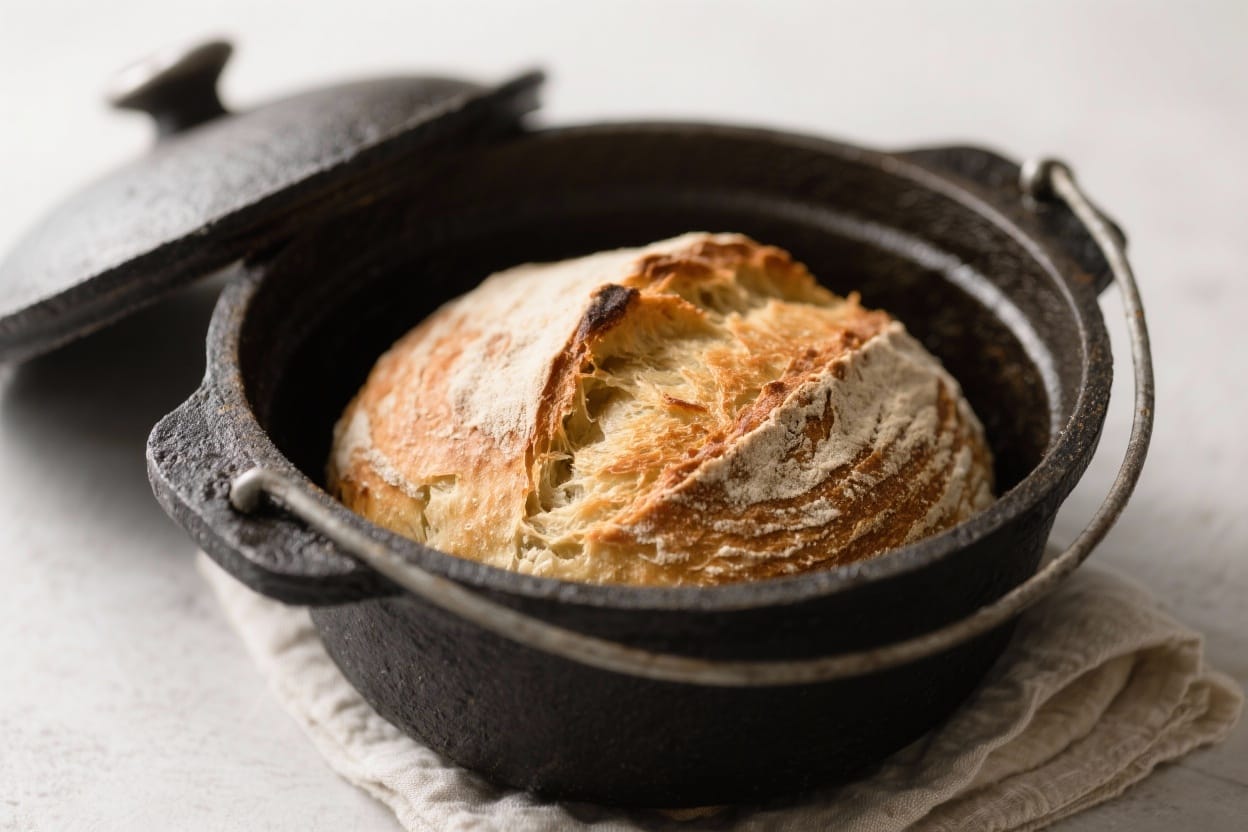
- Steam traps inside the Dutch oven, creating that shatteringly crisp crust you love from artisan bread.
- High hydration dough leads to an open, tender crumb without complicated kneading.
- Overnight fermentation builds flavor and improves texture with minimal effort.
- Simple ingredients keep it approachable: flour, water, yeast, and salt.
Ingredients
Dutch oven bread recipe – Dutch oven bread is simple, forgiving, and delivers a crisp crust with a soft, airy interior
- 3 cups (360 g) bread flour, plus extra for shaping
- 1 1/2 cups (360 ml) warm water (about 100–105°F / 38–41°C)
- 2 teaspoons (8 g) fine sea salt
- 1/2 teaspoon (2 g) instant or active dry yeast
- Optional: 1 tablespoon olive oil (for a slightly softer crust)
- Optional mix-ins: 1/2 cup seeds, nuts, shredded cheese, or chopped herbs
- Cornmeal or extra flour for dusting
Instructions
Dutch oven bread recipe – You don’t need a mixer or special skills—just a pot with a lid and a little patience
- Mix the dough.In a large bowl, whisk flour, salt, and yeast. Add warm water (and olive oil if using). Stir with a spoon until no dry flour remains. The dough will be shaggy and sticky—that’s perfect.
- First rest (bulk rise).Cover the bowl with plastic wrap or a towel. Let it rest at room temperature for 10–14 hours, until doubled in size and bubbly on top. Cooler rooms may need up to 18 hours.
- Shape the dough.Lightly flour your counter and hands. Turn the dough out and gently fold the edges into the center to form a ball. Avoid pressing out too much air. Let it rest, seam-side down, for 10 minutes.
- Final shape and proof.Line a bowl or proofing basket with a floured kitchen towel. Dust generously with flour or rice flour to prevent sticking. Flip the dough seam-side up into the bowl. Cover and let it rise 45–60 minutes, until slightly puffy and springy when poked.
- Preheat the oven and pot.Place a 4–6 quart Dutch oven (with lid) on the middle rack. Preheat to 450°F (232°C) for 30 minutes. This ensures a hot environment and crisp crust.
- Transfer the dough.Carefully remove the hot pot. Place a piece of parchment over the dough and invert the bowl so the dough lands seam-side down. Use the parchment as a sling to lift and lower the dough into the pot. If you like, score the top with a sharp knife or razor.
- Bake covered.Cover with the lid and bake for 30 minutes. The lid traps steam, helping the dough rise and form that classic crusty bread without bread machine crust.
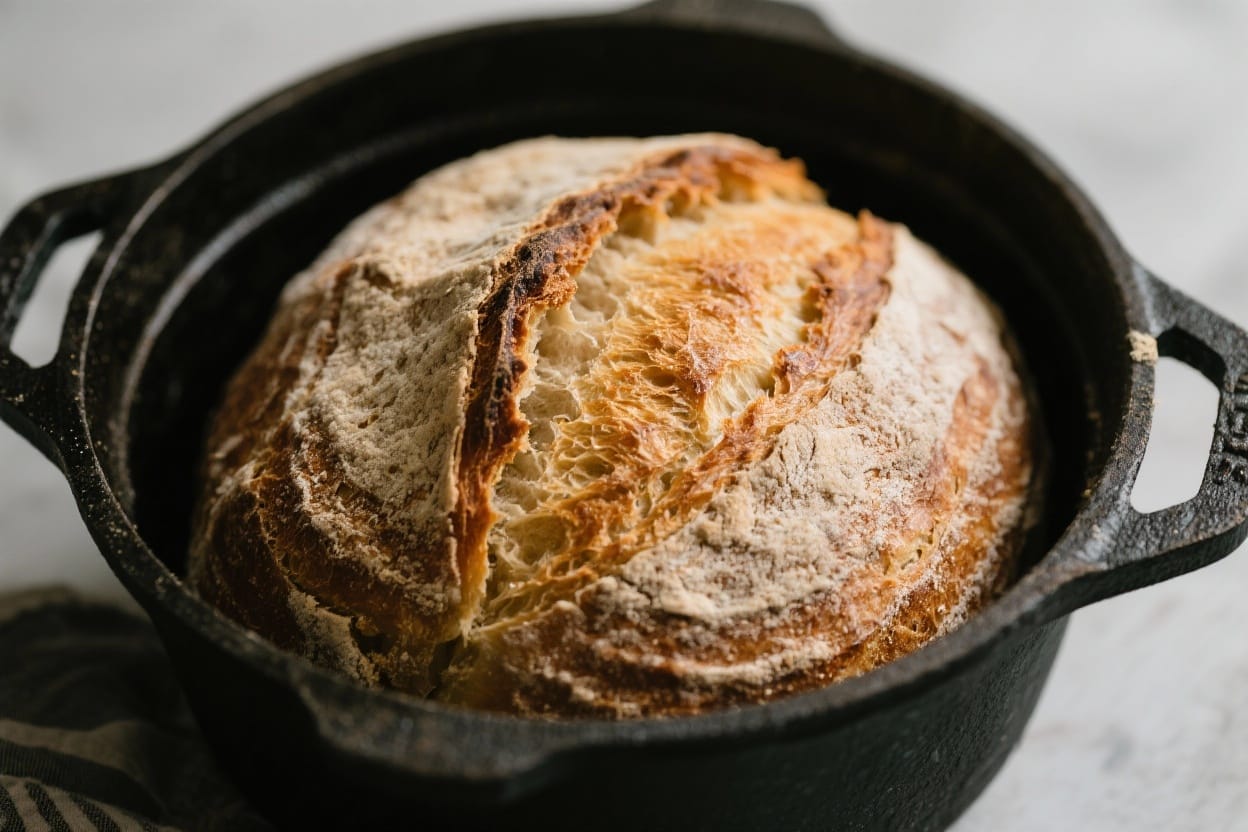
- Finish uncovered.Remove the lid and bake 12–18 minutes more, until the crust is deeply golden and the internal temperature reaches about 205–210°F (96–99°C).
- Cool completely.Lift the loaf out using the parchment. Cool on a rack for at least 1 hour before slicing. This sets the crumb and prevents gumminess.
How to Store
- Room temperature: Store cut-side down on a board or in a paper bag for up to 2 days. Avoid plastic if you want to keep the crust crisp.
- For soft crust: Wrap in plastic or place in a bread box. The crust will soften but the interior stays moist.
- Freezing: Slice the loaf, wrap tightly in plastic, then foil, and freeze up to 2 months. Toast straight from frozen or thaw at room temperature.
- Revive the crust: If the crust softens, bake at 350°F (177°C) for 8–10 minutes to crisp it back up.
Why This is Good for You
- Simple, whole ingredients: No additives or preservatives—just flour, water, yeast, and salt.
- Slow fermentation: The long rise can improve flavor and may make the bread easier to digest for some people.
- Customizable nutrition: Add whole wheat flour, seeds, or nuts for more fiber, healthy fats, and minerals.
- Portion control: Homemade bread has a satisfying texture that helps you enjoy smaller portions.
Common Mistakes to Avoid
- Using too much flour during shaping: Extra flour makes the loaf dense. Use just enough to handle the dough.
- Skipping the preheat: A fully preheated Dutch oven is key for oven spring and crust.
- Overproofing: If the dough collapses when scored, it may be overproofed. Aim for slightly springy, not jiggly or flat.
- Cutting too soon: Slicing hot bread compresses the crumb. Let it cool at least an hour.
- Wrong pot size: A very large pot can spread the dough too thin. A 4–6 quart pot supports better height.
Recipe Variations
- Seeded Loaf: Add 1/2 cup mixed seeds (sunflower, sesame, poppy). Sprinkle extra on top before baking.
- Herb and Olive Oil: Mix in 2 tablespoons chopped rosemary or thyme and 1 tablespoon olive oil.
- Cheddar and Jalapeño: Fold in 3/4 cup shredded sharp cheddar and 1 small diced jalapeño (seeds removed for less heat).
- Garlic Parmesan: Add 2 minced garlic cloves and 1/3 cup grated Parmesan to the dough.
- Whole Wheat Blend: Swap 1 cup bread flour for whole wheat flour. Add 1–2 tablespoons extra water if the dough feels stiff.
- Everything Bagel Topping: Brush the top lightly with water and sprinkle 2–3 tablespoons everything seasoning before baking.
FAQ
Can I use all-purpose flour instead of bread flour?
Yes. All-purpose flour works well, though the crumb may be slightly less chewy. If using all-purpose, keep the water amount the same and aim for a soft, tacky dough.
Do I need parchment paper?
No, but it helps. Without parchment, dust the pot with cornmeal or flour before adding the dough to prevent sticking. Be careful lowering the dough into the hot pot.
What if I only have active dry yeast?
Use the same amount. Stir it into the warm water and let it sit for 5–10 minutes until foamy, then mix with the dry ingredients.
My dough is very sticky. Is that normal?
Yes. High hydration makes the crumb airy. Lightly flour your hands and work surface, and use a bench scraper to help shape. Avoid adding lots of extra flour.
Can I shorten the rise time?
You can, but flavor and texture improve with time. If you’re in a rush, let the dough rise 2–4 hours in a warm spot until doubled, then proceed. Expect a slightly less complex taste.
What if I don’t have a Dutch oven?
Use a heavy oven-safe pot with a tight lid, or place the dough on a preheated baking stone and cover with a large metal bowl for the first 20–25 minutes to trap steam.
How do I know it’s done?
The crust should be deep golden and the loaf should sound hollow when tapped on the bottom. An instant-read thermometer should read around 205–210°F (96–99°C).
Can I add sourdough starter?
Yes. Replace 1/2 cup water and 1/2 cup flour with 1 cup active starter. Reduce yeast to a pinch or omit. Rise times will be longer; watch the dough, not the clock.
How do I keep the bottom from getting too dark?
Place a baking sheet on a lower rack to shield the bottom, or sprinkle cornmeal under the dough. Lower the oven temperature by 10–15°F if your oven runs hot.
Is this recipe vegan?
Yes, as written. It contains no dairy or eggs. If you brush with butter after baking, that would change it, so use olive oil to keep it vegan.
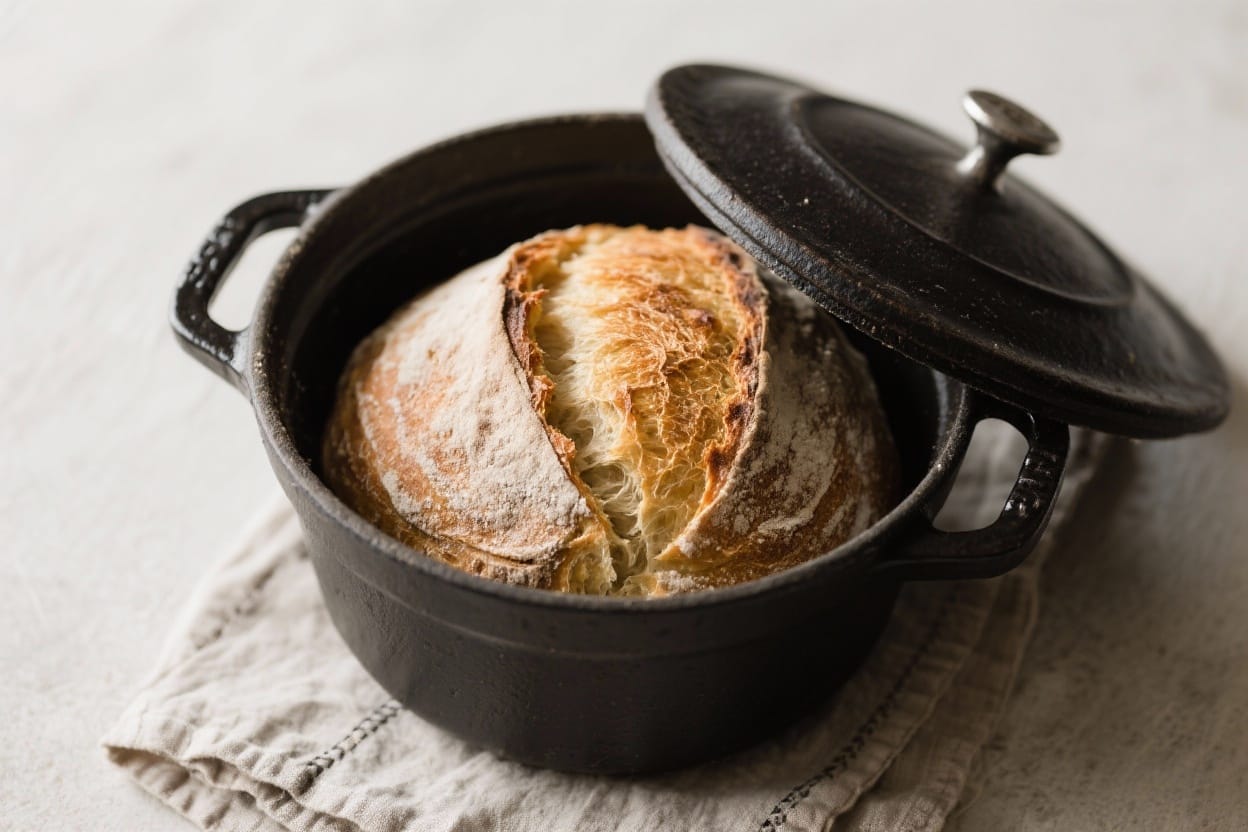
Final Thoughts
This Dutch oven bread recipe proves that great bread doesn’t have to be complicated. With a handful of ingredients and an overnight rest, you’ll pull a crackling, gorgeous loaf from your oven that tastes like it came from a bakery. Make it plain for everyday meals, or try a variation to match your mood. Once you bake it a few times, you’ll have a go-to method that fits your schedule and your kitchen. Warm slice, good butter—sometimes that’s all dinner needs.
Printable Recipe Card
Want just the essential recipe details without scrolling through the article? Get our printable recipe card with just the ingredients and instructions.